If you’re reading this, I’m going to assume you’re interested in connectivity tech. Or perhaps you’ve got dreadfully slow internet you need to fix. Like many, I’m the designated tech support member of the family – which now extends to my in-laws. I was tasked with fixing their god-awful Wi-Fi, with average speeds of 3Mbps.
With poor copper wiring in an area that’s not set to be upgraded and patchy 4G signal, we’re at the end of solutions. That is until I convinced them to let me try Starlink, which launched in the UK a few years ago. Now, we’re averaging speeds of 250Mbps, and the set-up experience was easier than any other router I’ve used.
Here’s how I used Starlink to improve my in-laws Wi-Fi speeds by over 83x – yes, that’s a crazy number. And I’d encourage you to do the same if you’re in a similar position.
What actually is Starlink?
Starlink is SpaceX’s ambitious project to blanket the Earth with high-speed internet using a constellation of low Earth orbit (LEO) satellites. CEO Elon Musk envisioned this as a way to provide reliable internet access to even the most remote corners of the globe. Traditional internet infrastructure can be costly and impractical in certain areas. Imagine Openreach trying to deal with mountain villages, deserts, and isolated islands. That’s where Starlink comes in.
Traditional satellites sit in geostationary orbit, around 35,000 kilometres above Earth. This distance results in high latency and slower speeds. In contrast, Starlink satellites are positioned in low Earth orbit, roughly 550 kilometres above the planet. This proximity means that data can travel much faster between the satellite and the user, resulting in lower latency and higher speeds.

The Starlink system comprises three main components: the satellites, the ground stations, and the user terminal (like the Starlink Mini or residential dish). The satellites communicate with each other using laser links, forming a mesh network in space. They relay data to and from the ground stations, which are connected to the internet’s backbone. The dish, connects to the satellites overhead, providing the end user with internet access. The dish is designed to automatically adjust its position to maintain the best possible connection with the satellites.
You get a router that plugs into your dish, and then acts like a normal Wi-Fi router. There’s also an on-the-go option that combines both. As the house doesn’t move, the traditional one is a better option. Installing it was easy.
How to get set up with Starlink
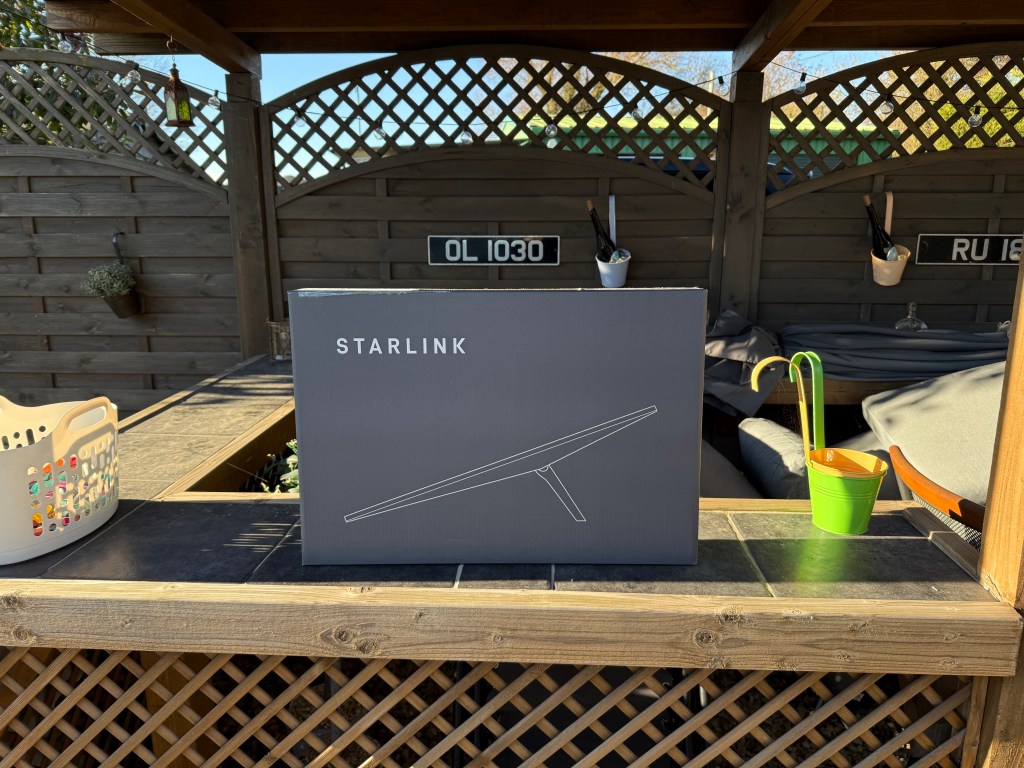
Your Starlink dish comes in a box with a router and power adapter. You plug the power adapter into the wall, which hooks up to the router. Then, you run an included Ethernet cable to hook up the dish to the router. It’s pretty long, but you can use your own if you need a longer one. Physically, that’s it – two wires and you’re good to go.
With the mobile app, you can set up your Starlink dish. You can scan the sky for any obstacles or interference, and it’ll tell you where the best place to put the dish is. You can use the included kickstand, or mount it to the roof. Once you’ve placed it, it’ll align itself and connect the best satellites in space. While it figures this out, you can set your router’s name and password. And then you’re good to go.


I managed to get 83x faster Wi-Fi speeds
While selling them on the idea, I set up the dish on top of an outside bar area. The router was just below it, to reach both the house and office across the driveway. It reaches both, but I think we’ll fully mount the dish to the roof, and mesh two of Starlink’s routers for a stronger connection in both places. So my current test set-up isn’t the most efficient, but still 83x faster.
As I mentioned, my in-laws’ previous average Wi-Fi speed was 3Mbps. That’s with multiple readings over months at different times of day. Now with Starlink, the average speed is 250Mbps. It’s like a whole new world for them.
While I’m very excited by Starlink, I won’t be using it at home. My 1Gbps fibre connection is much faster, which is what I need for the day-to-day. But at £75/mo without a contract, it’s an excellent value-for-money option. It’s also extremely reliable and efficient. Everyone’s happy, and I get another tech support win.


