Your new smart TV should feel like a serious upgrade, not just a bigger screen on the wall. So, if the HDR on your smart TV isn’t impressing you yet, it’s time to tweak a few settings and unlock its full potential.
Make Sure You’re Actually Watching HDR Content
You’ve set up your new HDR TV and expect every show to look vivid and lifelike. However, before diving into settings and tweaks, there’s something crucial to check first: Are you watching real HDR content?
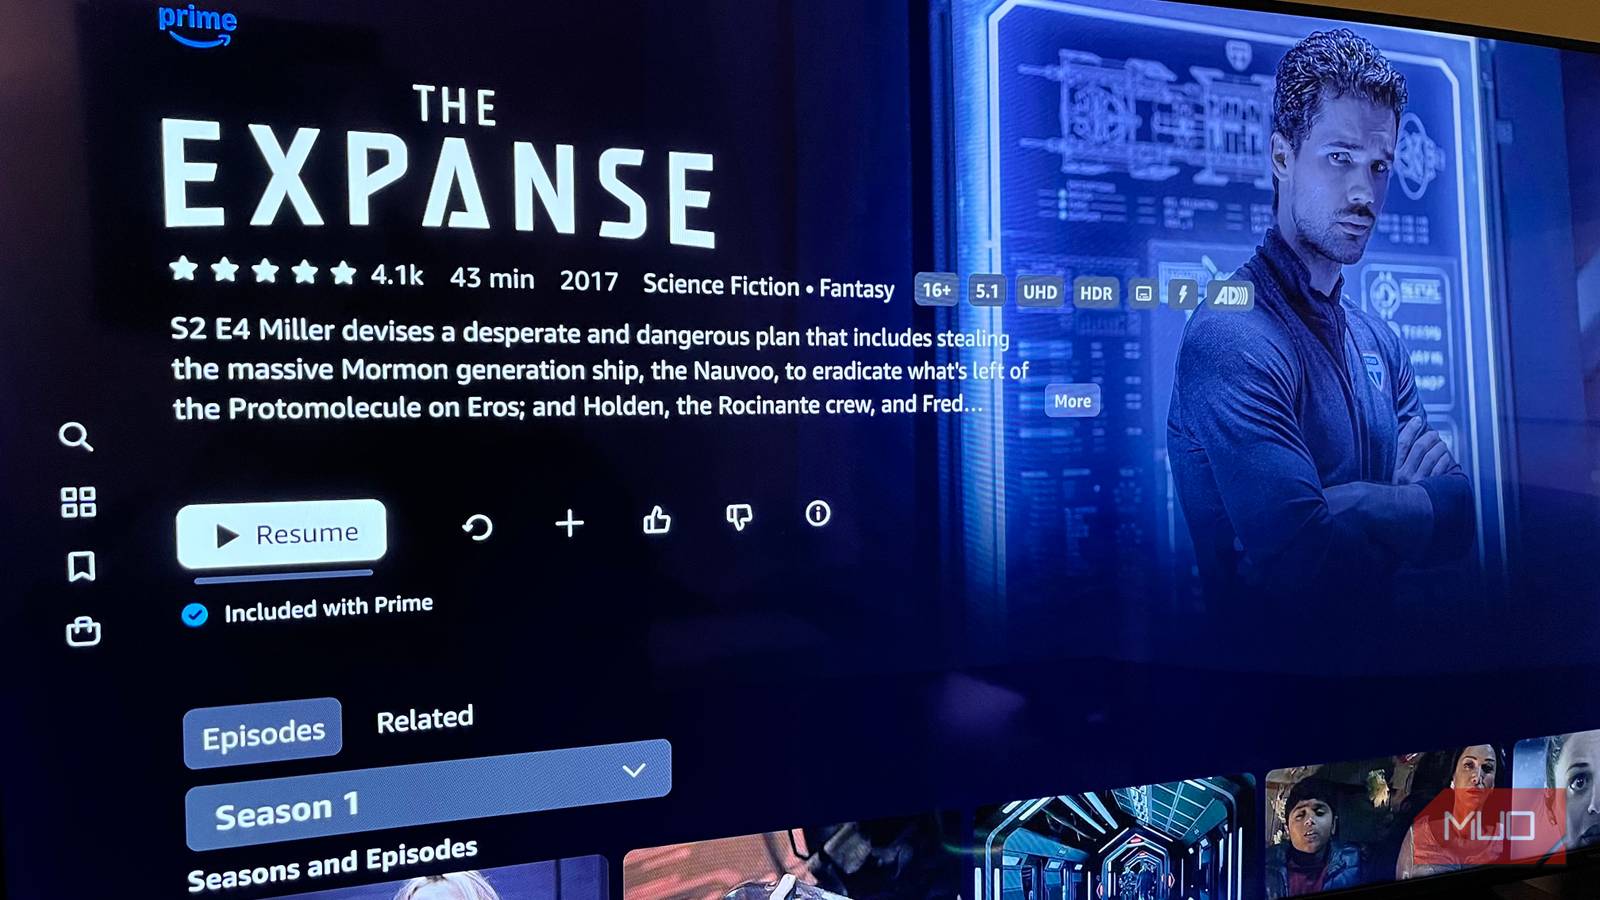
Streaming services like Disney+ usually tag HDR shows and movies with HDR or Dolby Vision labels. If those tags aren’t visible, you’re likely getting a standard dynamic range (SDR), regardless of how sharp it appears. It’s also worth reviewing your subscription plan, as some platforms reserve HDR streaming only for higher-tier subscribers.
But content isn’t the only factor here. Your streaming device also needs to support HDR output. Whether it’s a streaming stick, a console, or your TV’s built-in app, it must be capable of sending HDR signals. Older or budget-friendly devices might only handle standard HD, so checking your device specs can save you from wondering why the picture doesn’t quite meet your expectations.

Related
What Is HDR TV, and What Are Its Different Formats?
HDR tech doesn’t have to be a confusing mess of acronyms and tech jargon.
Enable HDR and Use the HDR-Compatible HDMI Input
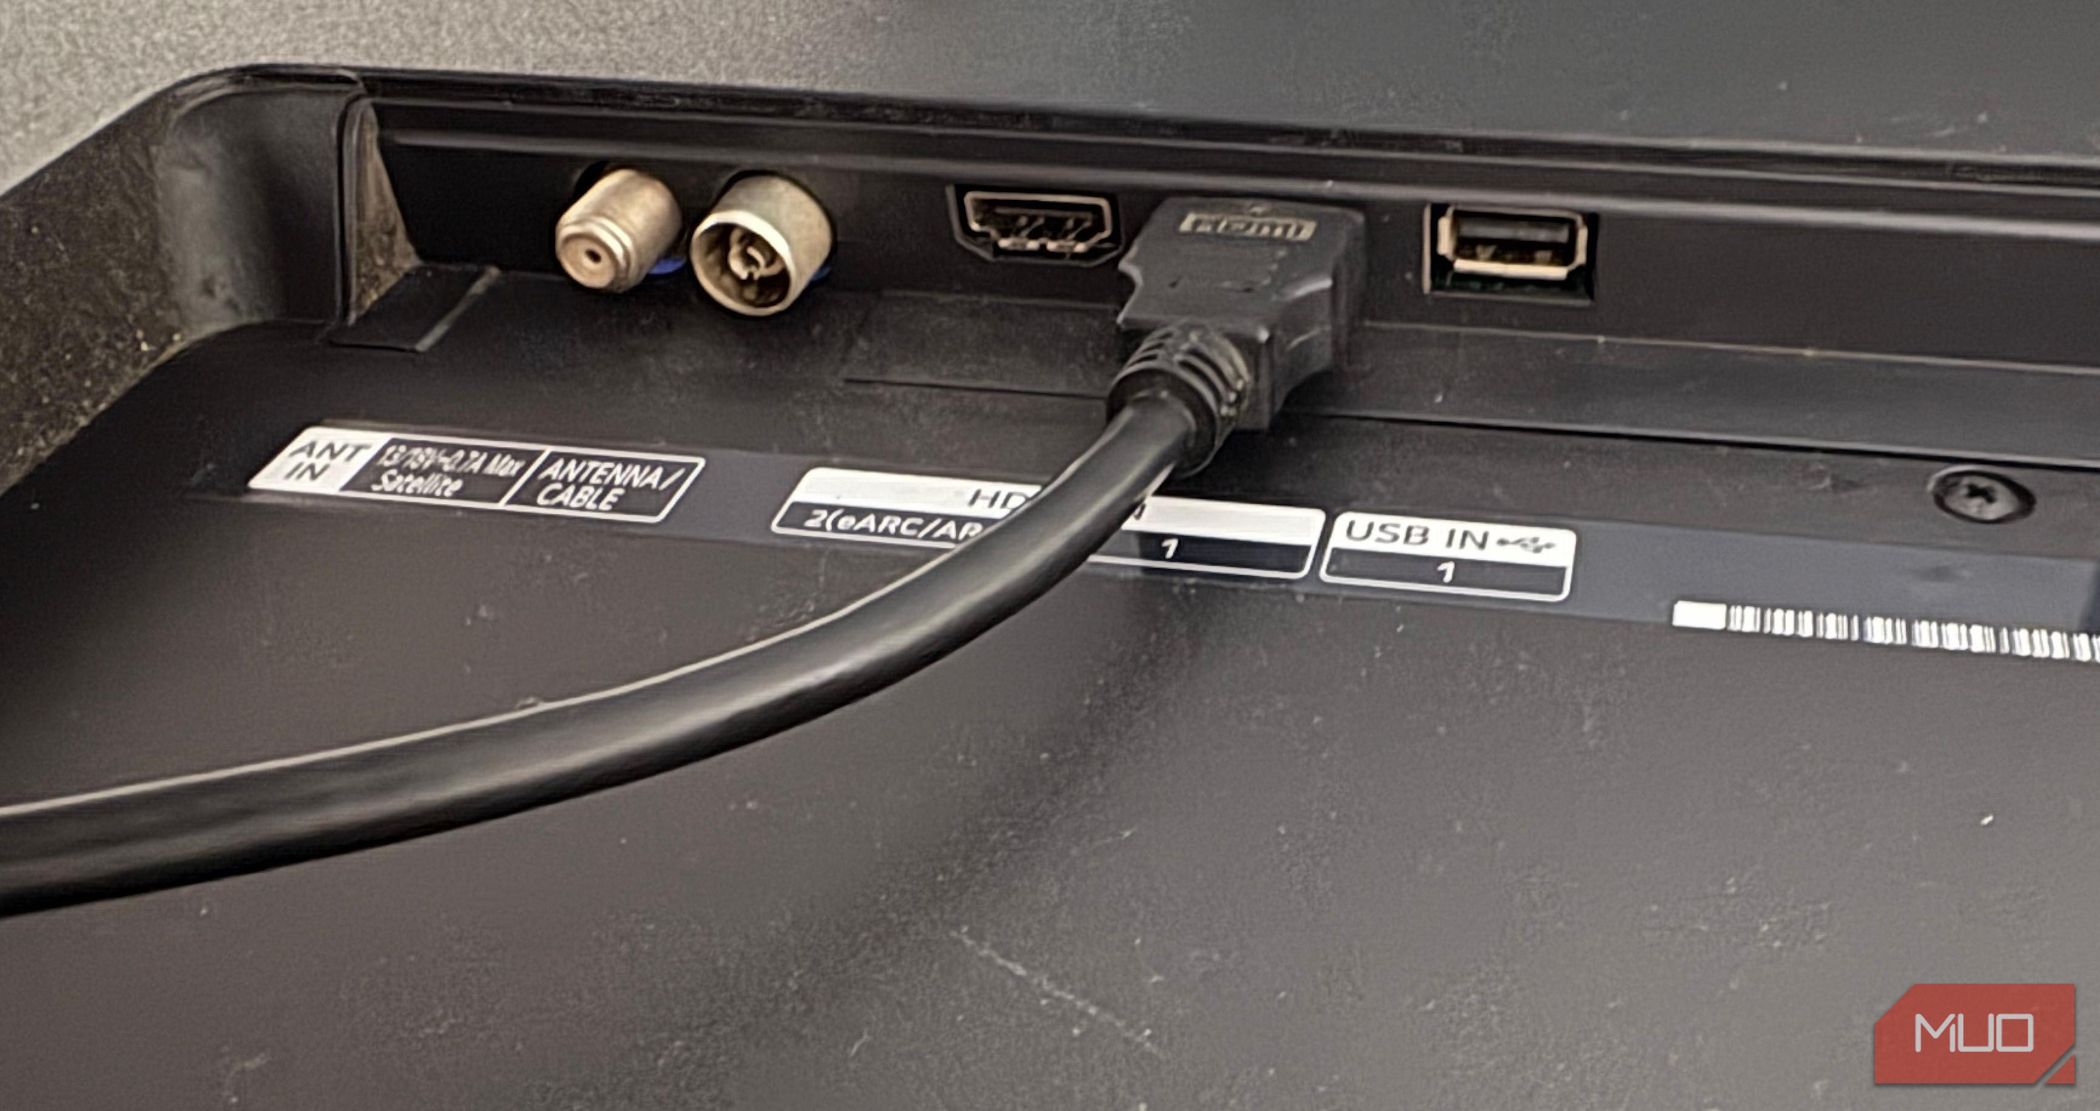
Next, dive into your TV’s settings to ensure HDR is turned on. Many TVs don’t enable it by default, especially on specific HDMI inputs. If you’re using an external device, such as a streaming stick or gaming console, it must be plugged into an HDMI port that supports HDR, as some ports aren’t designed for it.
Check your TV manual or the labels near the ports to find the HDR-compatible one, often marked HDMI 2.0, HDMI 2.1, or sometimes HDMI (ARC) with an HDR note. If you’re unsure, a quick look at the manual or your TV brand’s website will tell you exactly which ports support HDR.
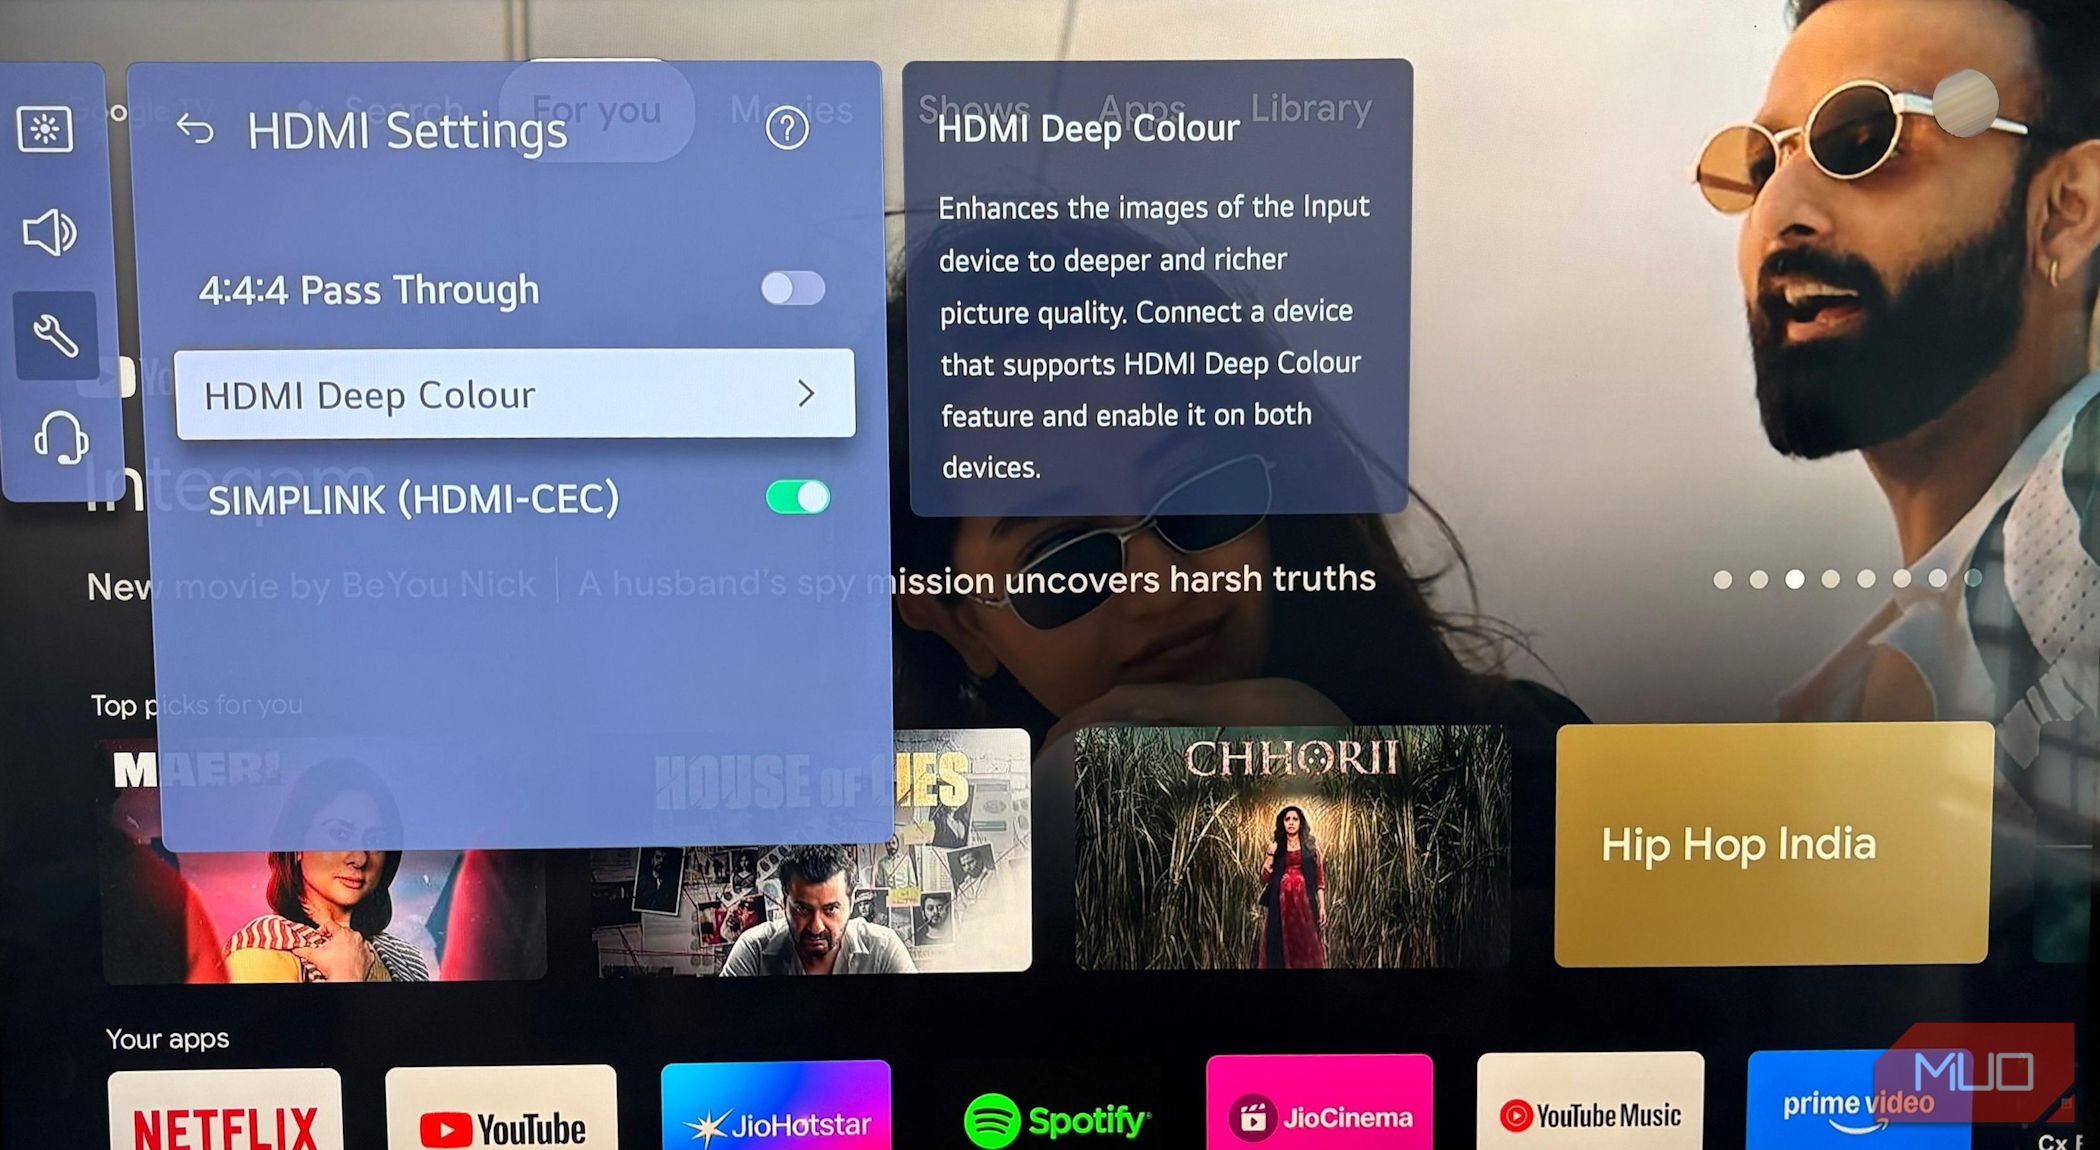
Once you’ve plugged into the device, head into your TV’s settings and look for options like HDMI Deep Color, Enhanced Format, or Input Signal Plus, and switch them on for the ports you’re using. On LG TVs, for instance, you’ll find this under Settings > General > External Devices > HDMI Settings > HDMI Deep Color.
Other brands use slightly different names. Samsung often labels it HDMI UHD Color, Sony calls it Enhanced Format, and some models may just list it as HDR Mode. If you can’t find it, a quick Google search for your TV model and “enable HDR input” should point you in the right direction.
Finally, make sure your connected device is set up to output HDR. Consoles like PlayStation and Xbox offer HDR options in their video settings that must be enabled. Without this, even if your TV is fully configured, you’ll only get standard dynamic range and miss out on the brighter highlights and deeper shadows that HDR offers.
Use a Certified High-Speed HDMI Cable
HDMI cables might seem like an afterthought when setting up your TV, but they’re actually a crucial part of getting HDR to work properly. HDR content requires more bandwidth than standard video thanks to its higher brightness levels, deeper contrast, and wider color range. If your cable can’t handle this extra load, HDR might not activate at all, or the picture could look underwhelming.
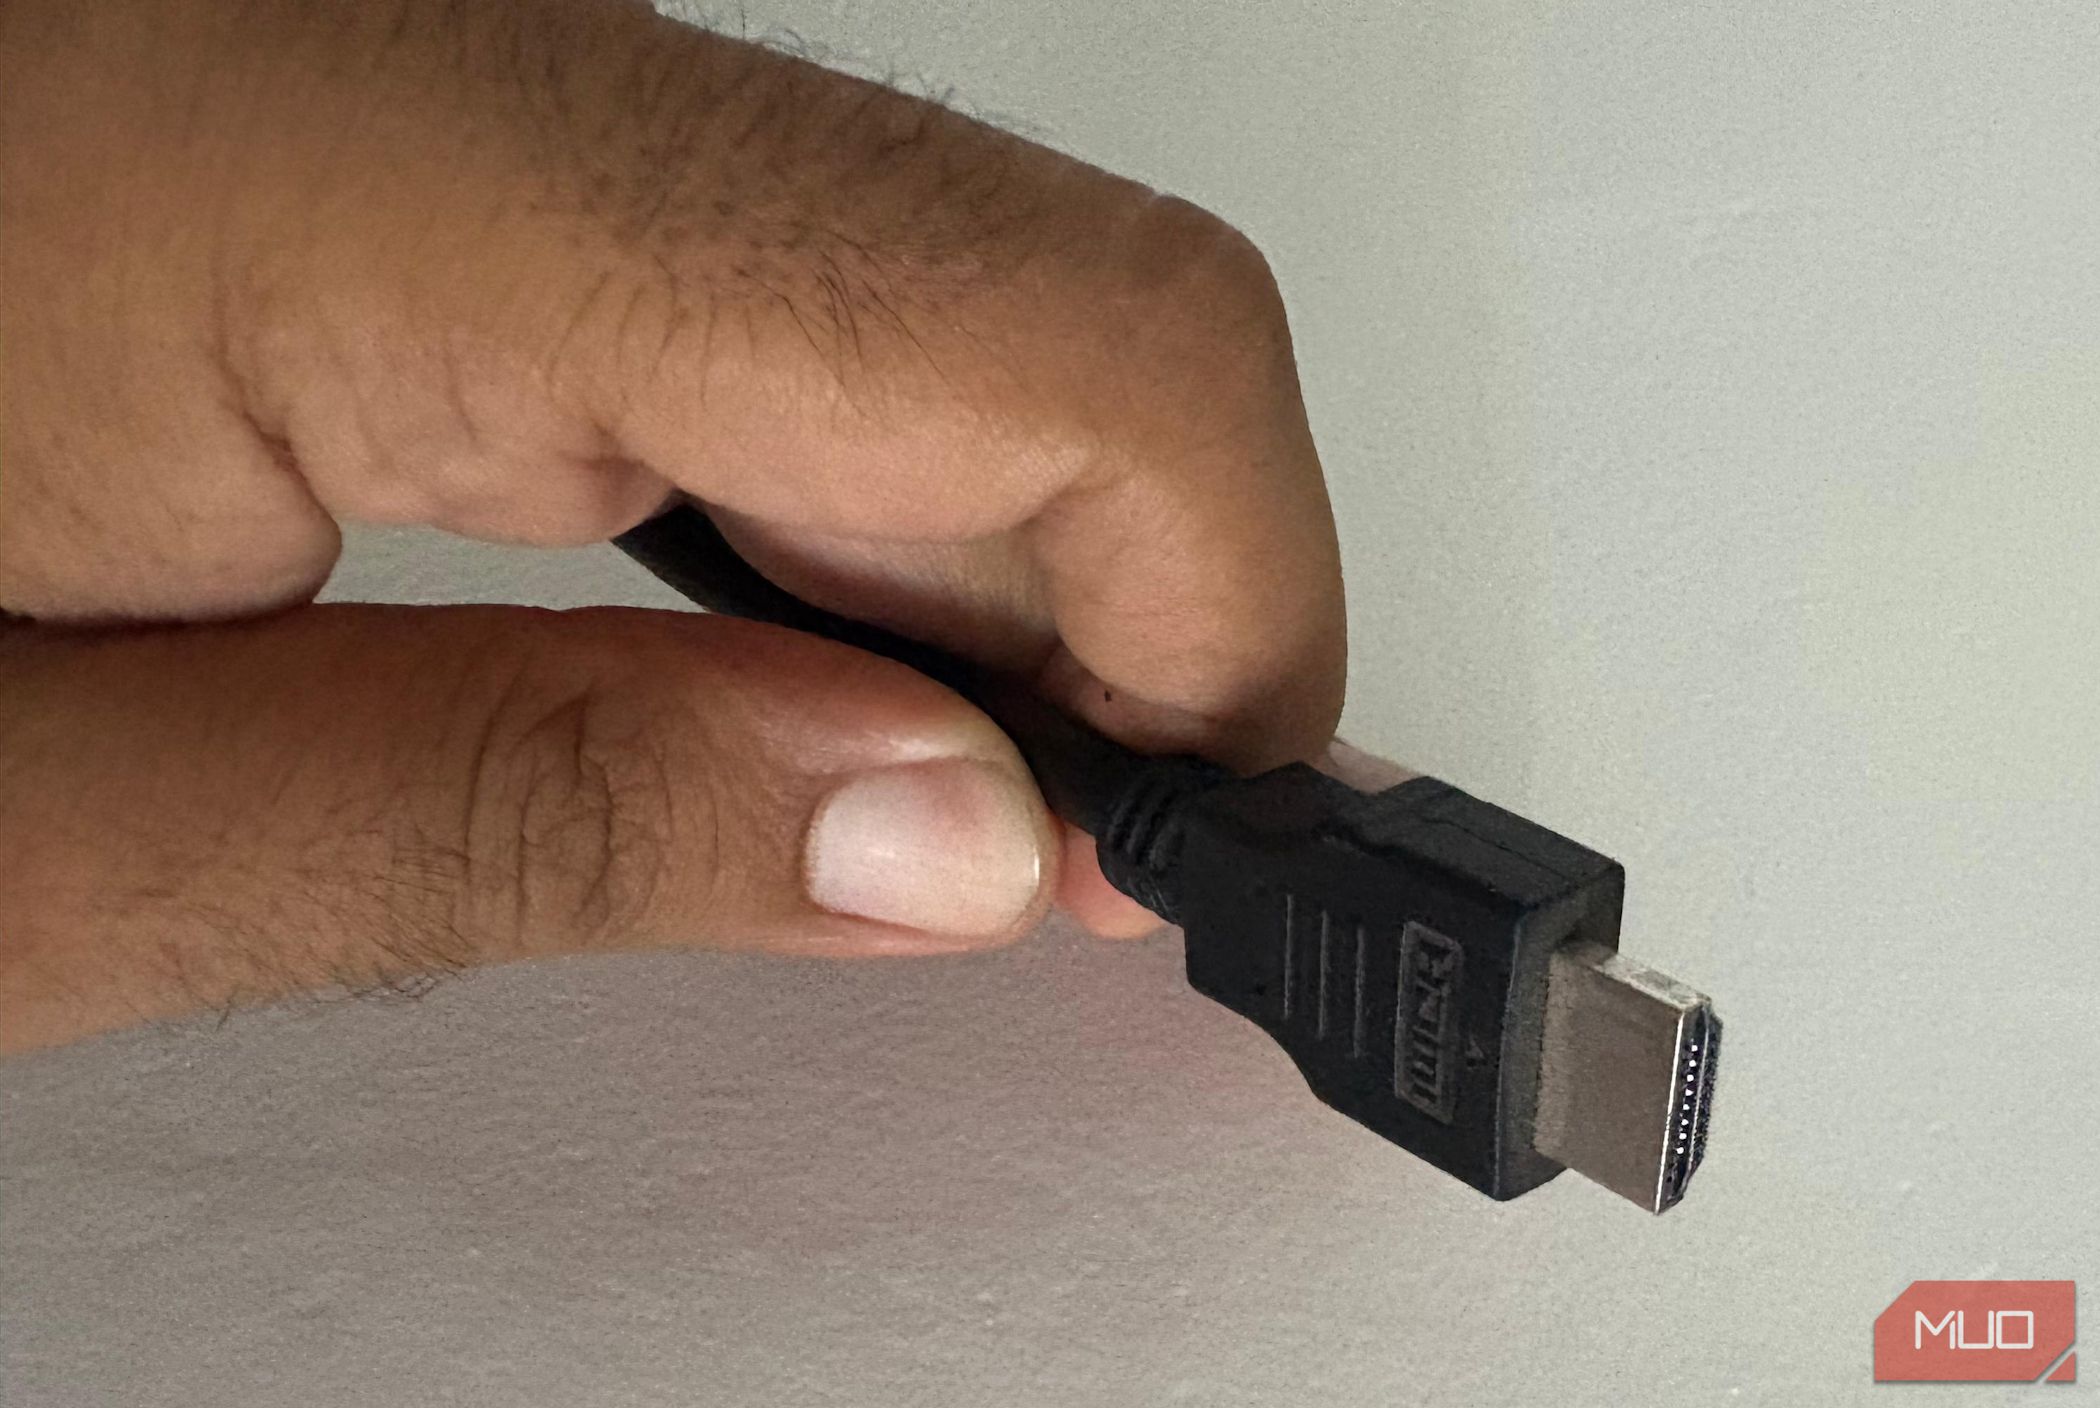
To watch HDR shows in 4K at 60Hz, you’ll need a Premium High-Speed HDMI cable. These are certified to handle at least 18Gbps of bandwidth, which is what HDMI 2.0 requires for smooth HDR playback. They’re ideal for formats like HDR10 and Dolby Vision, ensuring you see the detail, brightness, and color depth these standards promise.
If you’re gaming on a next-generation console and want features like 4K at 120Hz, Variable Refresh Rate, or Auto Low Latency Mode, you’ll need an Ultra High-Speed HDMI cable. These support up to 48Gbps under the HDMI 2.1 standard, making them ready for high-frame-rate gaming while keeping your setup future-proof for upcoming display standards.
To ensure you’re buying a quality cable, look for the official certification labels. Premium High-Speed cables should have a certification sticker of 18Gbps, while Ultra High-Speed cables include an “Ultra Certified Cable” hologram and QR code on the box, confirming they meet the standards for a reliable HDR setup.
Switch to an HDR-Friendly Picture Mode
Even if your TV is set up to work with HDR, the picture mode you select can significantly impact how everything appears. Most TVs default to modes like Standard, which aren’t designed to show HDR at its peak. This can leave the color looking flat and shadows either too dark or completely washed out.
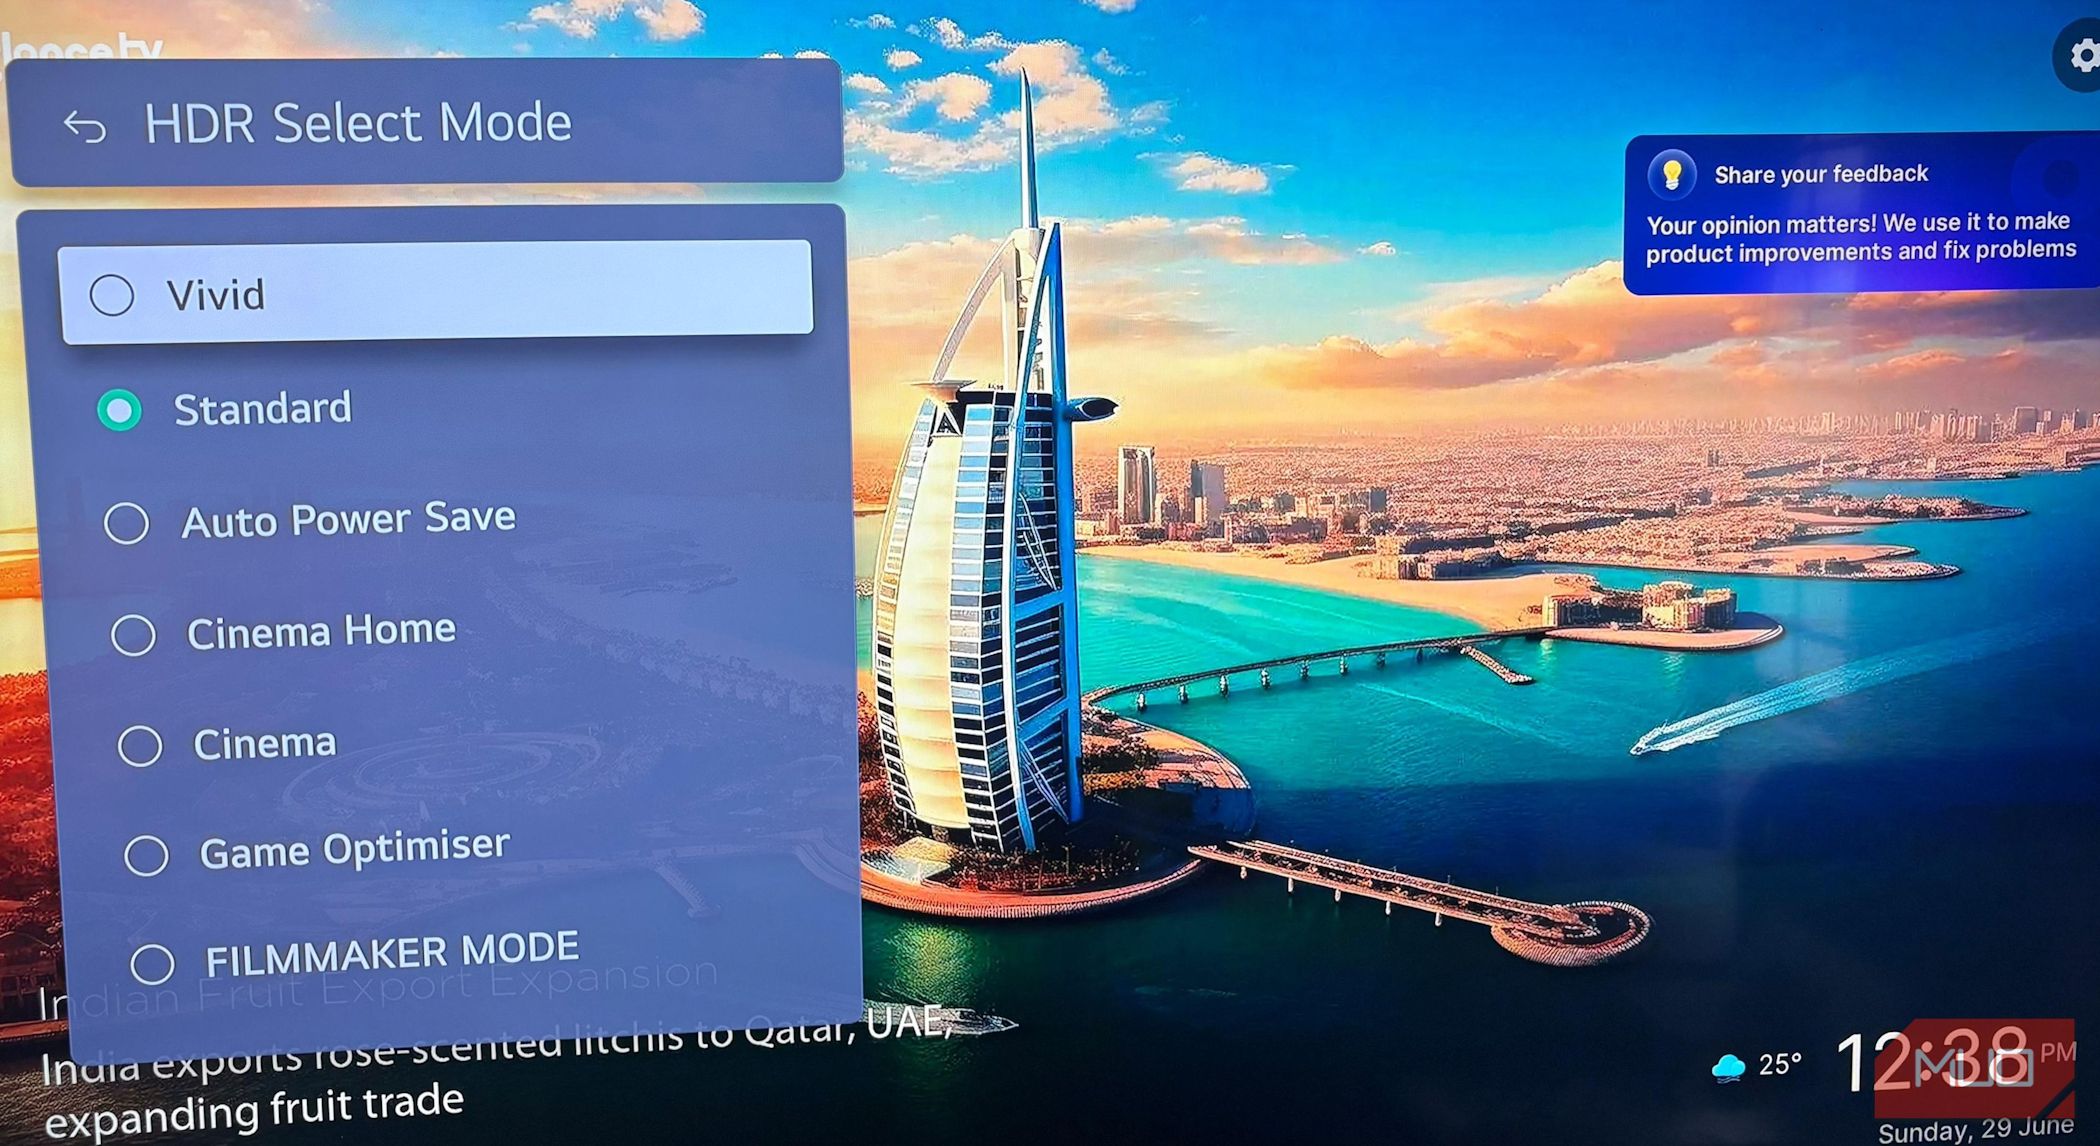
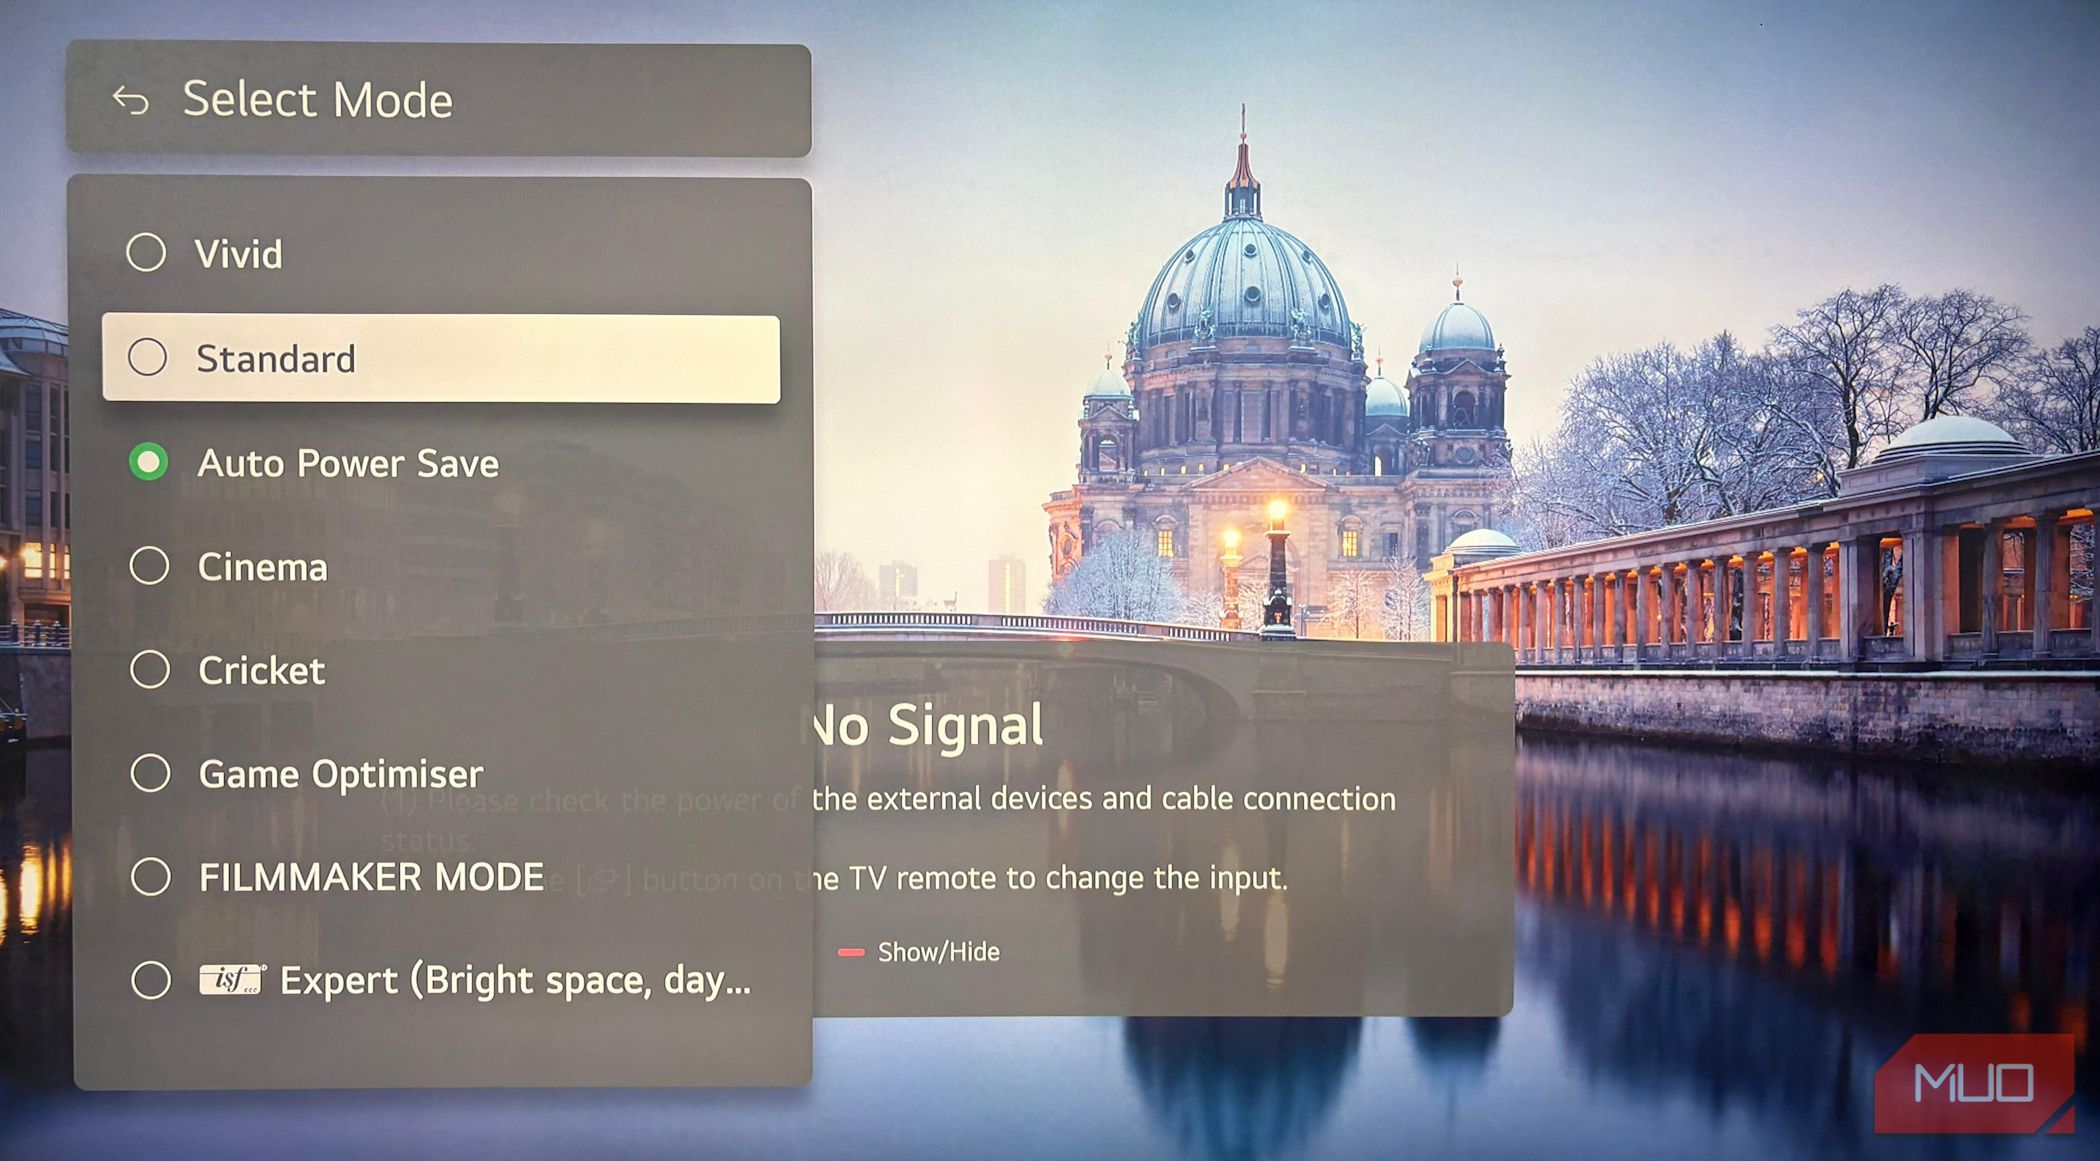
When your TV detects an HDR signal, it usually unlocks specific HDR picture modes like Cinema, Vivid, or FILMMAKER MODE. These modes tweak brightness, contrast, and color settings to suit HDR content, giving you a sharper, more vibrant image. Just remember that not all HDR is equal, so choosing the right picture mode is crucial to get the best possible picture quality.
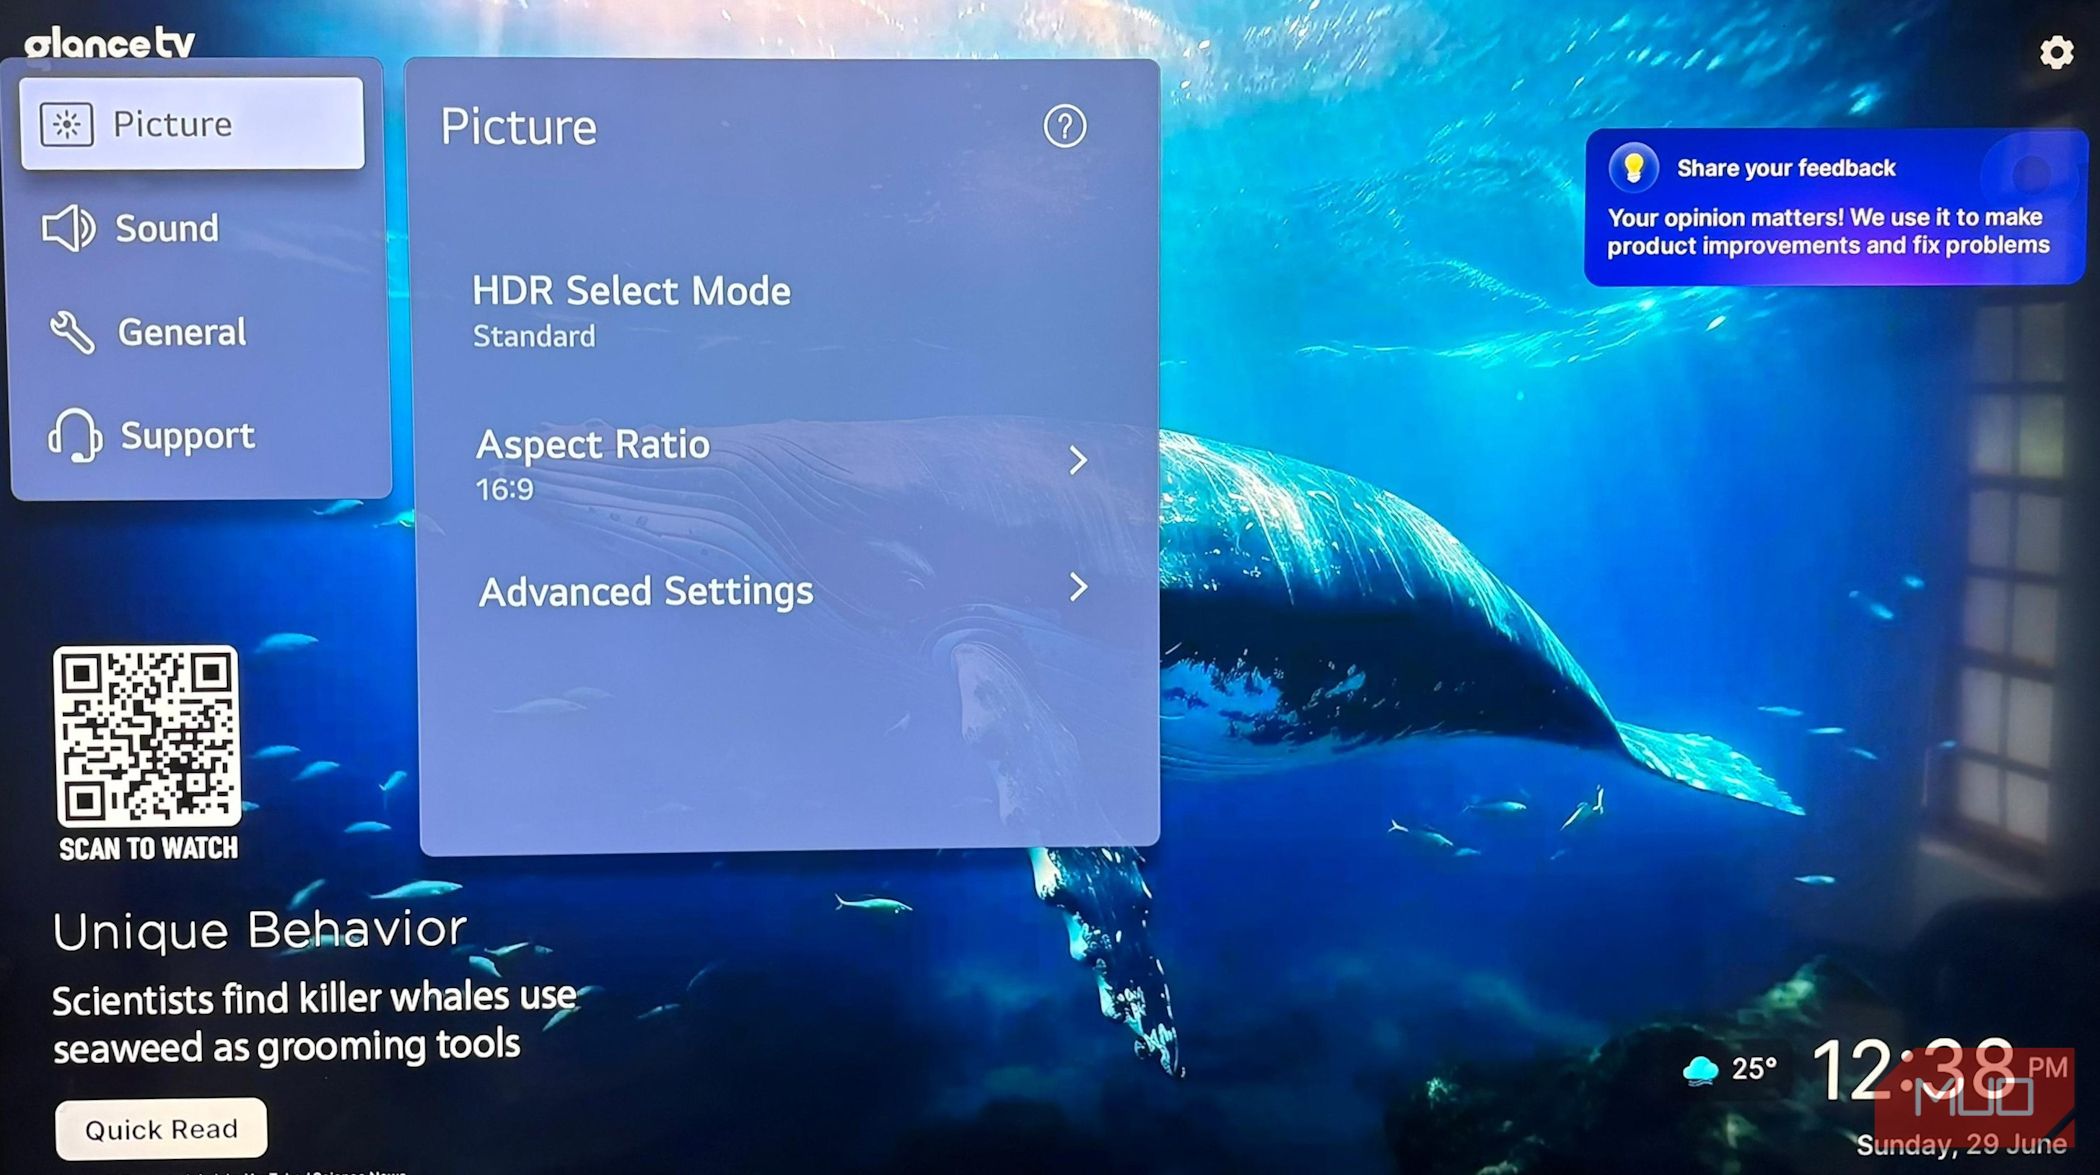
Switching between modes is simple. On most TVs, navigate to Settings > Picture Mode and select your preferred HDR mode from the list. If you’re using an LG TV, you’ll find it under Settings > Picture Mode > HDR Select Mode. The exact step might vary depending on your TV brand, but it’s usually in the main picture settings menu.
Take some time to try out the different modes and see what works best for your content and room lighting.
It’s a quick tweak, but it can take HDR from okay to seriously amazing.
Disable Eco Mode and Motion Lighting
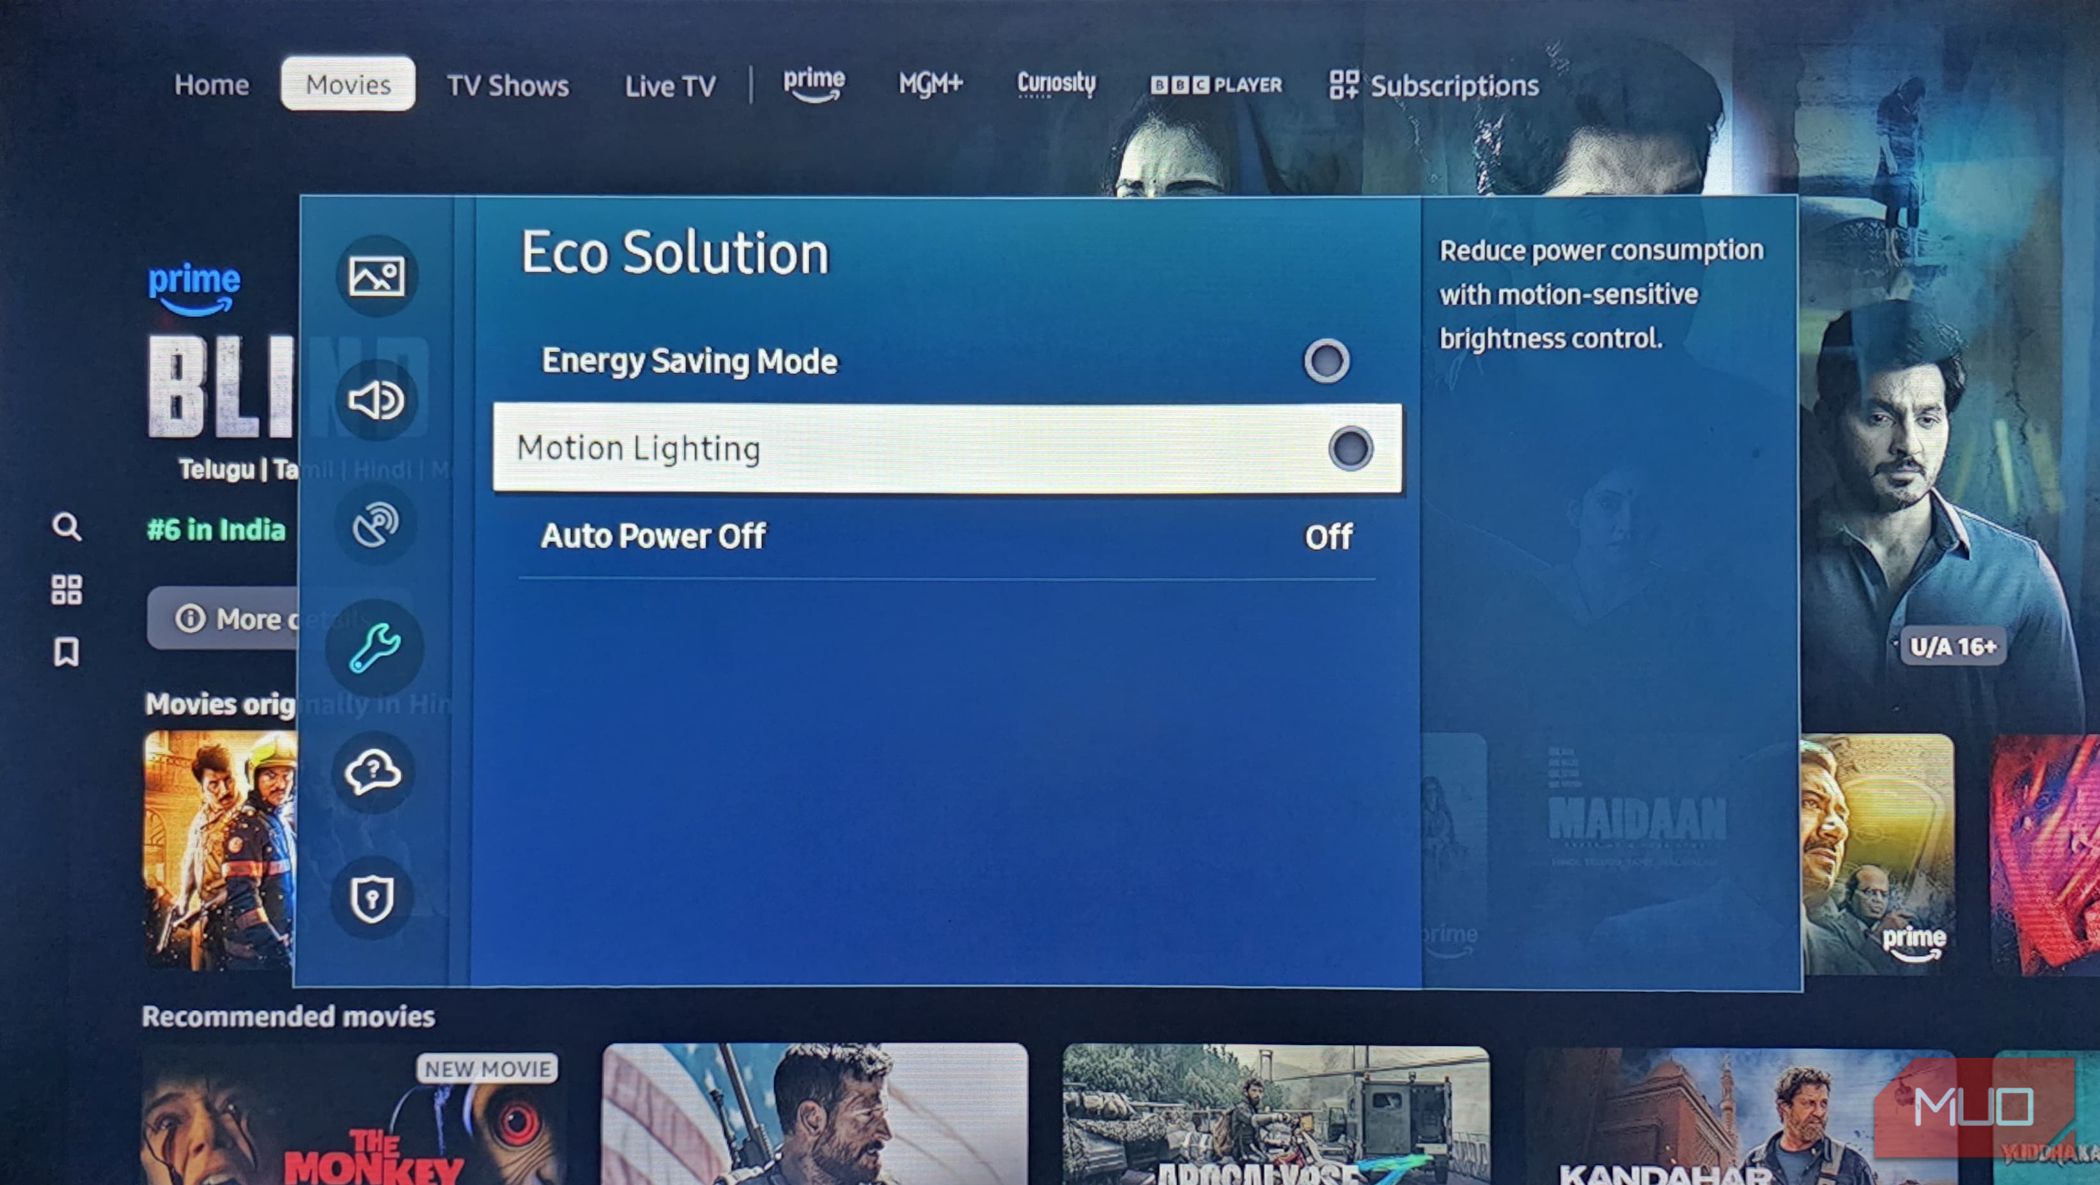
HDR looks its best when your TV is bright, but settings like Eco mode, Motion Lighting, or other power-saving features can compromise it. These settings save energy by dimming the screen or adjusting brightness based on room lighting or movement in the scene. While great for saving power, they can stop HDR from reaching the brightness levels it needs to really pop.
To get the most out of HDR, check your TV settings for Eco Mode or Power Saving, then turn them off when watching HDR content. This allows your TV to display highlights and colors the way they were meant to be seen.
If you’re using Samsung TVs, you’ll find these settings under Settings > General > Eco Solution. Here, check Energy Saving Mode for general power saving, and Motion Lighting, which dims your screen based on scene movement to save energy. Turning both off ensures your TV maintains consistent brightness for HDR content.
On LG TVs, press the Settings button on your remote, then go to Settings (gear icon) > Picture > Select Mode > Auto Power Save to adjust energy-saving options.
On some models, it might be under Settings > Picture > Energy Saving. The exact location depends on the brand and model, but these options are usually under General or Picture settings.
If you’re looking to save energy while maintaining picture quality, try lowering the backlight instead. With that tweak, you can still enjoy vibrant HDR visuals without losing too much power.
Optimize Room Lighting
You can spend hours tweaking your TV settings, but if your room lighting isn’t right, HDR won’t look its best. Bright reflections from windows or overhead lights can wash out the vivid highlights and deep shadows that make HDR so impressive.
For a better viewing experience, dim or turn off your room lights to enhance contrast, allowing bright scenes to truly stand out. If you prefer to keep some lighting on, consider using bias lighting by placing an LED strip behind your TV. It adds a soft glow around the screen, reduces glare, and lowers eye strain without affecting picture quality.
If sunlight is a problem, close the curtains or use blackout blinds to prevent reflections. You can also reposition your TV away from direct light sources to minimize glare during daytime viewing.
With proper lighting, all the settings and calibrations you’ve done will come together to deliver the vivid colors, sharp contrasts, and lifelike images that truly define a great HDR setup.
