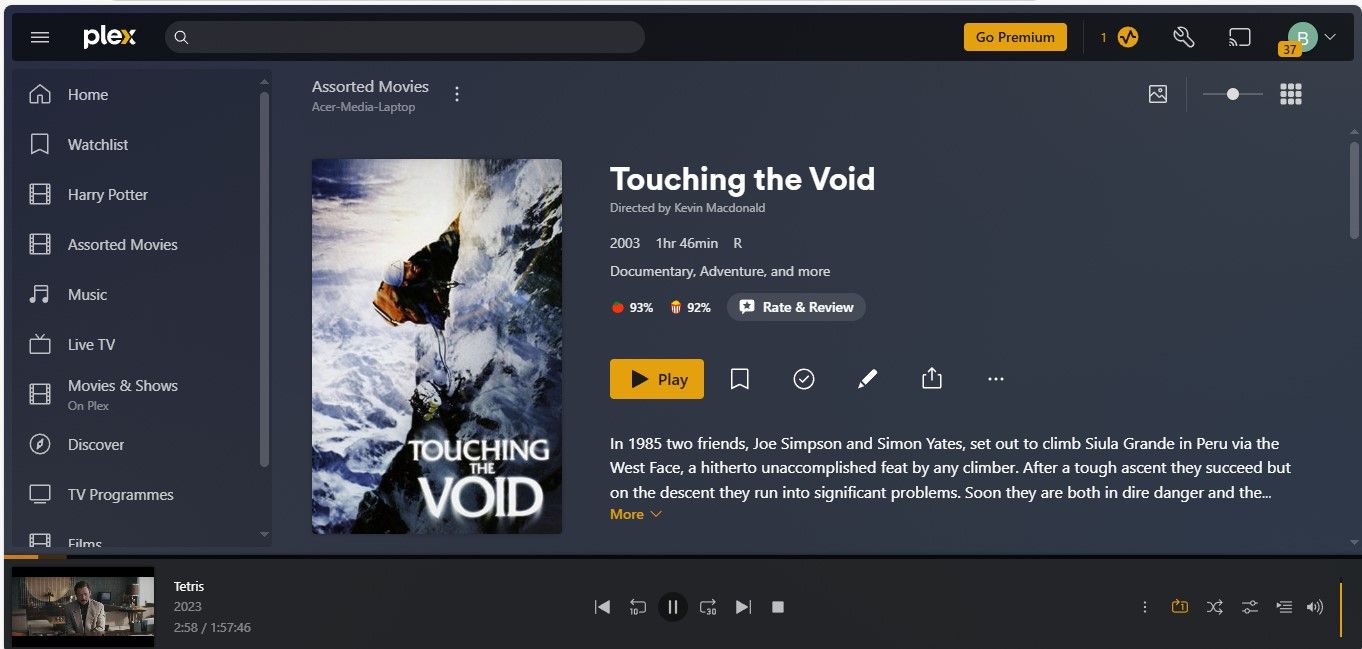
An old laptop needn’t lie in a drawer gathering dust. It can still serve a useful purpose as a Plex Media Server. But does Plex work better on Windows or Linux, and what should you use for your Plex server?
One word of advice before you proceed. If, like me, your media files are scattered all over the place, then it’s a good idea to perform a little housework and prepare them beforehand. This can be done anytime, but it is simpler to do so before beginning the installation wizard. I’ve covered some basics, but a comprehensive guide can be found on the Plex Media support pages.
Plex Media Server is an incredibly versatile service. It can act as a hub for your streaming services, stream movies and shows, and allow you to access your own media from any location. For this project, I decided to keep it simple at first and set it up as a home media server only. The Plex Media Server installation process is almost identical for both operating systems. Plex Media Server doesn’t install an app with a fancy GUI. It uses a browser interface to set up your server, so apart from downloading and installing, the steps are the same.
I downloaded the Windows app from Plex and found the Linux version in the Ubuntu App Center (though it’s also available on Plex’s website alongside other media server installation options). The Ubuntu install was straightforward and took just a few seconds, and the Windows install was equally painless. I accepted the defaults, and it was installed in no time.
From this point on, the setup steps apply to both operating systems. Once the Plex Media Server app is installed, Plex should open in a browser window to allow you to continue the setup process.
If this doesn’t happen automatically, a little intervention is required:
- Windows users must find the Plex Media icon in the Windows System Tray and right-click it. Plex Media Server should now open in your default browser.
- Ubuntu users can find the same process by selecting the Show Apps option on the Ubuntu Dock (Sidebar) and launching the app. This should launch Plex in your chosen browser.
Assuming everything has gone to plan, you should now see the following screen:
Just one thing to note here. I found the wording vague, specifically “Plex Media Server would like to sign in to your Plex account.” At this stage, most new users won’t have an account. It does mention “By signing up or continuing” a little further down, but I’d like this text to be clearer. Anyway, gripe over, I went with a different email for each installation to allow me to set up two servers, and the process only took a few seconds. You’ll need to respond to an activation email to complete the sign-up process.
Once I’d set up my account, the next stage was to set up the media server on both laptops.
Once you’ve set up your account, the next step is to create your server and set up your media libraries. For me, the latter got a bit messy because I hadn’t followed my own advice and tidied up my media files. The result was that my initial libraries quickly became, well, chaotic. To avoid this fate and before you proceed with setting up your server, here’s what I recommend:
- Use clear folder structures: Organize media into separate folders (e.g., Movies, TV Shows, Music, Photos) to make Plex’s scanning process smoother.
- Follow naming conventions: Name files properly (e.g., MovieTitle (Year).ext for movies, ShowTitle/Season 01/ShowTitle S01E01.ext for TV shows). For the record, this was overkill for me, but Plex recommends it.
- Remove duplicates & unwanted files: Clean out duplicate or unnecessary files to avoid clutter and speed up Plex’s library indexing.
If this sounds too much, don’t worry; you can change, add, or delete libraries at any point, which was just as well in my case. Regardless of the organizational status of your media files, the Plex setup wizard walks you through the process of setting up your server and Plex Media libraries. There are also plenty of apps that can help keep your Plex Libraries organized.
The first step is to name your server. This can be whatever you like, but it’s best to give it a memorable name. I used different names for my Windows and Linux servers to help me differentiate them. But if you’re just setting up one, you can choose a nice, memorable name.
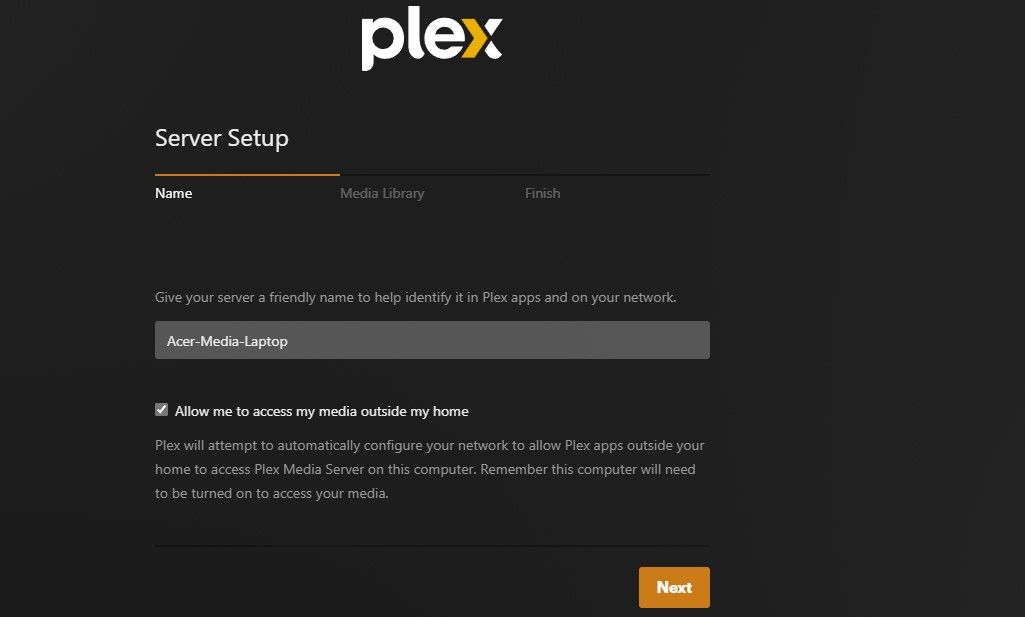
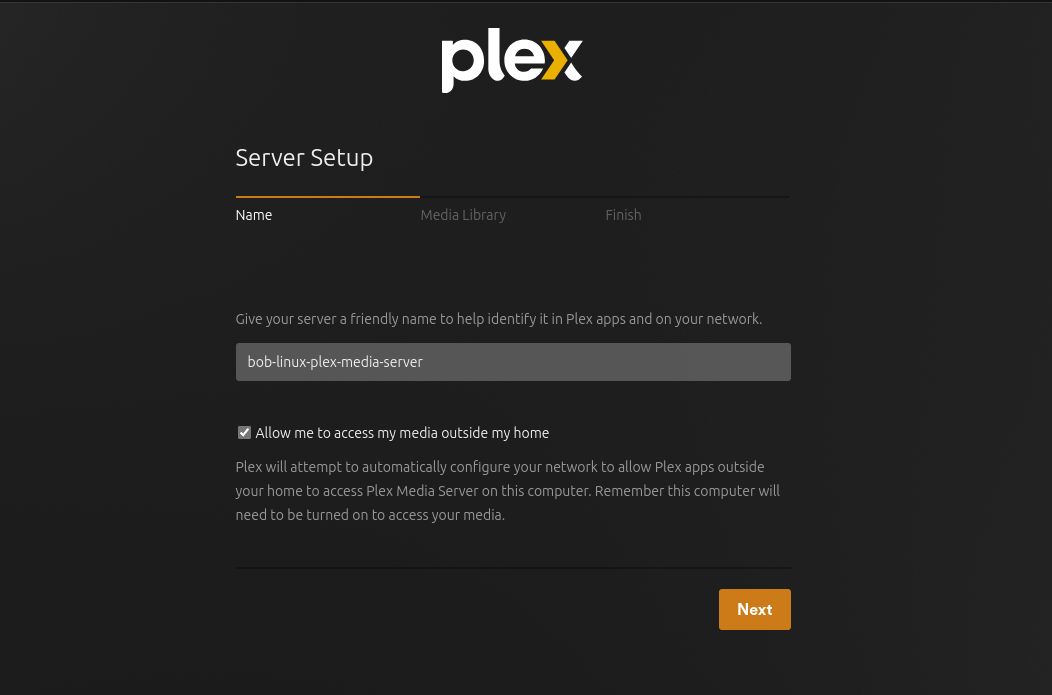
By choosing a descriptive name for each server, there could be no mistaking which was which. This is probably more important when you are running multiple servers, but it is always good practice.
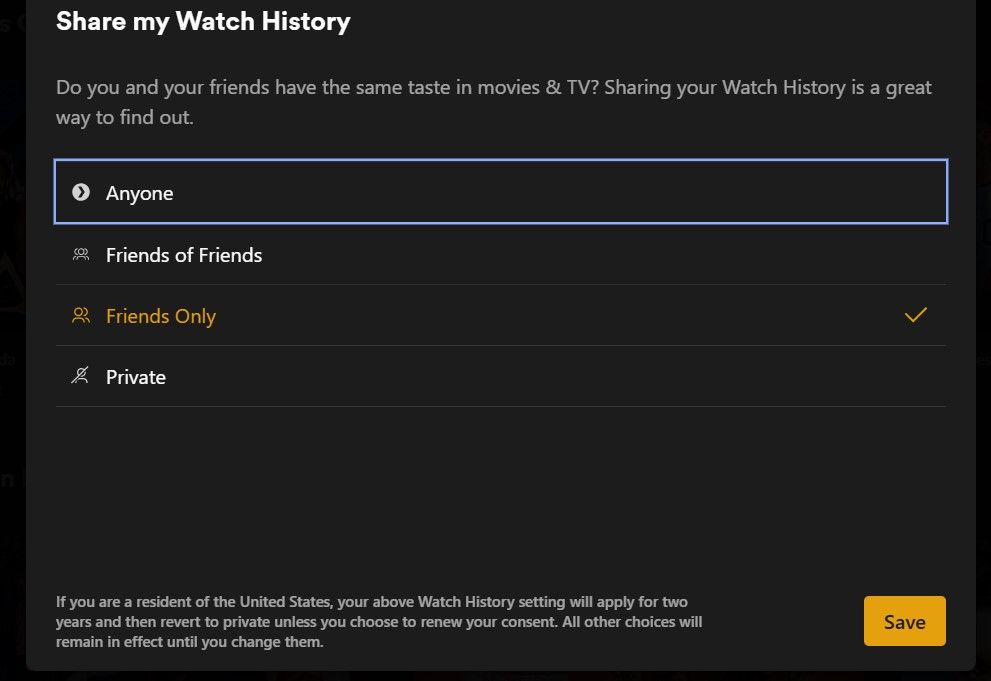
Finally, before I moved on to setting up the libraries, I chose my watch-history sharing preferences.
The choice here is a matter of preference. However, if you’ve any doubts or concerns and want to make sure your Plex server is secure, then the go-to choice is private. This can be changed from within the settings at any time. I was also prompted to take ownership of the server. Basically, this is just another activation process and is required.
Now, I could begin to get my media libraries set up. The Plex library setup procedure should start automatically with the Plex Media setup wizard. However, if it doesn’t work or you want to make changes later—as I did—follow these steps:
- Click the account icon situated on the top right of the page and select Account Settings.
- On the left-hand side of the page, scroll through the settings until you see Manage.
- Click on Libraries.
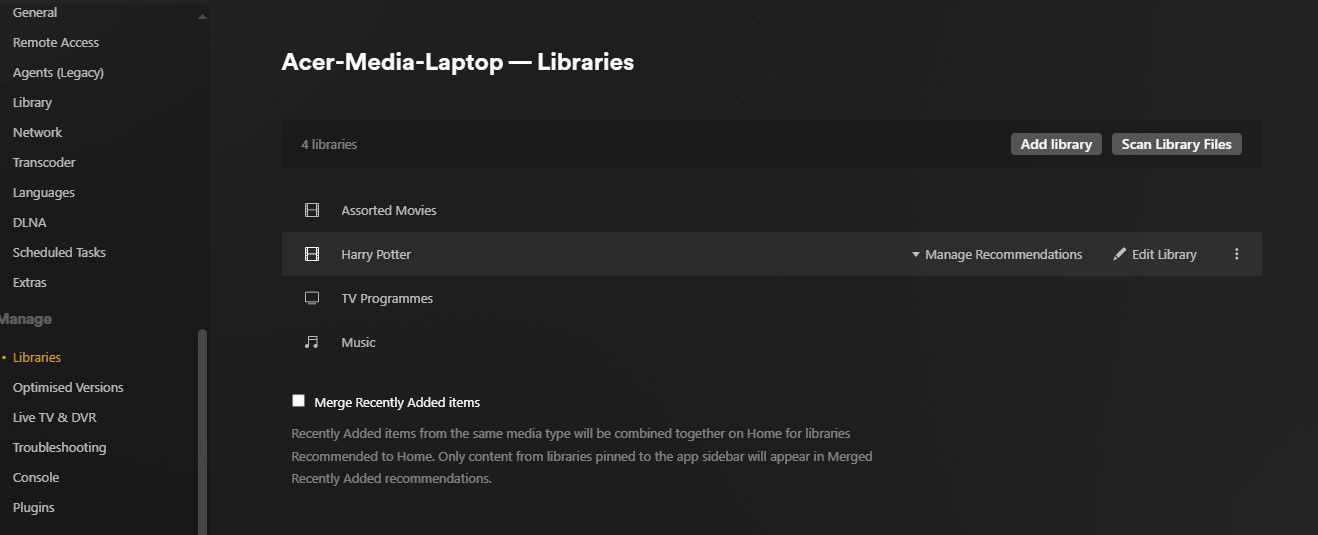
- Choose Add Library to add a new one or hover over an existing one and select Edit Library to change an existing one.
The image below shows the Manage Library screen on my Windows server.
Whether you use the wizard or the Add Library route, the next screens are identical on Linux and Windows. This is where you can begin to set up your libraries. In my case, I decided not to add too much at this point to avoid getting bogged down in details. Even then, I still hadn’t thought it through properly and had to change settings later in the project.
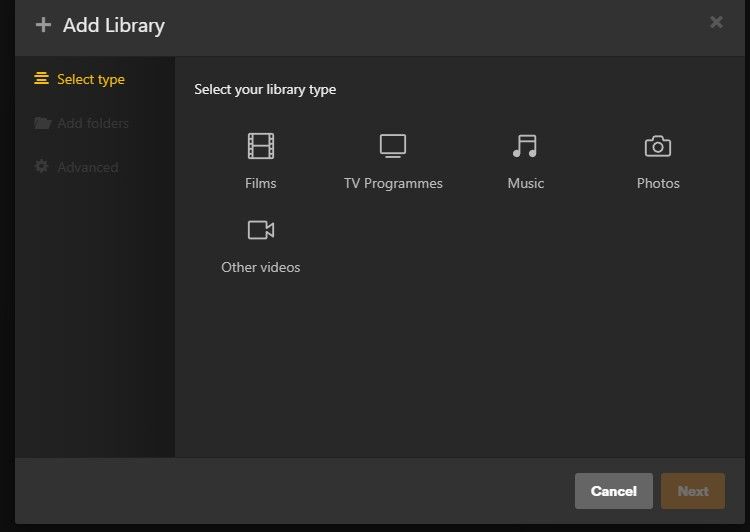
The first screen gave me the option to select the library type. The choices are self-explanatory and include all the usual suspects (movies, TV programs, etc.).
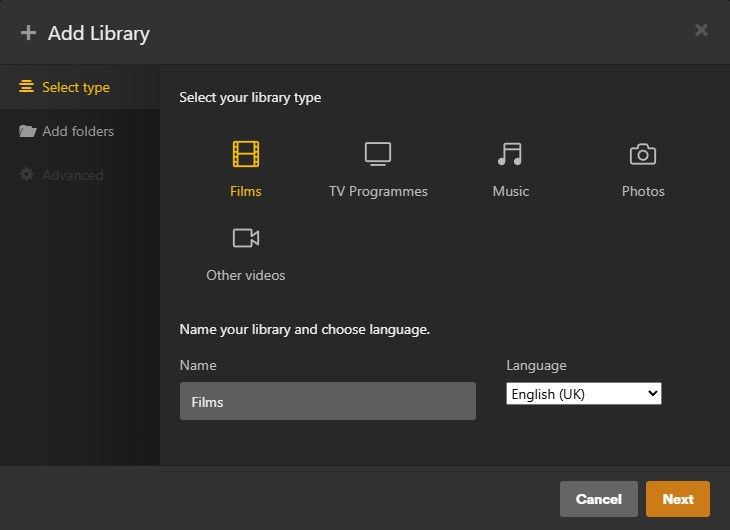
Once I’d selected my library type, the next screen allowed me to name it.
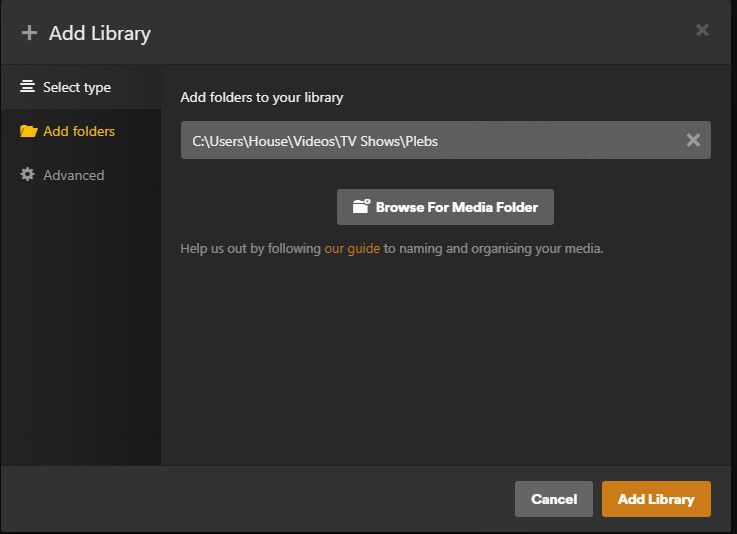
All I then had to do was select the Add folders option, point it toward the desired folder, and click Add Library. This can be repeated as required.
And that was all there was to it. Now, it was time to put it to the test and see if there were any discernible differences between Plex Media Server on Windows and Linux.
Installing Plex Media Server was incredibly painless in both instances. I was expecting to declare a winner by this stage. However, because most of the setup was browser-based, there was very little to choose between. Performance-wise, my machines are similar. Both have a processor that just limped over the Plex Media minimum spec of an Intel i3 or equivalent. Both computers have RAM well over the 4GB minimum, and both have relatively beefy hard drives.
As the next stage of the project involved making sure I could access my media from other devices, I decided to use the opportunity to see if there were differences in the streaming quality.
To keep the playing field level, I tested the same media file on three devices: an Android phone, a Sony PS4, and another laptop. The Plex apps for the Android device and PS4 were downloaded from their respective app stores. For the laptop, I used the same software as I used to set up the server. In each case, the installation was simple, and once I entered my login credentials, I could access both servers.
Again, there was very little to choose between the two systems. The Ubuntu server seemed to get a bit jittery for a few seconds if two or more people accessed it simultaneously, but it always settled down pretty quickly. Apart from that, both servers delivered. Both were easy to set up, ran fine on older hardware, and made accessing my media files easier.
Cost-wise, there are some limitations to what the free version of Plex can do. Accessing locally stored media is completely free from devices like a PS4, Fire TV Stick, or other devices that can run the app (both of which I tested).
However, at the time of writing, Plex’s one-minute playback restriction on mobile devices like smartphones, even on a local network, is still in place. To remove this restriction, you have to pay a one-time device unlock fee of $4.99. However, Plex will remove its mobile unlock fee on April 29, 2025 (at the same time as increasing the price of its lifetime Plex Pass). So, if you can hang on and don’t need to immediately begin watching Plex on your smartphone, hold on to avoid the costs.
Linux vs. Windows: What’s Best For Your Plex Server?
Ultimately, in the battle of the Plex Media Servers, there could be only one. In this case, I will continue with the Windows server. There was nothing wrong with the Linux server; it was purely a decision based on other household members’ unwillingness to learn the intricacies of a Linux machine.


