Your smart TV probably came with picture settings that look great while watching sports or the news, but feel sluggish when you’re trying to land that perfect headshot or execute a frame-perfect combo. The good news is that your smart TV just needs a few quick tweaks to be the perfect gaming companion.
6
Turn on Game Mode
If there’s one tweak that’ll instantly improve your gaming experience, it’s this one. When you press a button on your controller, your TV normally runs that image through multiple processing steps such as noise reduction, color enhancement, motion smoothing, and edge sharpening. Each of these steps adds precious milliseconds.
That’s where Game Mode (also known as Auto Low Latency Mode) comes in. It strips away all that extra processing fluff, giving you a much faster response time between your input and what you see. For competitive or pro-level players, the goal is to keep input lag under 20 milliseconds. But if you’re just kicking back for some casual gaming, anything under 40 ms is totally respectable.
You can turn on Game Mode in your TV’s General, Picture, or Display settings, though on some models, it may be located under the Advanced or Expert menus.
5
Disable Motion Smoothing
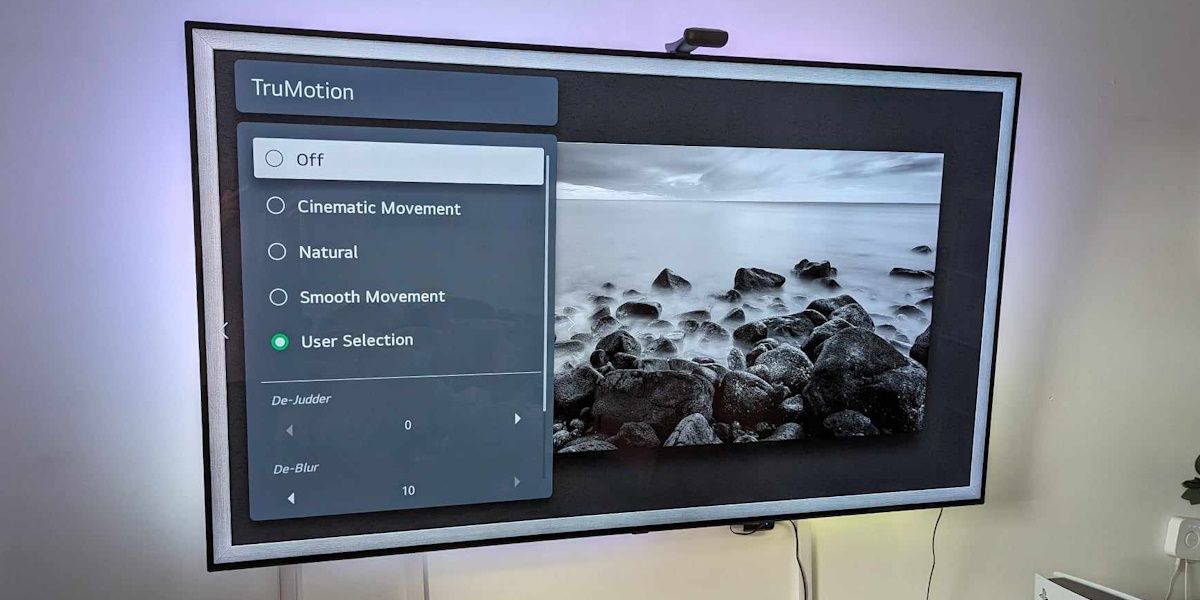
Motion smoothing goes by different names depending on the TV brand: Auto Motion Plus (Samsung), MotionFlow (Sony), TruMotion (LG), Clear Action (Vizio), or Action Smoothing (Roku TV, and TLC). Whatever your TV calls it, this feature creates what’s known as the “soap opera effect” by artificially increasing the frame rate of content, making motion look unnaturally smooth and almost plastic-like.
For gaming, motion smoothing is particularly problematic because it introduces additional input lag while trying to predict and interpolate frames that don’t exist yet. Your TV is essentially trying to guess what the next frame should look like, which creates a disconnect between your controller inputs and the visual feedback.
To turn off motion smoothing on your smart TV, dig into its picture or advanced settings menu to find and turn off the feature.
4
Adjust Your TV’s Picture Settings for Gaming
Even with Game Mode enabled, your TV’s picture settings might not be optimized for gaming. The goal isn’t necessarily to make games look prettier, but to make them more playable and reduce eye strain during long sessions.
Related
You’ve Set Up Your Smart TV All Wrong—Fix These 5 Settings
Your smart TV ships with weird default settings, but you can make it actually smart.
Start with your TV’s contrast and brightness settings. Set the contrast high enough to distinguish between different shades of white, but not so high that bright areas lose detail. For brightness, adjust until you can just barely make out details in the darkest areas of a game’s shadows. This balance helps you spot enemies hiding in dark corners without washing out the overall image.
Color temperature matters here, too. Most TVs default to Cool or Vivid modes, which push blues and make everything appear artificially bright. Switch to Warm or Movie mode for more accurate colors that won’t fatigue your eyes during extended gaming sessions. Games are generally mastered on displays calibrated to this warmer temperature.
Sharpness is another setting that sounds good to max out, but often makes games look worse. High sharpness settings can create artificial edge enhancement, making textures appear harsh and potentially making it harder to track moving objects. Start with sharpness at zero and only increase it slightly if the image looks too soft.
3
Enable HDR (But Only If Your Game Supports It)
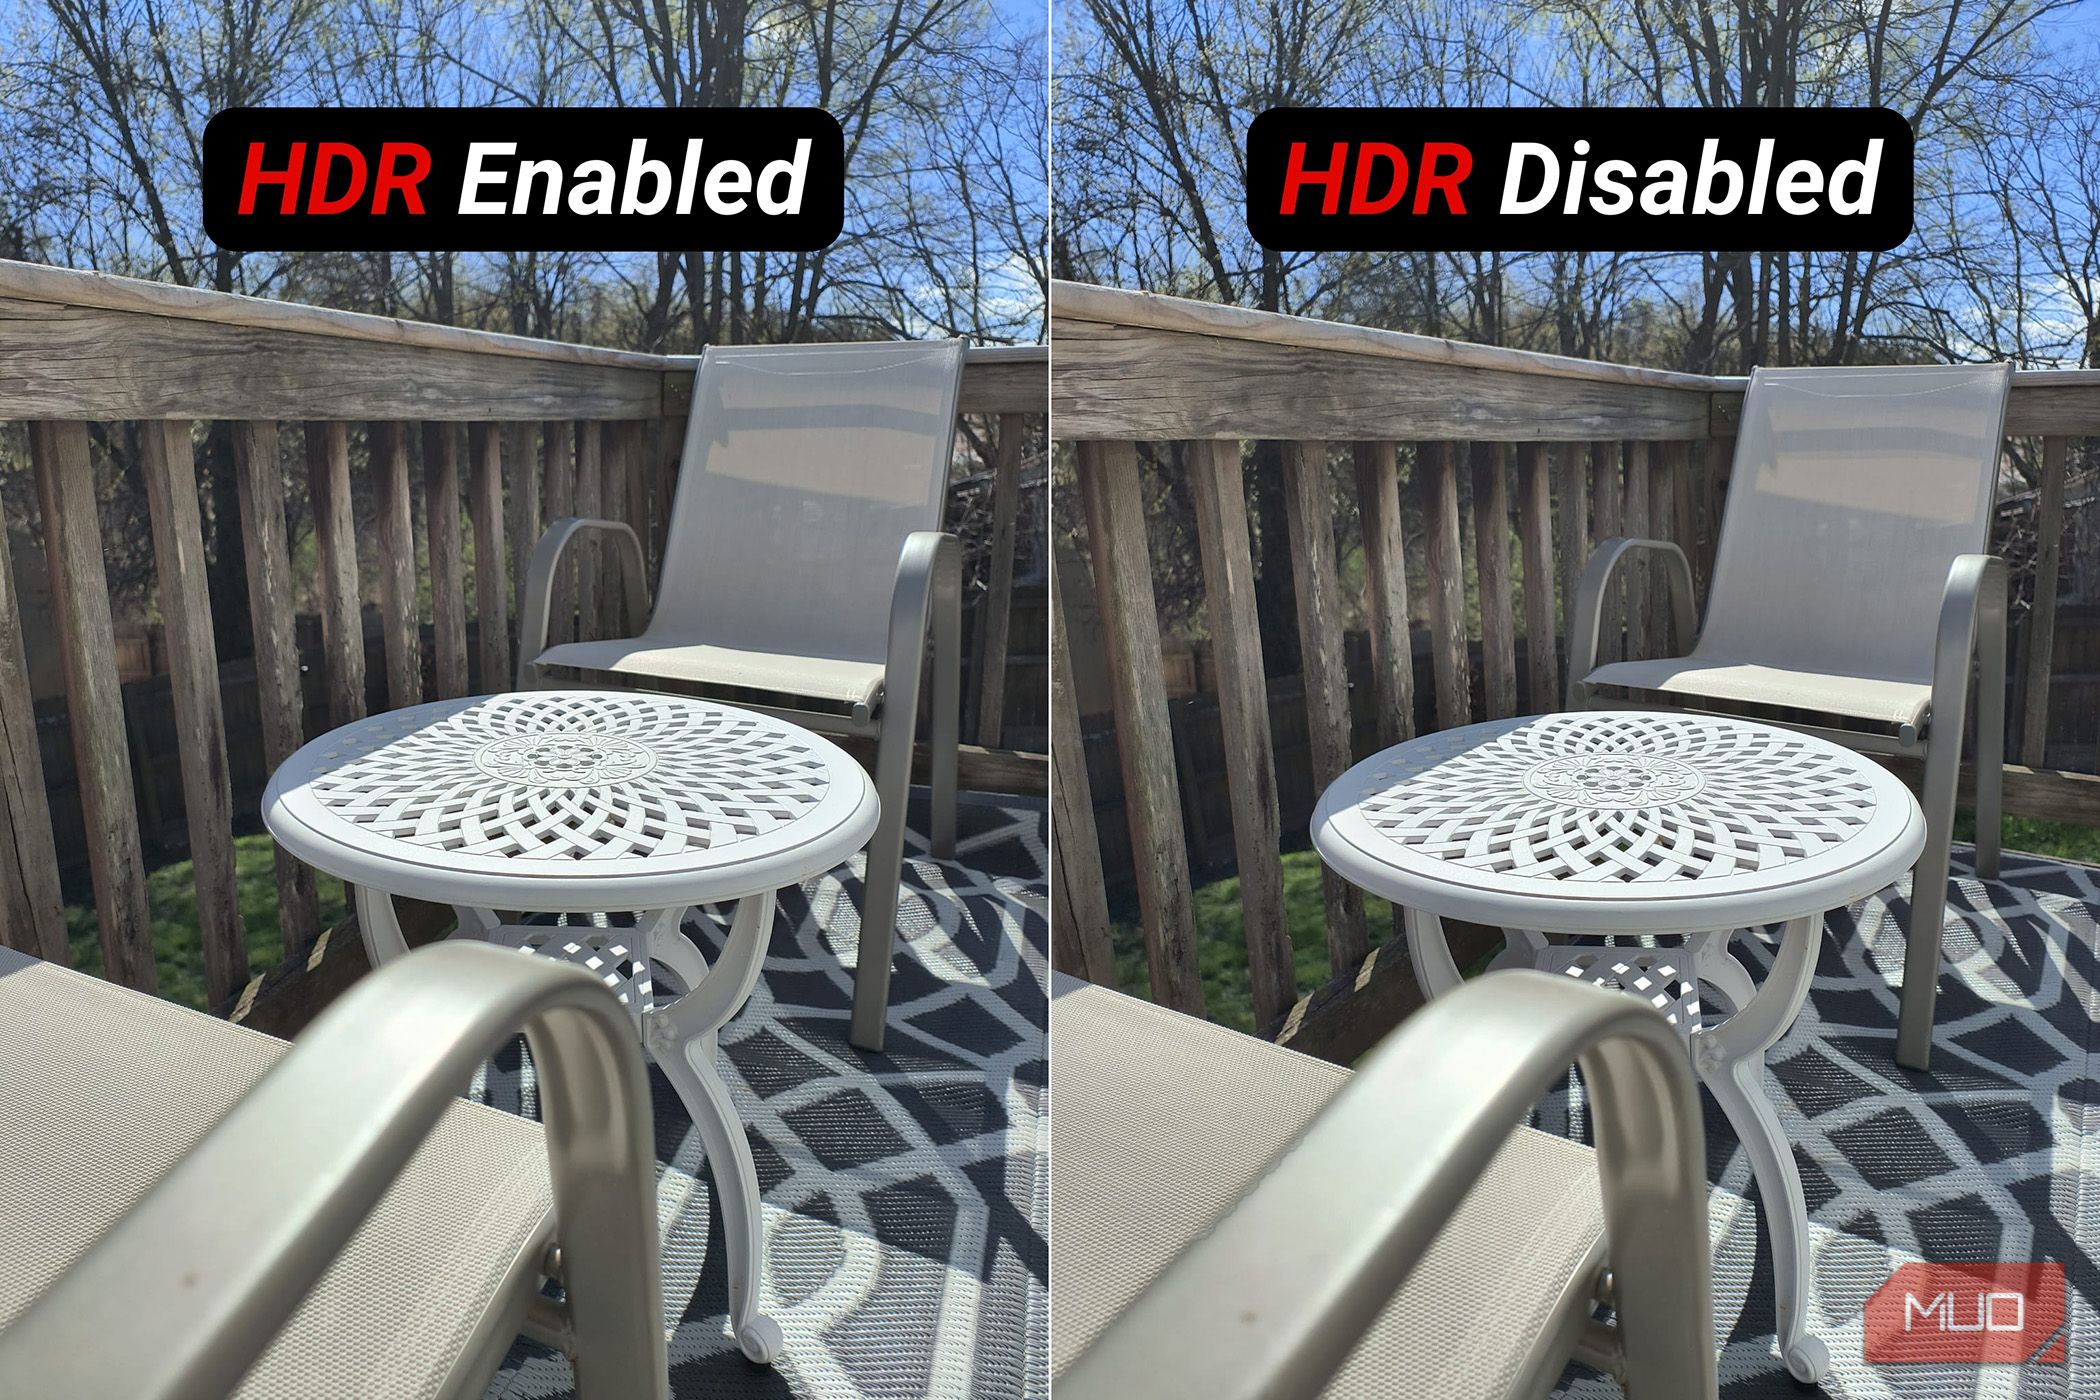
HDR (High Dynamic Range) can make supported games look absolutely stunning, with brighter highlights and deeper shadows that make the image pop off the screen. But the caveat here is that HDR only works when both your game and your TV support it, and enabling it incorrectly can actually make games look worse.
Most modern consoles—like the PS4, PS5, Xbox Series X/S—and gaming PCs can pump out an HDR signal, but you’ll want to double-check your settings. On a PlayStation 5, for instance, head to Settings > Screen and Video > Video Output, and set HDR to either On When Supported or Always On. For Xbox, go to Settings > General > TV & display options > Video modes, and tick the box for Allow HDR10.
Then flip over to your TV’s settings. The menus will differ depending on the brand (and how much the manufacturer loves to bury important stuff), but you’ll usually find the HDR toggle under the general, picture, or display settings.
2
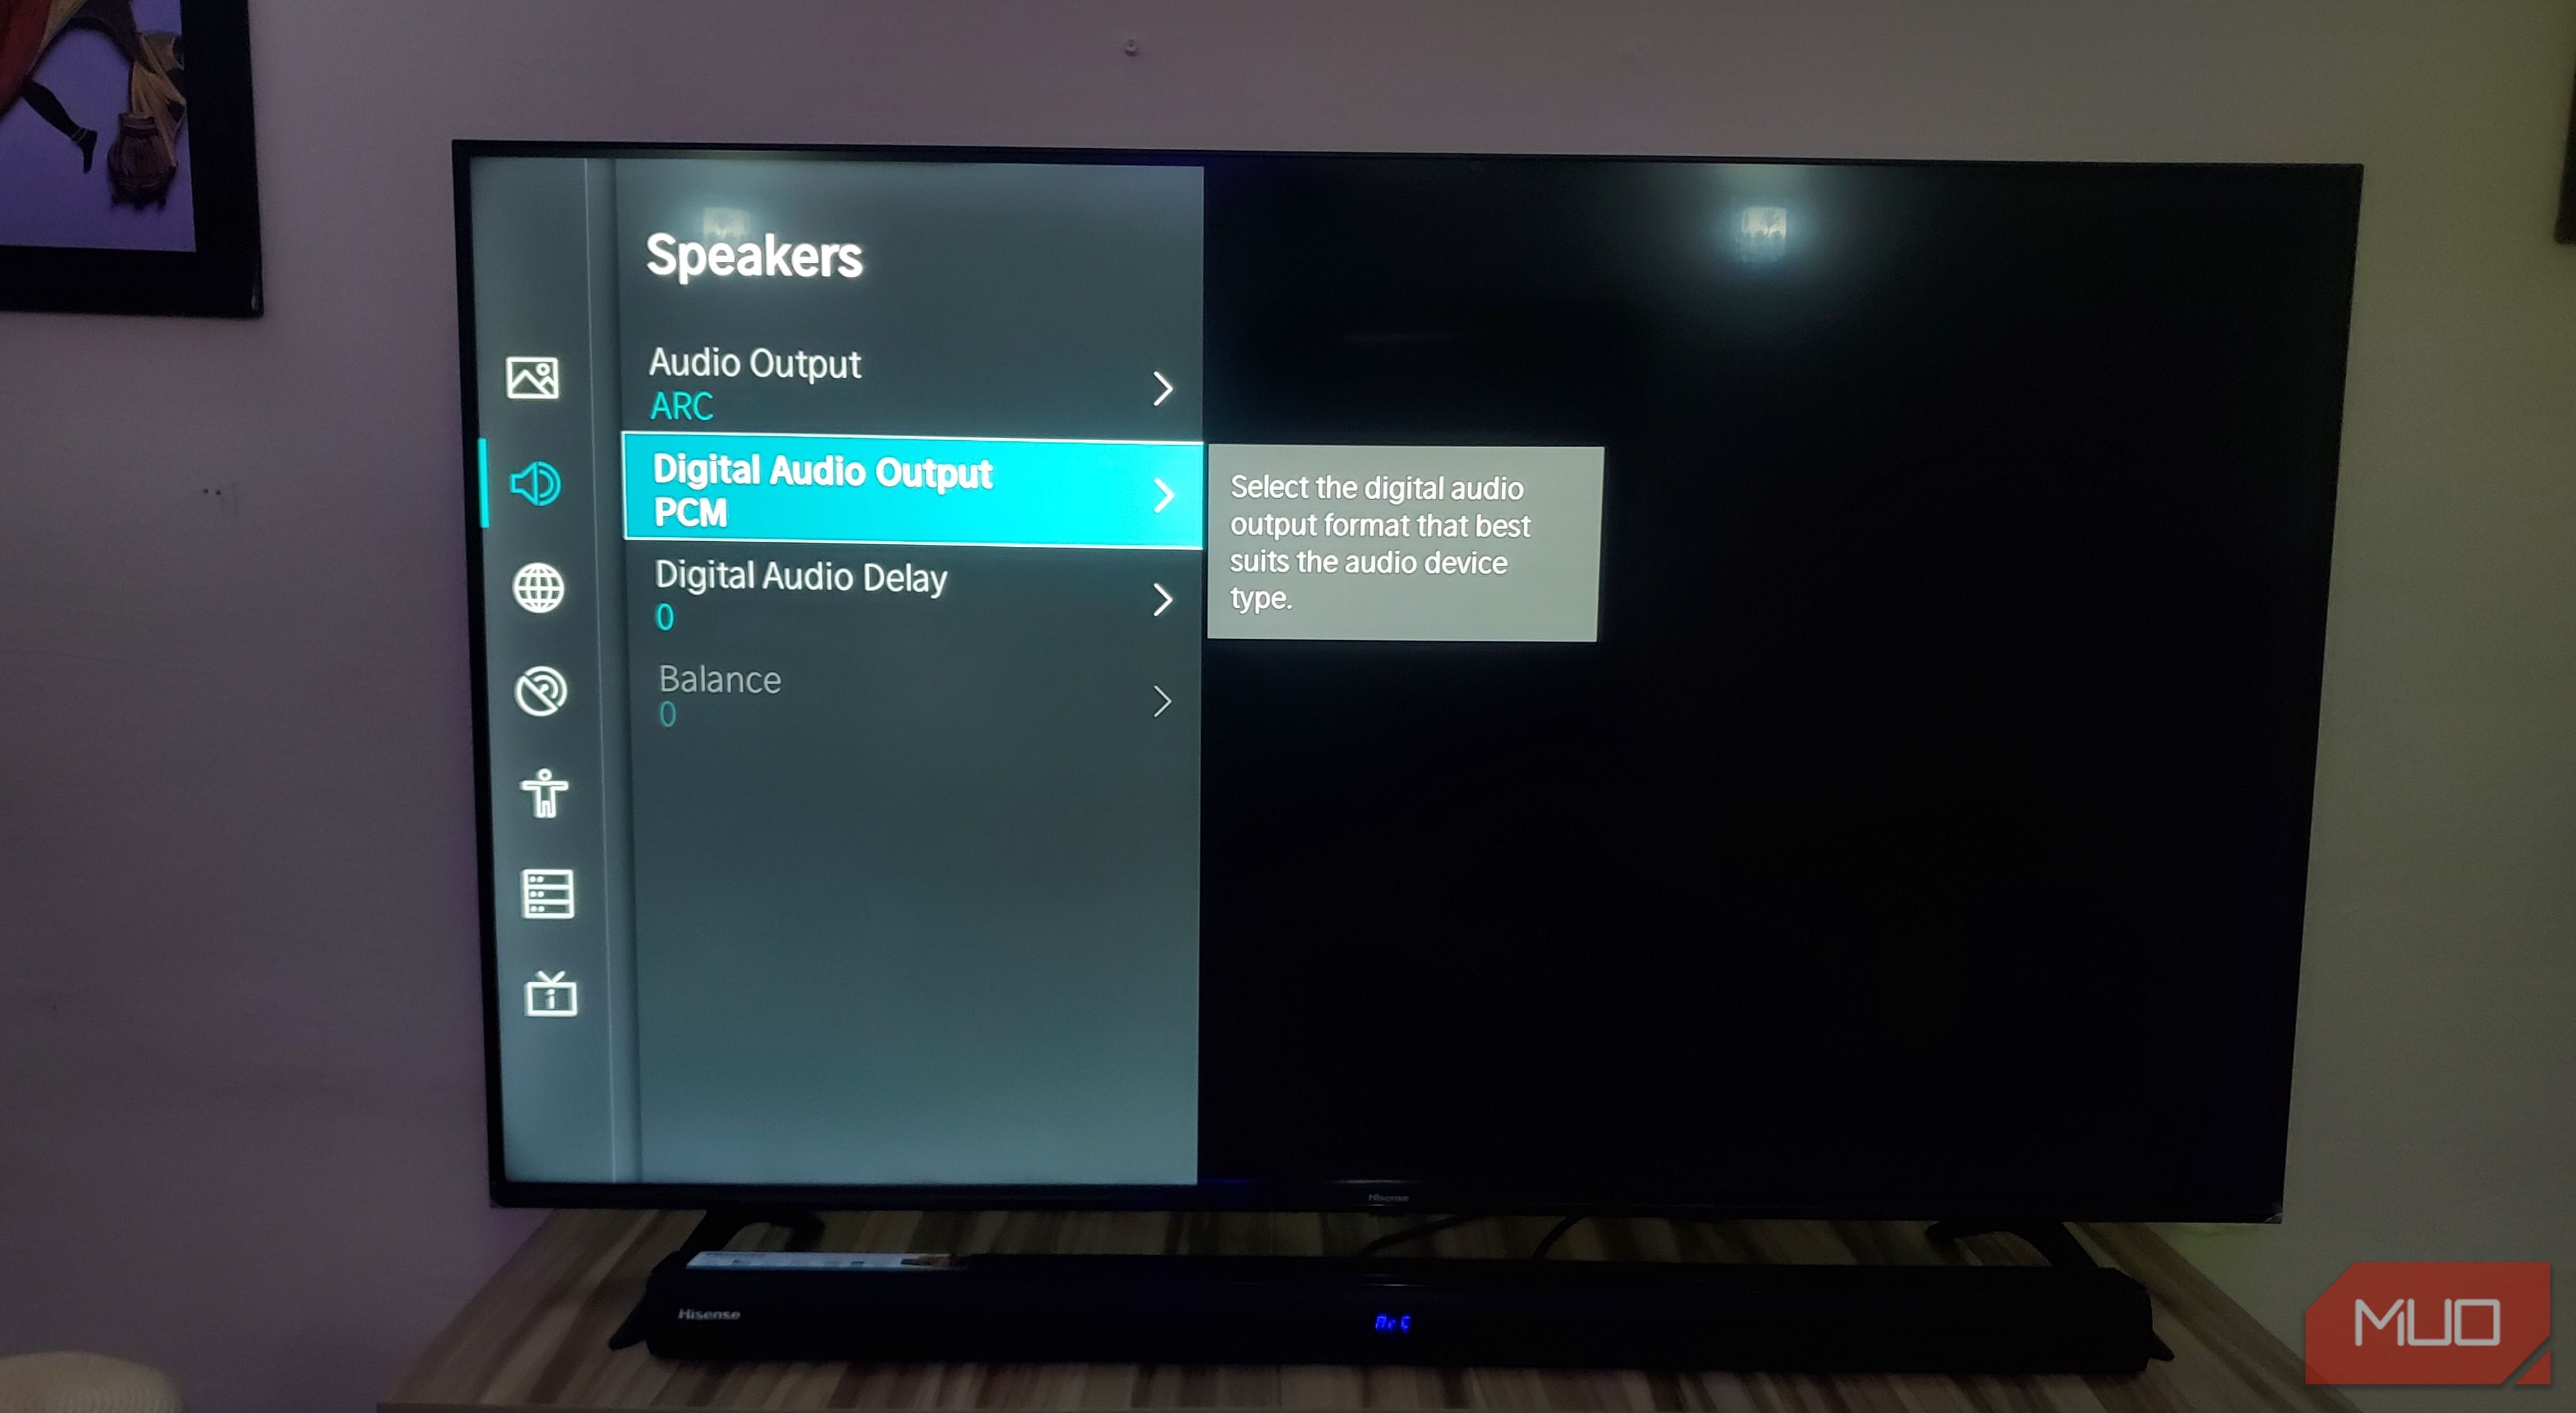
Check and Adjust Audio Delay
Audio lag might not seem like a big deal at first—after all, it’s the visuals we focus on, right? But in gaming, sound is as important (if not more) than the picture. When the audio’s even a little out of sync with what’s happening on screen, it can totally mess with your timing. Rhythm games feel off, cutscenes lose their impact, and the whole experience starts to feel just wrong in a way you can’t quite put your finger on.
This issue is particularly common when using external sound systems, soundbars, or when your TV is processing audio through multiple stages. The sound has to travel from your console to your TV, then potentially to another device, with each step adding small delays that can accumulate.
Related
Try These 5 Smart TV Audio Tweaks Before Buying a New Soundbar
Your TV speakers might not be hopeless—they’re just misunderstood.
Most modern TVs have audio delay or “lip sync” adjustments buried in their audio settings menus. Start by testing with a game that has clear audio cues tied to visual events—fighting games are perfect for this since the sound effects are precisely timed to hits and impacts.
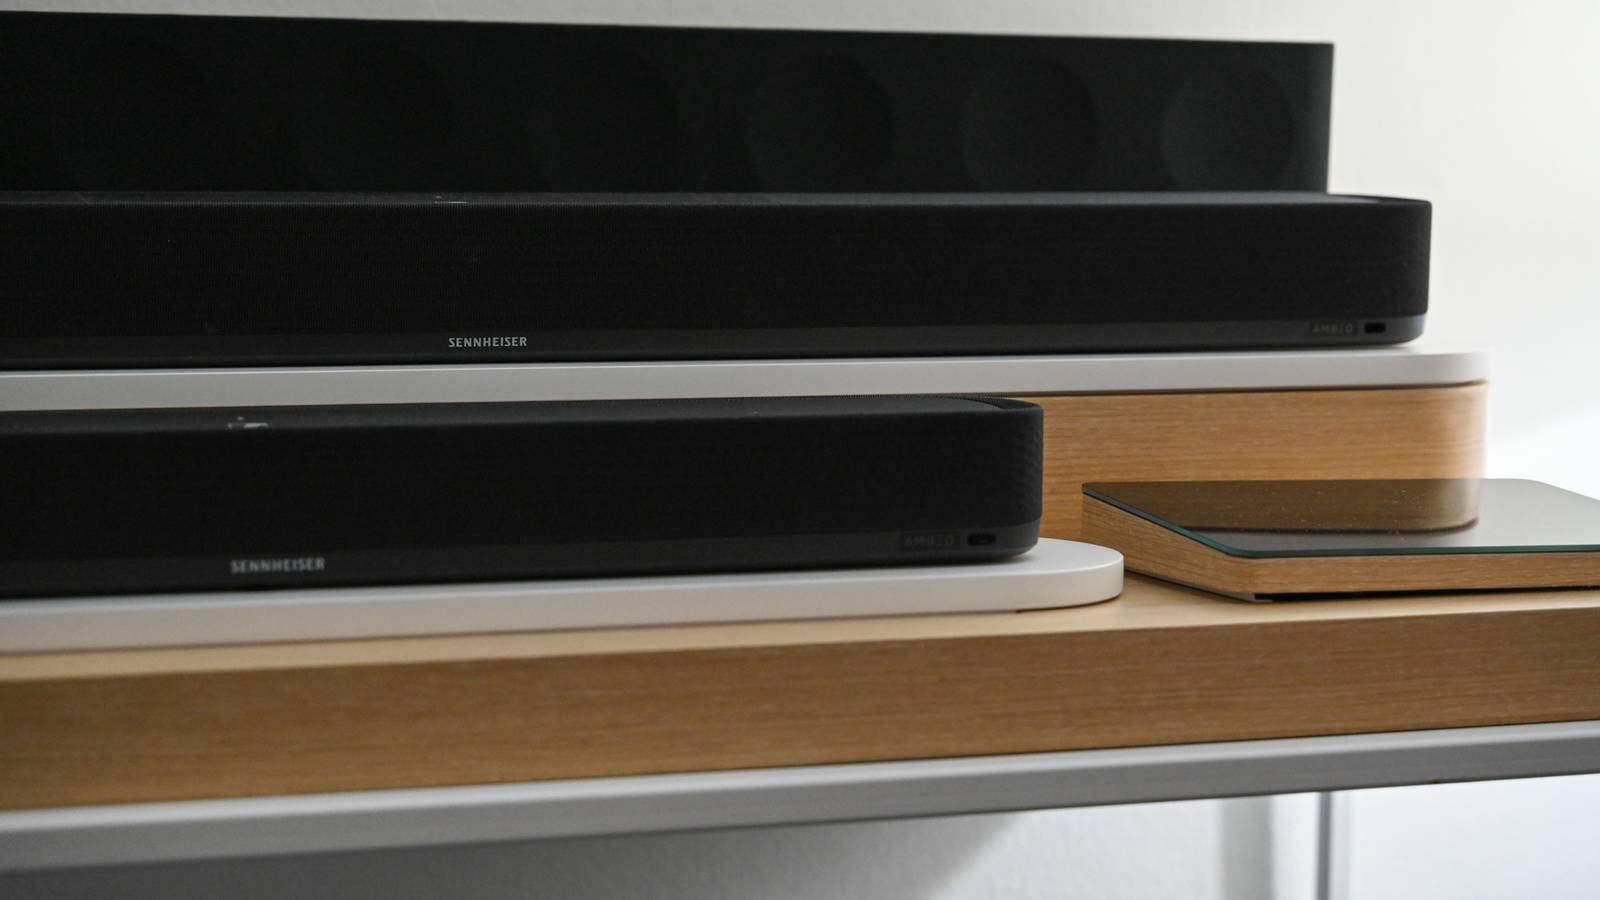
If you’re using a soundbar or external speakers, check for built-in delay settings or automatic lip sync correction. Some newer audio devices also include a Game Mode, which reduces processing to minimize lag.
For the most responsive audio experience, consider using wired headphones connected directly to your controller. This bypasses all TV and external speaker processing, giving you the most immediate audio feedback possible.
1
Disable Energy-Saving Features
Energy-saving features are great for the environment and your electricity bill, but they can seriously impact gaming performance. These features work by dimming the backlight, reducing processing power, or even throttling the TV’s performance during what it perceives as “low activity” periods.
The problem is that your TV might interpret a static loading screen or a pause menu as low activity, dimming the display or reducing responsiveness right when you need it most. Some energy-saving modes also introduce variable refresh rates or processing delays that can make games feel inconsistent.
Related
Change These 4 Settings to Boost Your Smart TV Performance
If your smart TV feels sluggish, you don’t need to upgrade immediately.
Look for settings labeled Eco Mode, Power Saving, Energy Star, or similar terms in your TV’s system or picture menus. While you’re at it, turn off any automatic brightness adjustments that respond to room lighting. These features constantly adjust the display brightness based on ambient light sensors, which can be distracting during gaming when you want consistent visual conditions.
Properly configured, these settings should make your smart TV feel and look dramatically more responsive while gaming. The difference between a properly optimized TV and default settings can be the difference between winning and losing those clutch moments where every millisecond matters.
