How did I miss out on this for so long? That was all I could think as I explored the latest addition to my TV setup. It was simply too good — and the more I used it, the better it got. What blew my mind most was realizing that it’s completely free.
For context, I’d seen Kodi working flawlessly before — my dad has a full Linux setup on a Raspberry Pi streaming to a big TV. I wanted the same thing without the extra hardware, so I installed Kodi directly on my Android TV. It didn’t go well. It was slow, the DLNA connection was clunky, and eventually it stopped connecting altogether. I know Kodi works great for plenty of people, but it just didn’t click for me.
Well, this isn’t about Kodi. Last week, I decided to try the other alternative I’d been hearing about, and it absolutely blew me away. I’ve genuinely forgotten every other streaming app I had on my TV, simply because this one is so satisfying to use. Let me show you.
Jellyfin is the essential app for any streaming setup
Rare mix of freedom and polish
There’s Plex. There’s Kodi. And then there’s Jellyfin. Jellyfin is a media streaming platform that does everything the other two do — catalog your local media into a personalized hub and let you stream it — but with more polish and freedom. It supports movies, shows, music, and even books. Like Kodi, it’s entirely free and open source. But unlike Kodi, Jellyfin is a complete package: both the server and the client. Even better, it includes a web client, meaning you can access it from any device with a browser.
Kodi is more of a media player. You can connect it to a NAS, but that requires you to already have one set up. One reason I installed OpenWRT on my router was to use it as a NAS. I got it working — I ran a Samba media server and connected Kodi to it from my TV — but the experience was poor. My router’s USB port limited read speeds, and Samba connections are inherently finicky. Jellyfin isn’t like that. You can set it up anywhere. I chose to host it on my main computer since I have processing power to spare.
- OS
-
Android, iOS/iPadOS, Android TV, Fire TV, Web browsers
- Developer
-
Jellyfin Community
Jellyfin is super easy to set up
Setting up Jellyfin is as simple as Netflix
You can install Jellyfin on almost any platform: Debian, Ubuntu, Arch, Gentoo, Fedora/CentOS, Windows, macOS, Docker, and even as a portable .NET app. And that’s just for the server. The client list is even longer.
I set mine up on Windows. Since I rarely shut my PC down, it made sense to host it there. The installation is the classic next-next-accept-finish process. Once installed, launch the Jellyfin tray app, then open the web interface at localhost:8096.
If you’re already running other web services or Docker containers, make sure there’s no port conflict.
You’ll see a setup wizard when you first launch the web UI. You can skip it, but I don’t recommend doing so — it makes everything easy. You’ll choose your libraries (movies, shows, music, etc.), adjust basic settings, and create your admin account.
|
|
|
Did I mention that Jellyfin also lets you stream song lyrics? |
In my case, I connected the same external hard drive I’d previously used for my router NAS and pointed Jellyfin to it. I created libraries for my movies and a small music folder (mostly Cyberpunk 2077 OSTs that came with my Steam copy). I also created an empty Series library, just in case I ever start collecting shows.
Jellyfin is bliss to use
Stream your library on anything
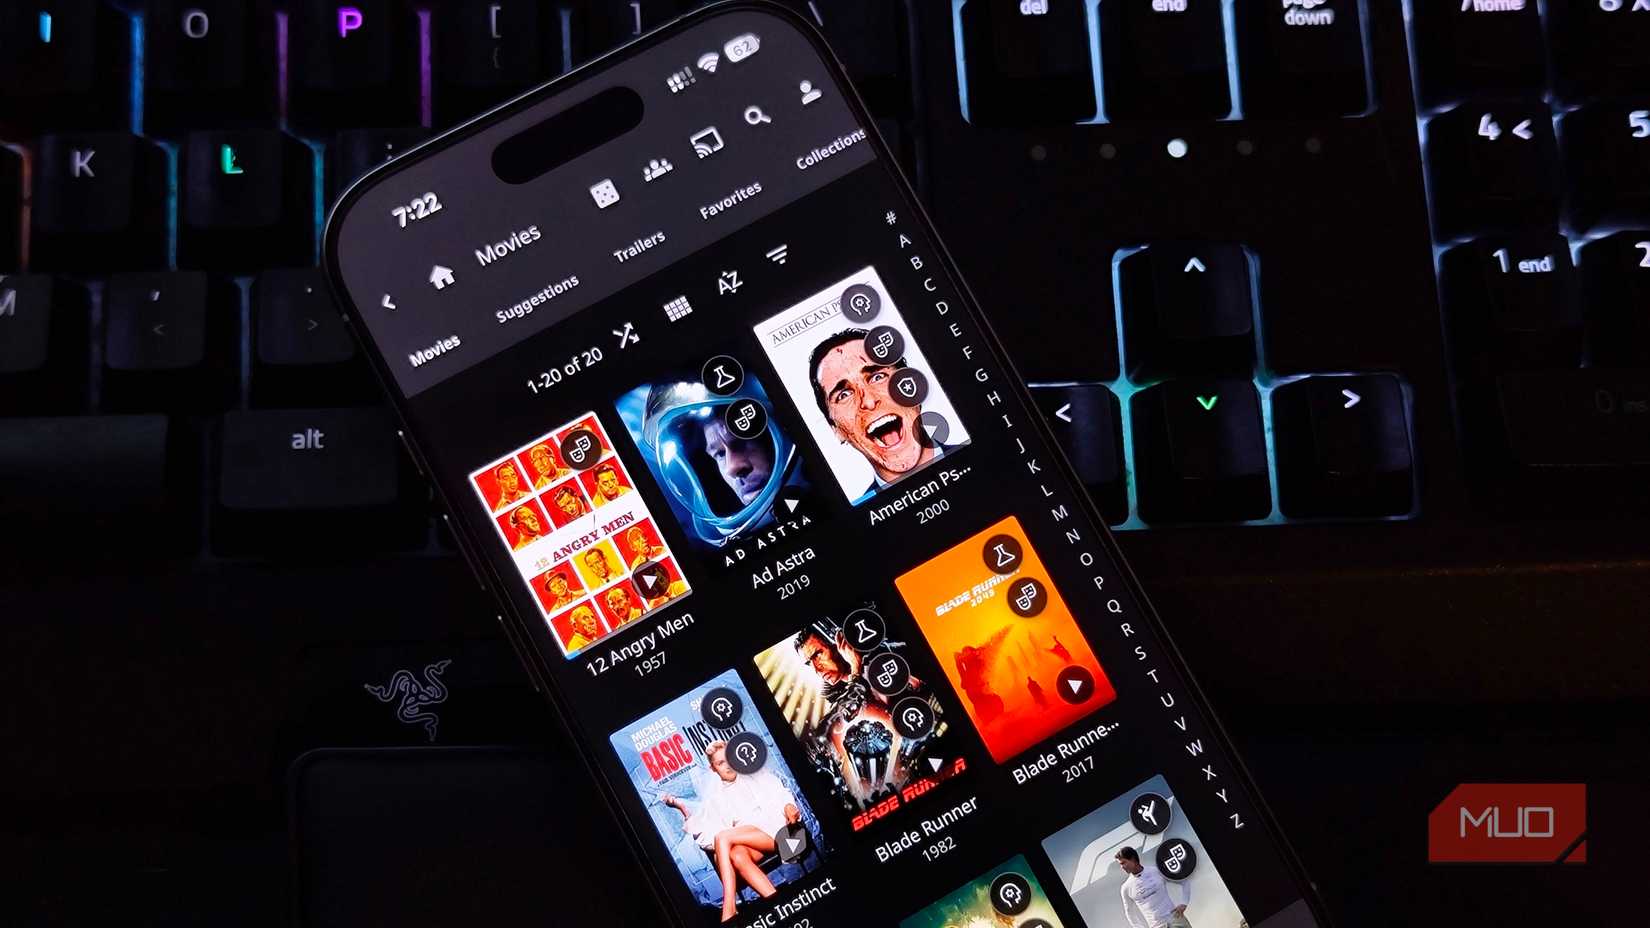
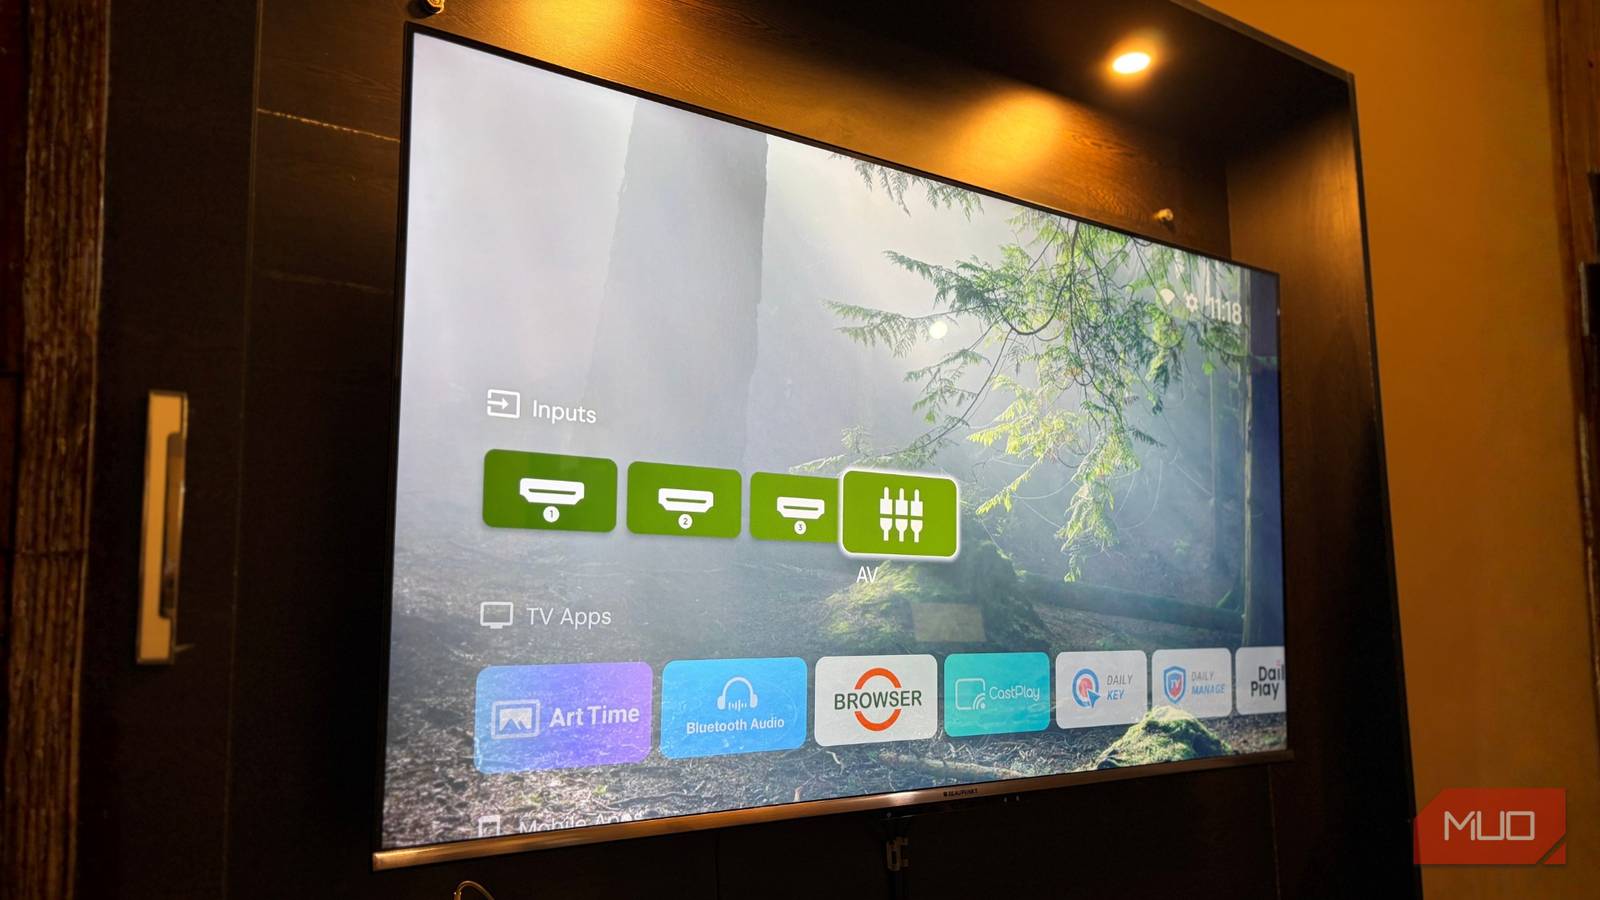
You’ll be happy to know Jellyfin clients exist for practically every platform. The official Jellyfin Media Player is available for Windows and Linux. On mobile, there’s Jellyfin for Android and iOS. On larger screens, you’ll find it on Android TV, webOS, Xbox, tvOS, Roku, and even as a Kodi add-on if you insist on using Kodi as a front-end.
Once you install the client on your device, you’ll need to connect it to your server. Enter your local IP address and port (default 8096) and log in with your credentials. Jellyfin also offers a quick-login option using pairing codes (similar to Netflix or YouTube TV) so you can authenticate without typing passwords on your TV.
Don’t use 127.0.0.1:8096 on your TV or phone. That’s a local loopback address that only works on the host machine. Instead, find your PC’s local IP (e.g., 192.168.2.138) and use that. To avoid connection issues later, assign your PC a static IP.
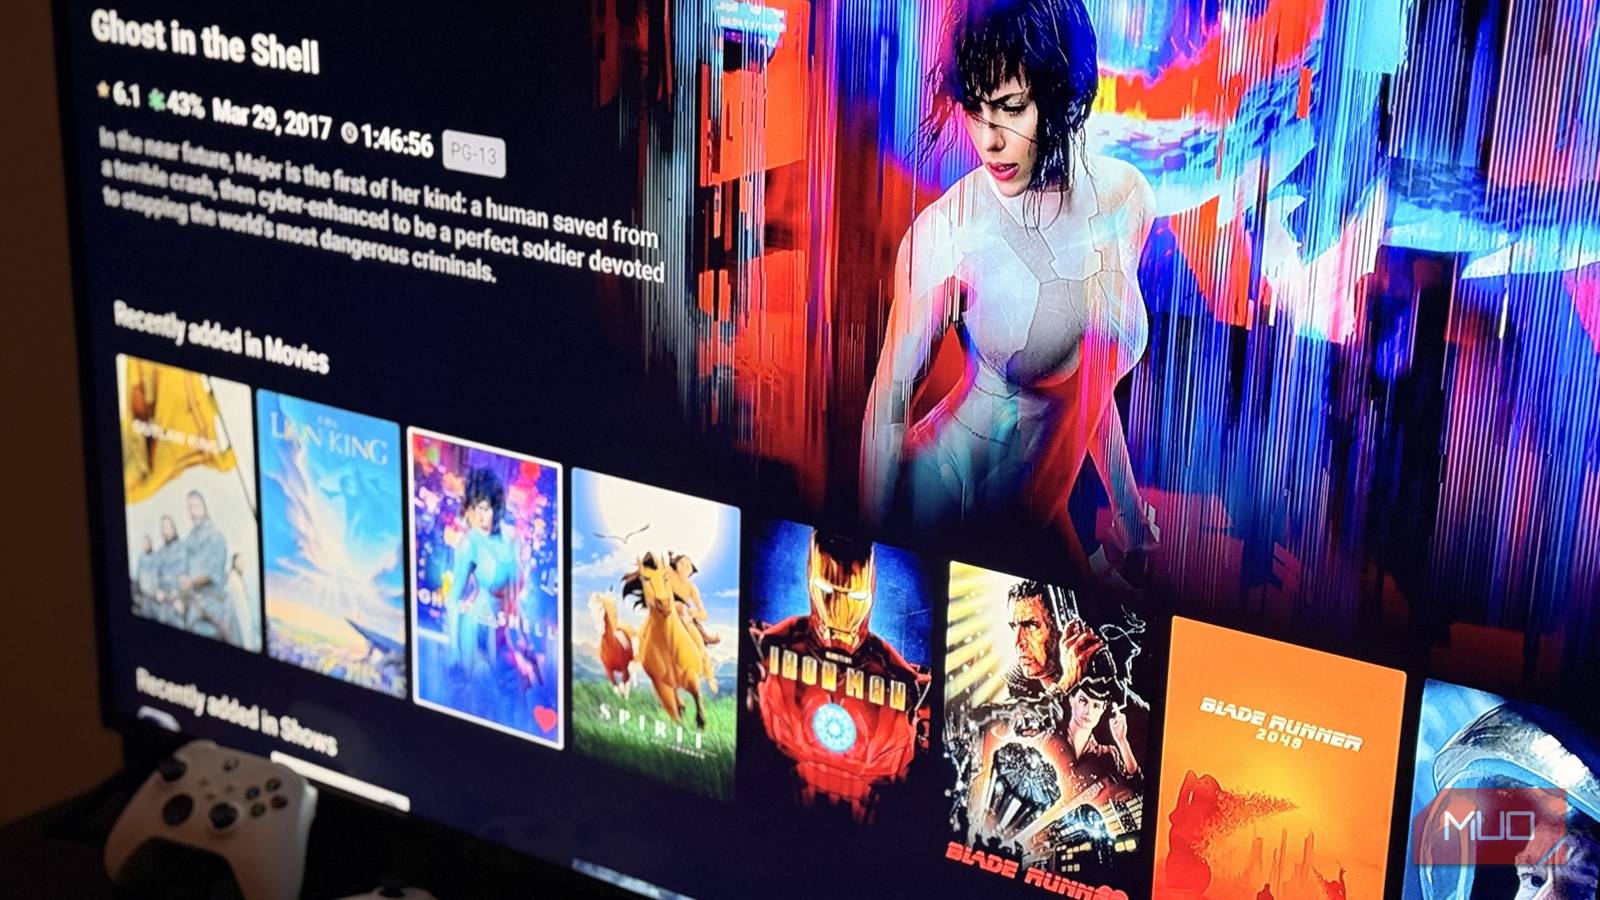
Once connected, your media library appears beautifully organized. Metadata and artwork are automatically fetched online. Your collection now has that premium streaming-service look. In fact, Jellyfin feels exactly like Netflix — except it’s your media, on your hardware, completely under your control. Let’s talk about that control.
Jellyfin is a complete solution to streaming
Accounts, profiles, and progress tracking built in
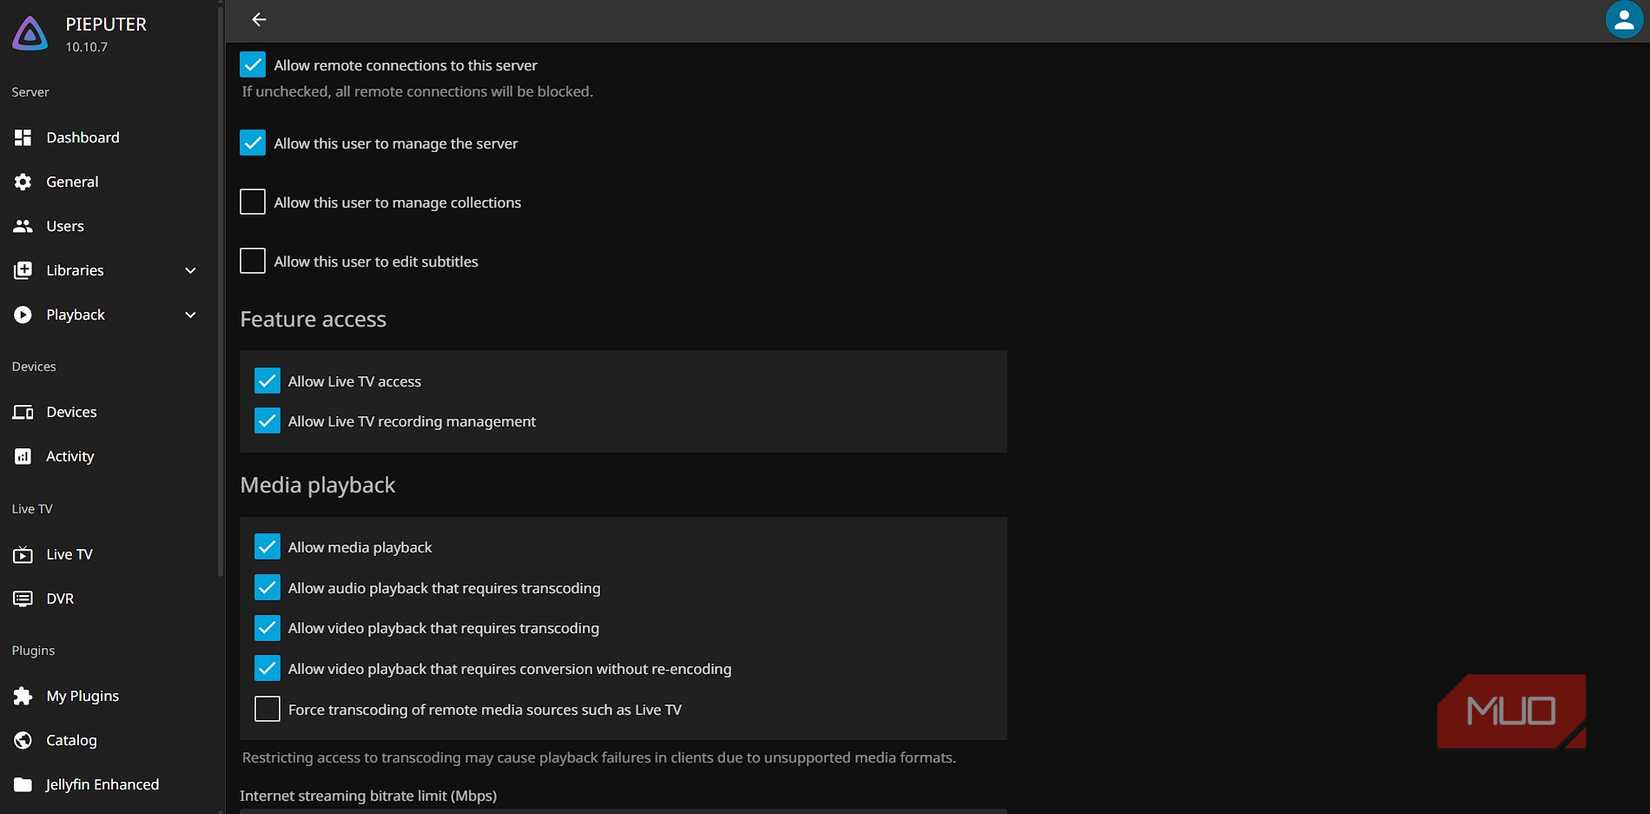
Jellyfin supports user accounts. Not cloud accounts, but local ones tied to your personal server. You can create as many as you like. Each account shares the same library but maintains individual watchlists, favorites, and playback history. Jellyfin remembers where you left off in a movie or show for each user.
It’s basically your own private Netflix. If you have a family, you can set up separate profiles so everyone can watch their own stuff independently. They’ll even get app notifications when you add new movies to the library. I live alone, so that feature goes unused, but it’s so well-designed that it almost makes me want to start a family. Almost.
Jellyfin is yours to customize
Because the best streaming app is the one you build
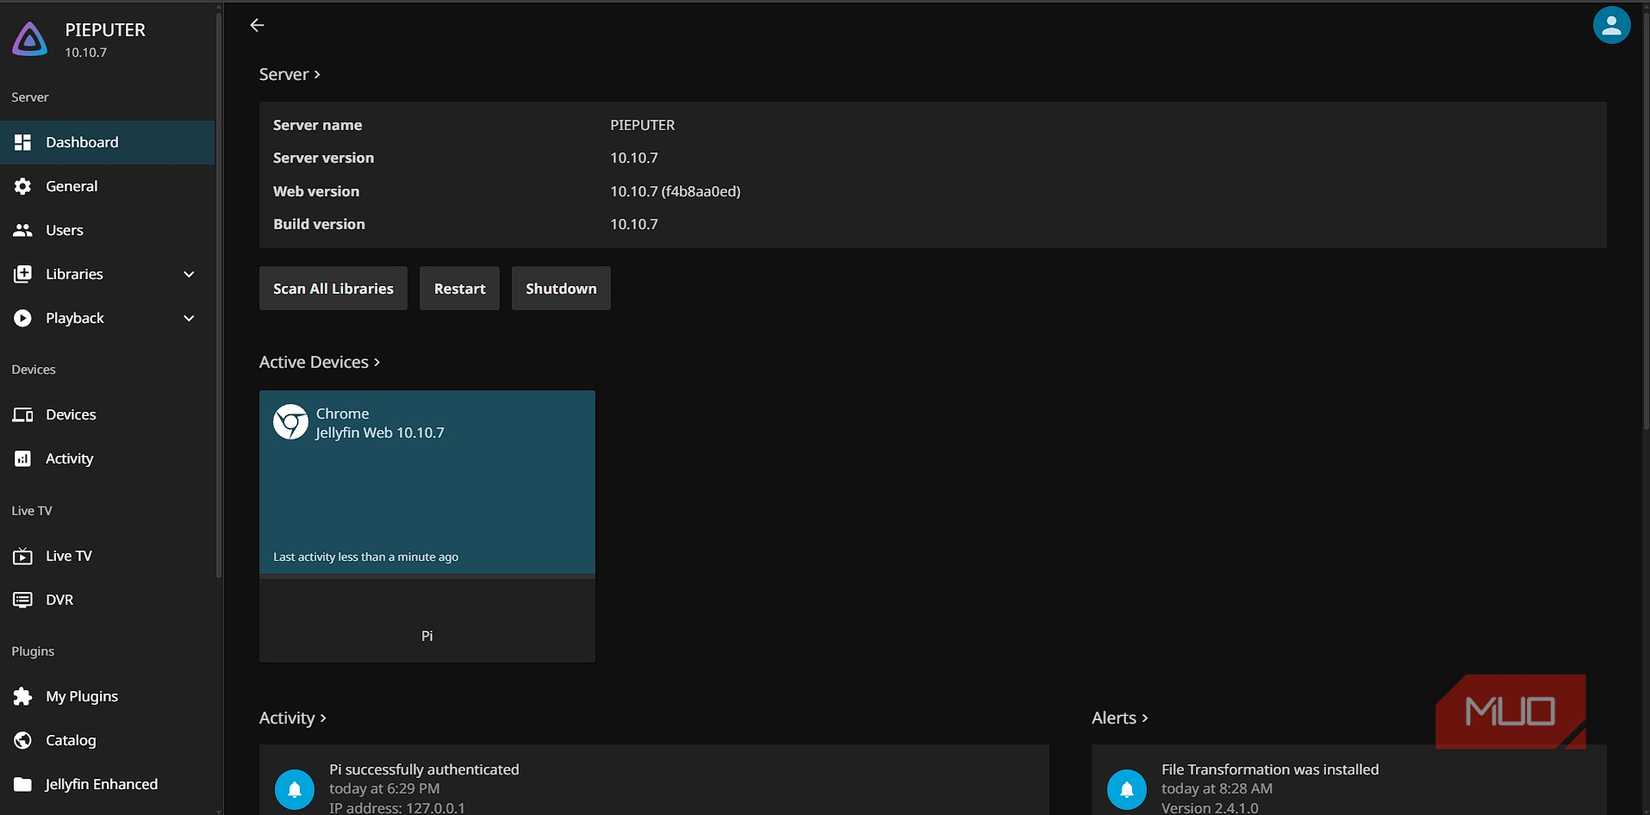
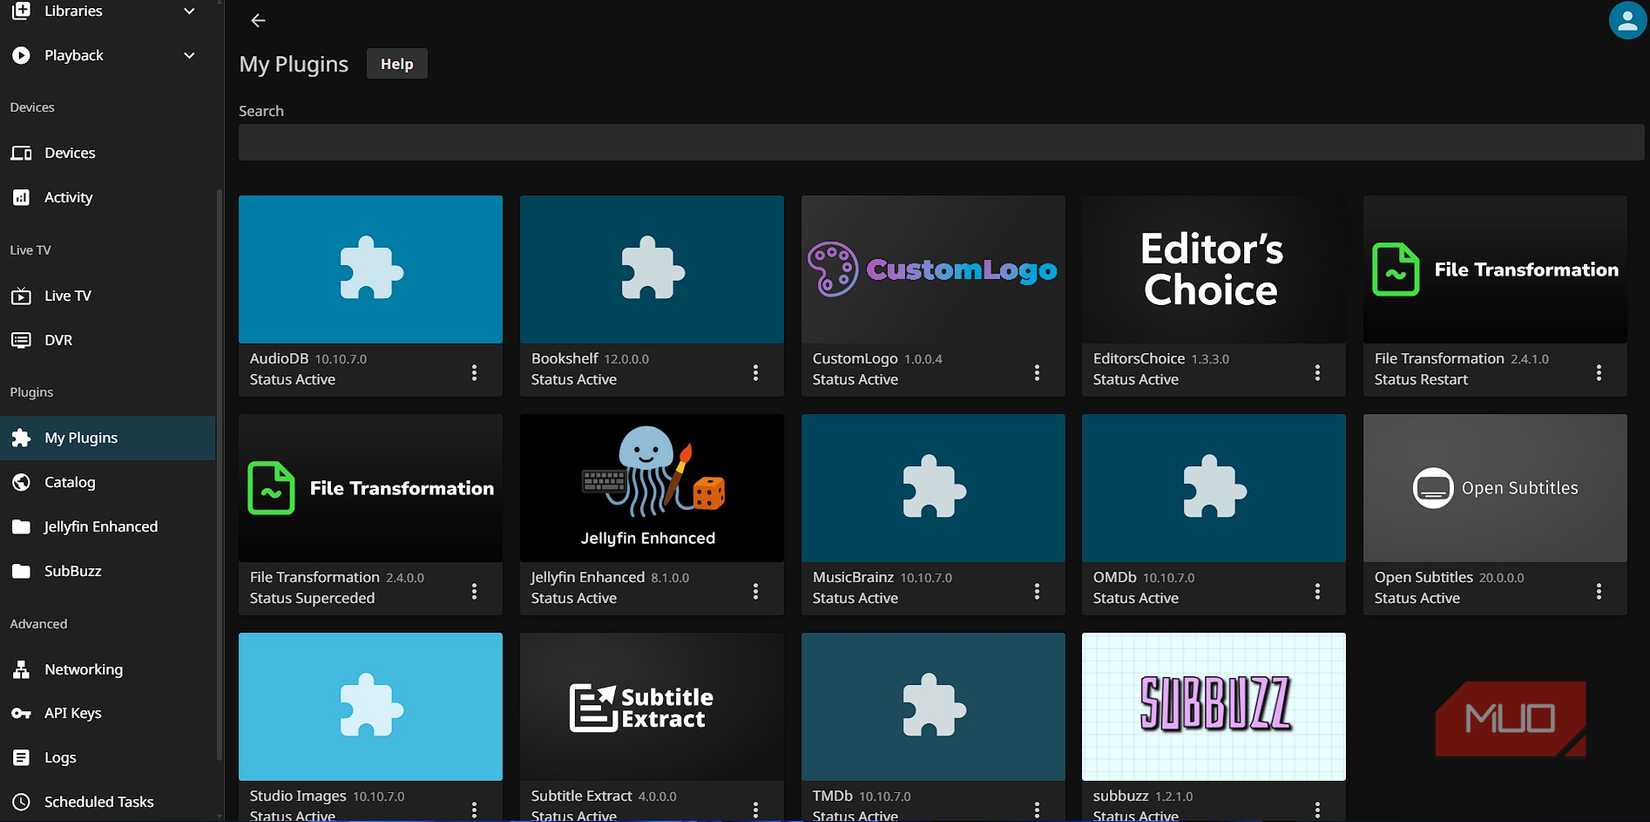
Jellyfin is not only free and open-source but also highly customizable. It supports a wide range of plugins that extend its functionality. You’ll find them under Plugins > Catalog in the admin dashboard. That list only shows the official repository, but you can add third-party repos by clicking the small gear icon and entering their URLs. Once added, those plugins appear alongside the official ones for easy installation.
I installed Jellyfin Enhanced for UI improvements and OpenSubtitles to fill in missing subtitles. OpenSubtitles requires an account, so if you prefer to avoid that, try subbuzz, which aggregates multiple subtitle sources and pulls from whichever suits you best.
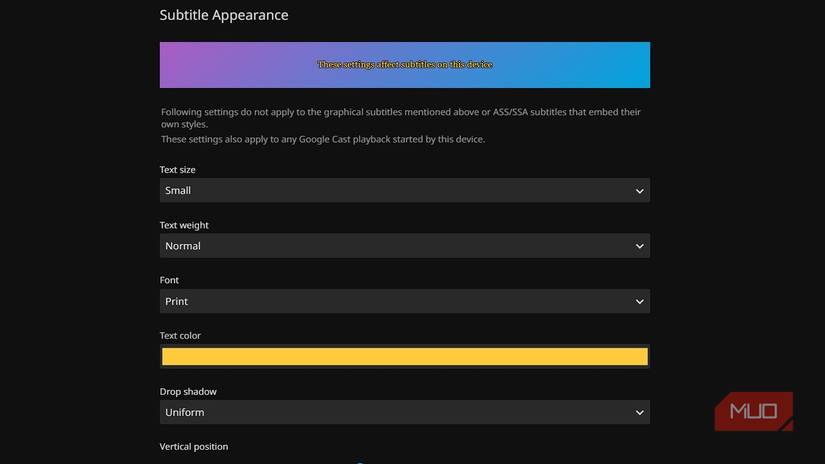
Speaking of subtitles — that’s one of the first things I tweak on any streaming platform. I’m a fan of Cinema Yellow (if that’s a real term — I mean dark yellow text with a uniform dropshadow). Jellyfin lets you customize subtitles per account and device, so everyone can choose their own style. However, mine didn’t change at all and stayed stubbornly white. After half a day of troubleshooting, I learned that most of my subtitle files were PGS (PGSSUB), which use bitmap images rather than text. You can’t recolor those. The solution was to download SRT subtitles using one of the plugins and switch to those. Not entirely relevant, but worth mentioning in case you face the same issue.
|
|
|
You can see a preview of the Cinema Yellow subtitle aesthetics here. |
You can also change Jellyfin’s logo and apply custom CSS to modify the web client’s appearance. These visual tweaks won’t carry over to other clients like Android TV, but you can use alternative clients that allow more customization. For instance, Dune is an excellent third-party Android TV client that supports deeper UI modifications than the official app.
Jellyfin makes you appreciate your library
Since installing Jellyfin, I’ve come to value my modest movie collection far more. It makes me want to expand it — just for the joy of cataloging and streaming my own content. When friends visit, I know I’ll enjoy showing it off.
If you own a smart TV and like watching your own media, you should seriously give Jellyfin a try. It’s blissfully easy to set up, doesn’t require a separate media server, and just works out of the box. Unlike Kodi, there’s no tinkering required — it’s an amazing experience from the start. So go ahead and try it. Nothing’s stopping you.

