If you’re struggling to keep up with your ever-growing media library, setting up your own media server is a wise move. However, when it comes to creating one, most of us dismiss the idea immediately, thinking it’s an expensive or overly complicated affair.
In reality, though, it’s a different story, as you don’t need expensive hardware to have your own media server. Your old laptop lying around at home is a capable media server, and it basically also has its own emergency power backup.
Convenience, flexibility, cost savings, and more
A media server has a simple job: store media files and ensure they’re accessible to other devices on the network. To do this, it needs to perform multiple tasks, such as organizing files, sharing photos, and streaming audio and video files. Occasionally, it may also need to transcode videos, i.e., change formats and bit rates, to ensure compatibility with various devices.
All of these tasks require moderate system resources (processing power, memory, and storage). Similarly, the media server software isn’t resource-intensive, either. Most modern laptops from the last decade can easily run it and handle all the tasks without any hitch.
In fact, the idea of turning an old laptop into a media server has several benefits:
- Since you already have the necessary hardware—a laptop —there’s no initial investment required, significantly reducing the barrier to entry. Sure, you may need to upgrade storage and RAM if the laptop is quite old, but that won’t be a significant cost.
- Having media server software running on your laptop all the time will draw less power than a desktop or dedicated hardware.
- Logistically, repurposing an old laptop as a media server is a practical choice, as it can fit easily on shelves, TV units, or in small spaces, minimizing clutter.
- Most importantly, since the laptop has a built-in battery, it can continue to run for hours in case of a power cut, provided your router is powered on—typically by connecting it to a UPS (Uninterrupted Power Supply). This is a significant advantage because it prevents abrupt shutdowns that could lead to data loss or file corruption.
Some of this, understandably, depends on the quality of your old laptop, but for most folks, converting it should be a cinch.
A few simple steps are all it takes—start by checking your laptop is suitable for the job
As I mentioned earlier, your laptop doesn’t need to have the most powerful specifications to serve as a media server. This means that any Core i3 or Ryzen 3 processor, at least 4GB of RAM, and 500GB or more of disk storage will work just fine (for 1080p streaming). That said, if you plan to serve multiple streams simultaneously, have a large media library, or want to stream 4K, you’ll need a more powerful CPU like a Core i5 or Ryzen 5, 8GB or more RAM, and over 1TB of storage.
Prepare your laptop
After ensuring you have a capable laptop, the next step is to connect it to the internet, preferably via Ethernet, for stable streaming.
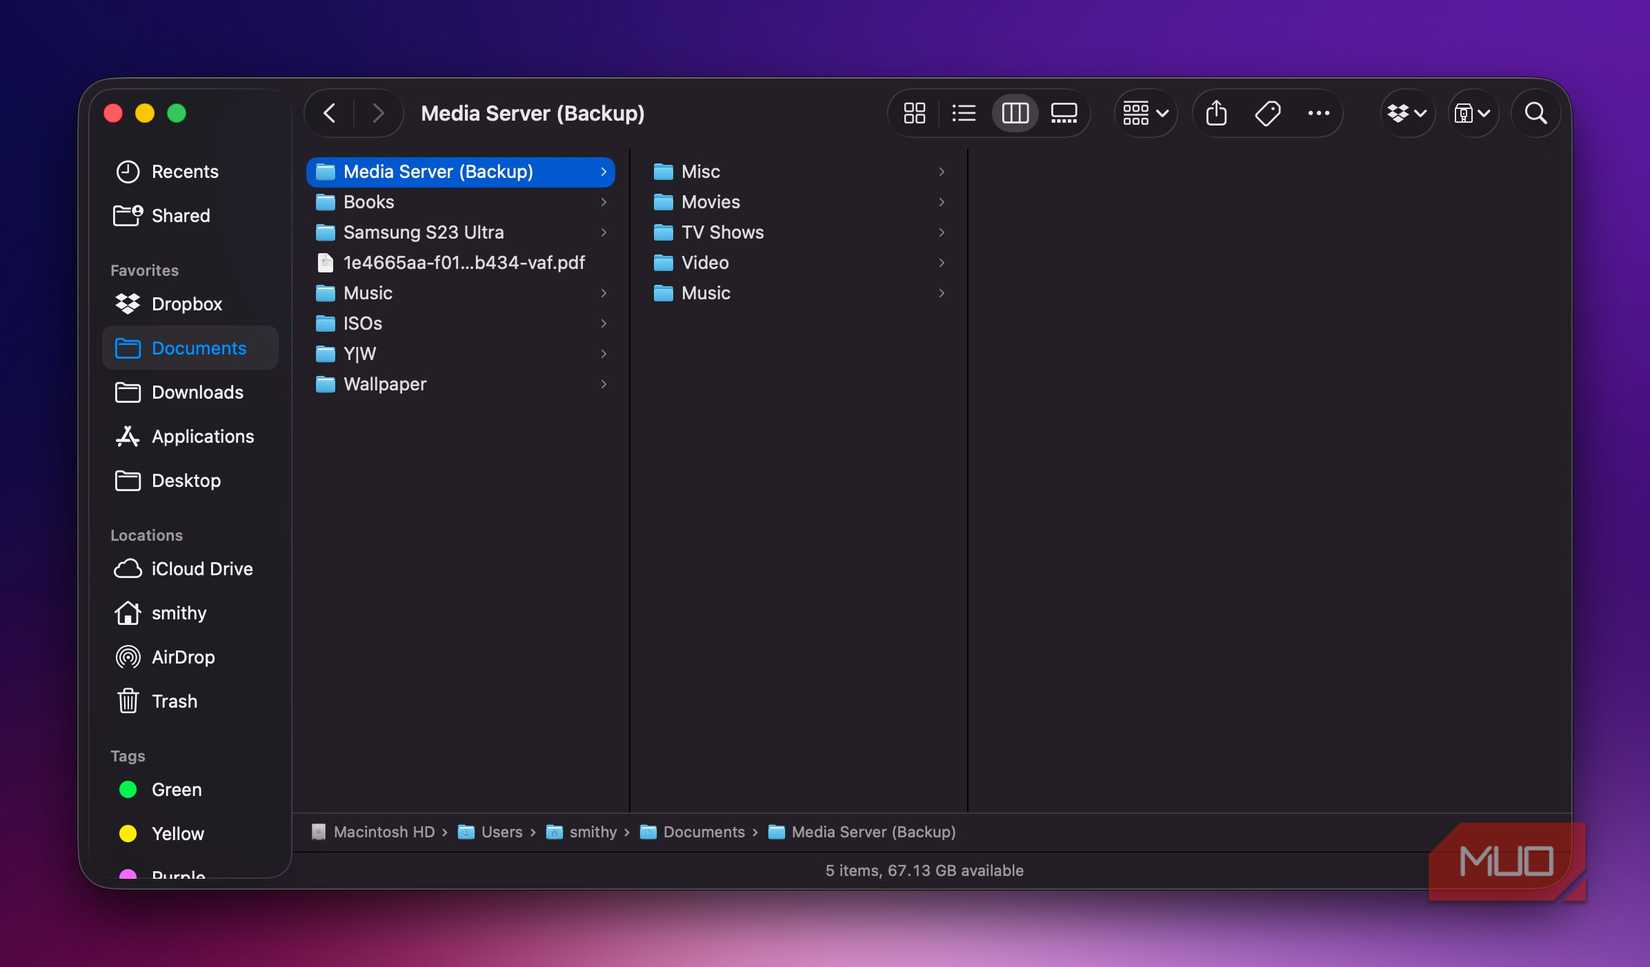
After establishing connectivity, comb through your media files and organize them into folders by type, such as Music, Movies, TV Shows, Photos, and Videos. You can have sub-folders under each of these folders for individual titles or series. Ensure all the folders reside under one main folder.
This hierarchical folder structure helps the media server software scan files properly, making it easier for you to locate them. It also enables you to restrict access to specific folders or sub-folders on the media server. Another advantage is that it helps avoid naming conflicts, which is especially useful when organizing photos.
Install a media server software
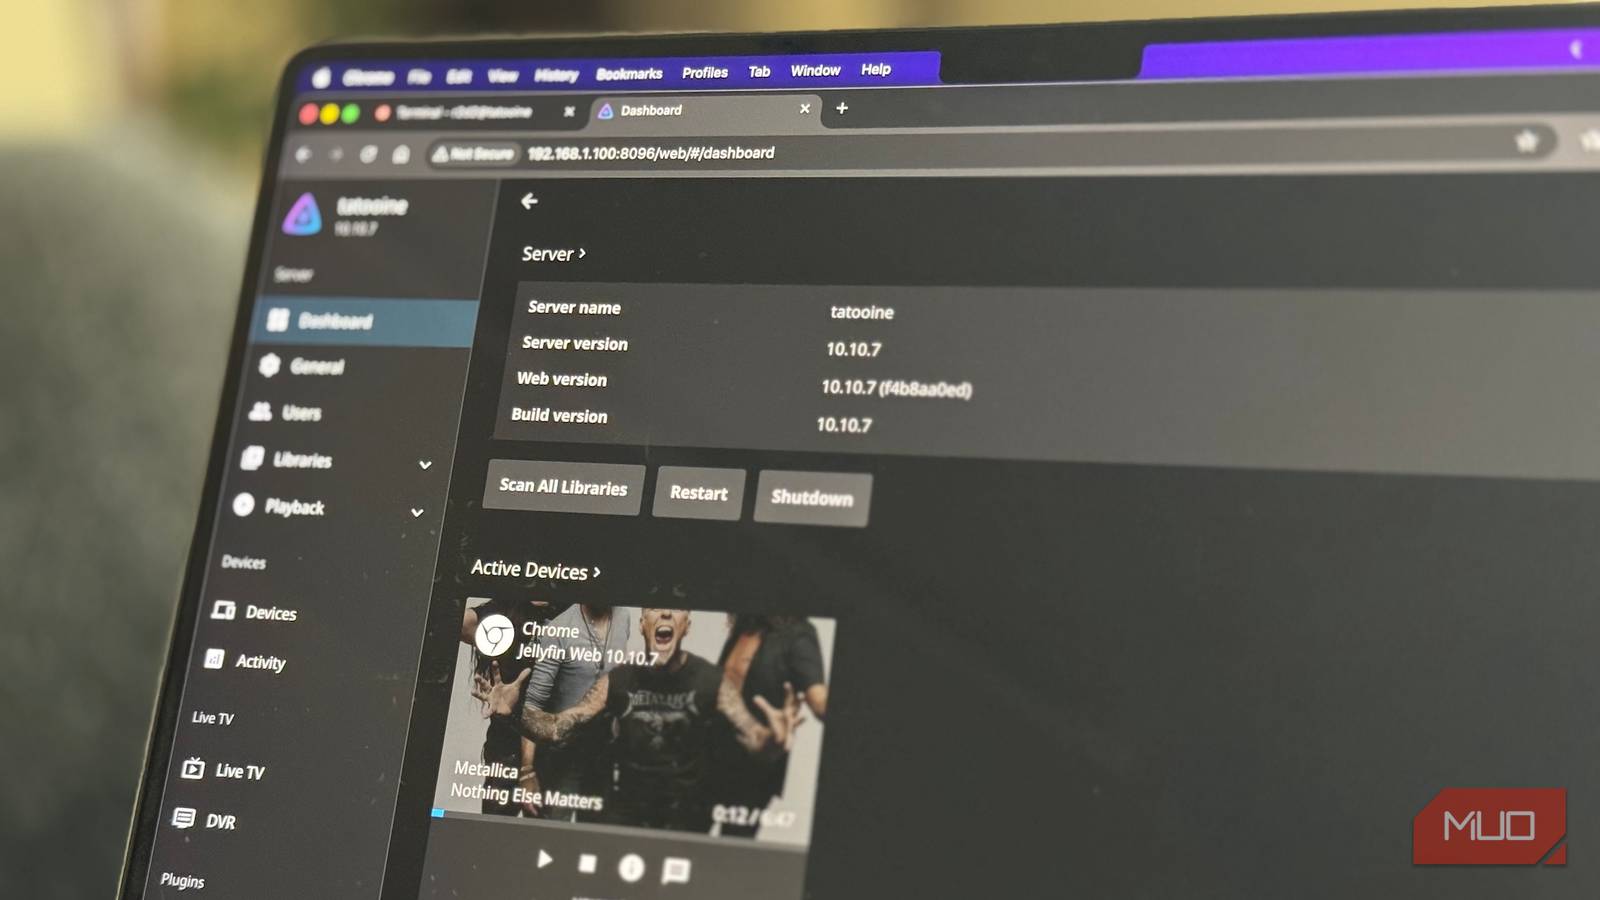
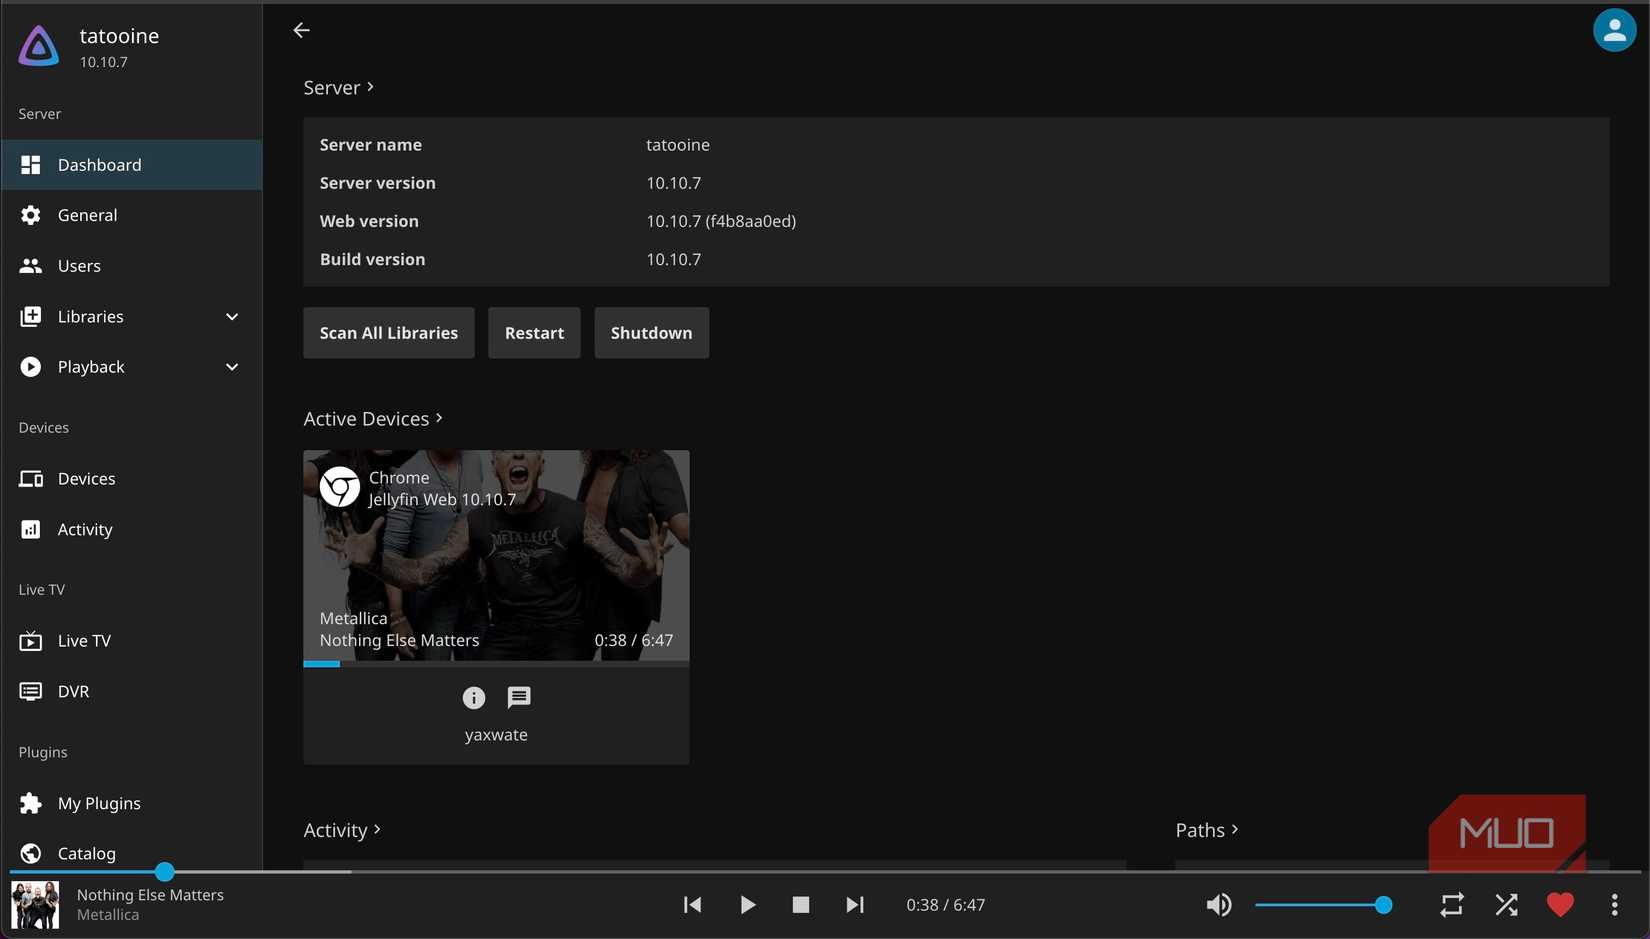
For your laptop to work as a media server, you need specialized software. While there are many options for media server software, I prefer Jellyfin, an open-source, free-to-use media server with excellent privacy.
You can install it on your laptop in multiple ways. The most straightforward approach is to install it directly, as you would with other programs on your computer. This allows you to keep using your laptop for other activities.
Alternatively, you can do what I did: turn your laptop into a home server and install Jellyfin on it. While this may sound intimidating, you can delve into self-hosting even with a tiny setup and little know-how (and pick things up along the way).
Optimize the laptop for always-on use
With Jellyfin up and running, you must optimize the laptop for always-on use to ensure reliable streaming, prevent unexpected shutdowns, and extend the hardware lifespan. This involves a series of steps.
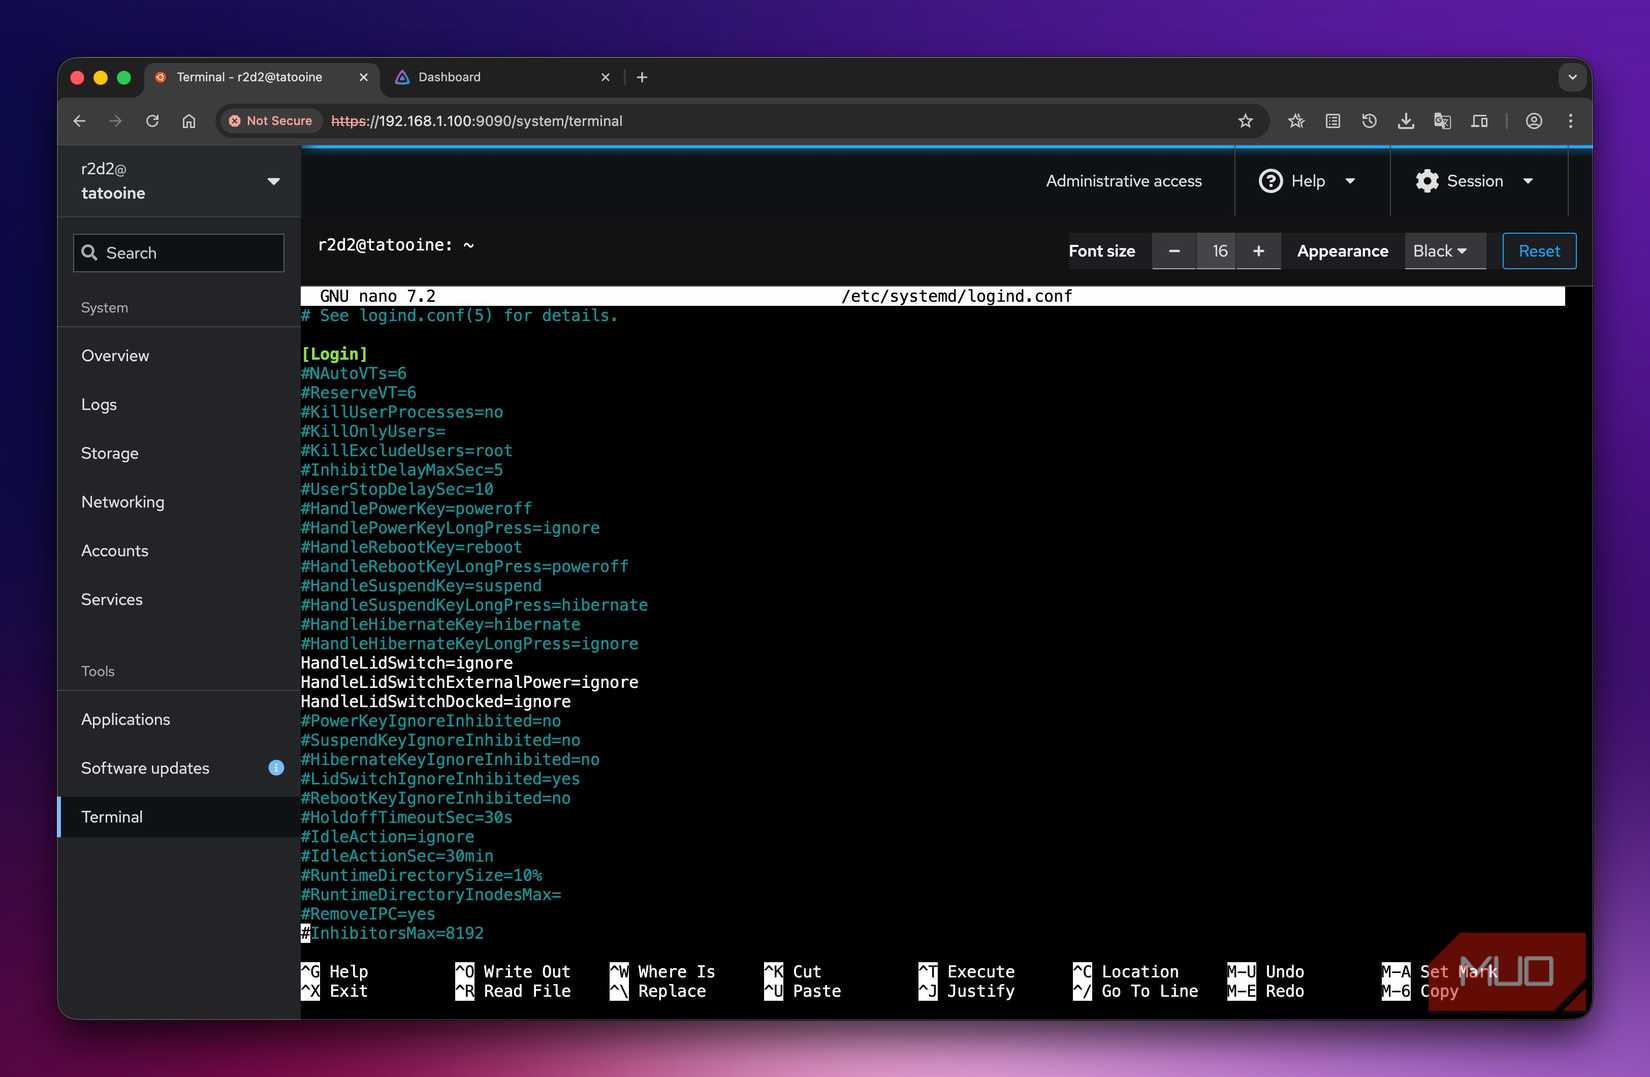
First, you need to configure the laptop’s power settings to prevent it from sleeping, hibernating, or shutting down during inactivity. You can do this from the laptop’s power settings. Then, you must change the laptop’s lid-close behavior to prevent it from going to sleep when the lid is closed. This way, you don’t have to keep the screen open for the media server to run. You’ll need to look up your laptop’s model and operating system, as the process varies and there is no universal set of instructions.
Another important configuration is setting a laptop battery charging limit. Since you’ll be keeping the laptop plugged in all the time, you want to ensure the battery isn’t fully charged, as that can generate heat and, in turn, harm its health. Similar to the laptop lid, the steps you need to take vary by laptop model and operating system, so you’ll need to look them up for your specific model.
Additionally, regularly monitor system temperatures, ensure proper ventilation and adequate cooling around the laptop, and take frequent backups. You can also consider setting up redundancy as you load up your media server.
Additional configurations to consider
Aside from the basic configurations above, there are a couple of other things you should do. First, you must assign a static IP address to your media server to ensure your server has a fixed address on the internet, so other devices can find and connect to it reliably. The easiest way to do this is through your router’s admin page.
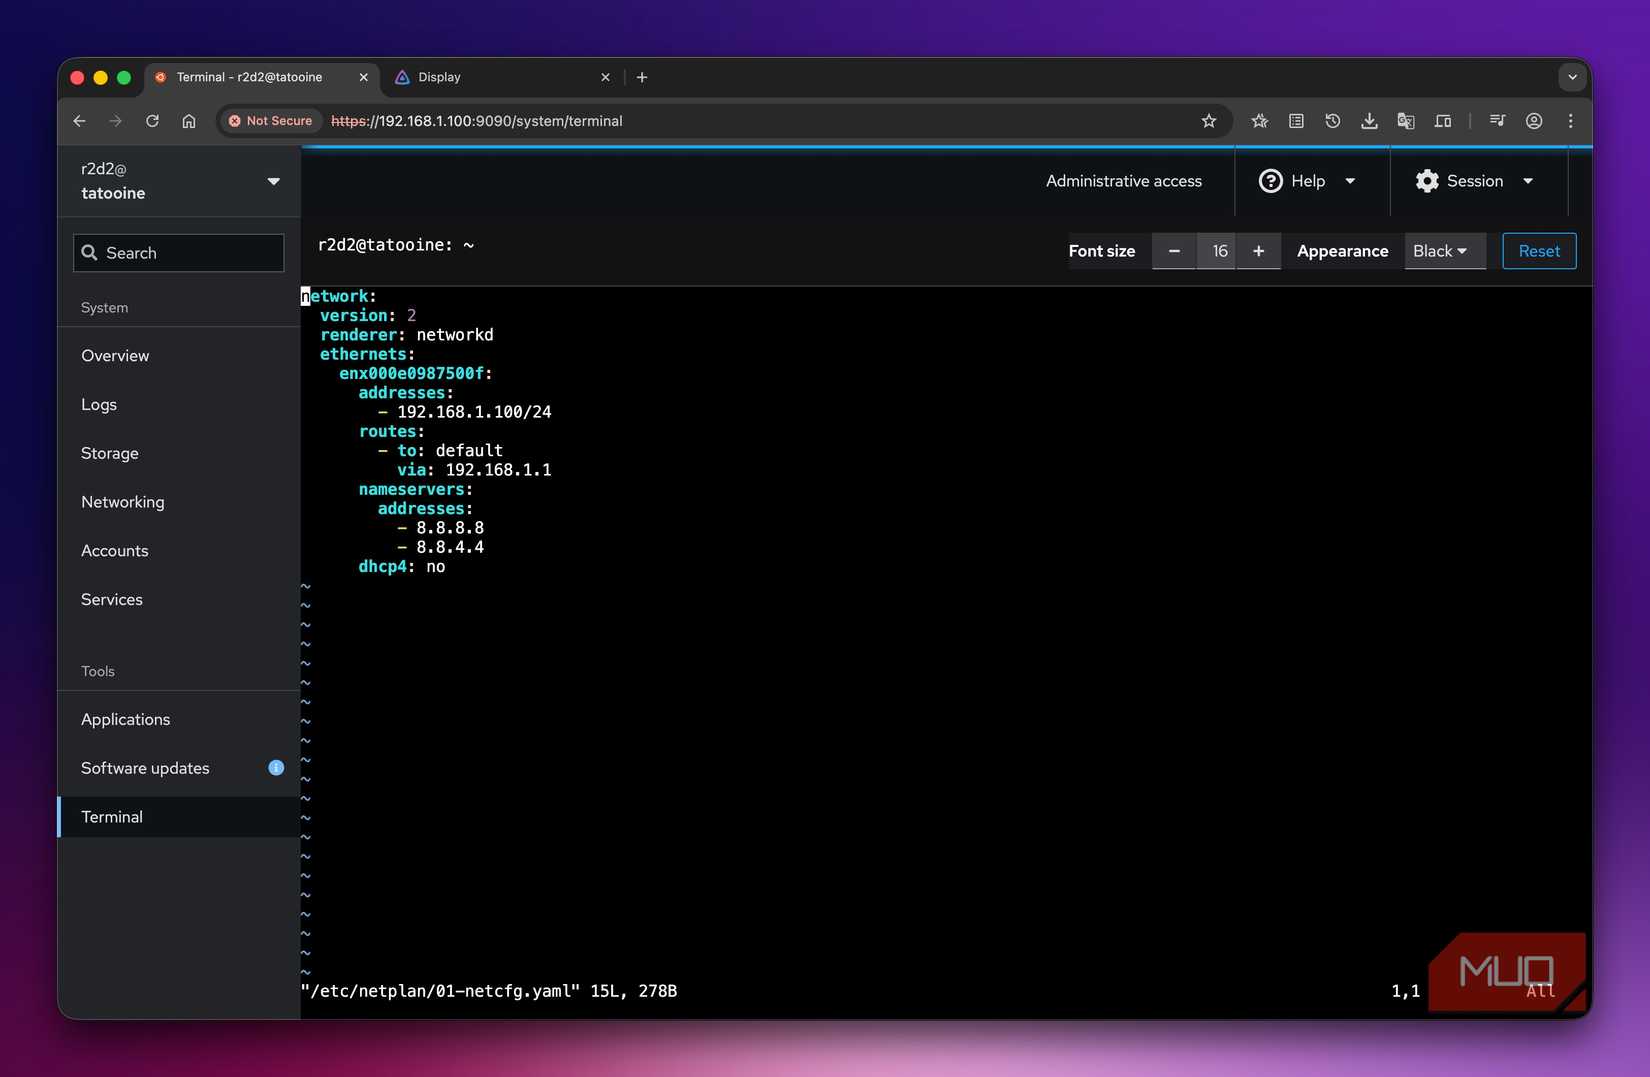
You can find instructions for this on your router manufacturer’s website. Alternatively, you can set a static IP address for the host machine directly. Or if you’re running Jellyfin on Ubuntu Server, you can use netplan to configure a static IP address for it.
If you plan to access content on your media server from outside your home network, you should set up remote access. This generally involves enabling remote access within the server settings, configuring your router to forward the necessary ports to your media server’s local IP address, and setting up Dynamic DNS (DDNS) if your external IP isn’t static.
Link your devices to the media server
With the media server set up, the final step is to link all the devices you plan to use to access and stream content. This is easy to do. Just head to the app store on your device and download the app for your media server.
Give that old laptop a new lease of life
Don’t throw away your old tech; repurpose it
Repurposing an old laptop as a media server is a great idea, as it not only breathes new life into the laptop but also puts you in full control of your media. The best part? You can continue using it as your regular laptop when needed if you’ve installed the media server software on the existing operating system. For a home server install, you can explore other apps and services to self-host and take back control of your data.


