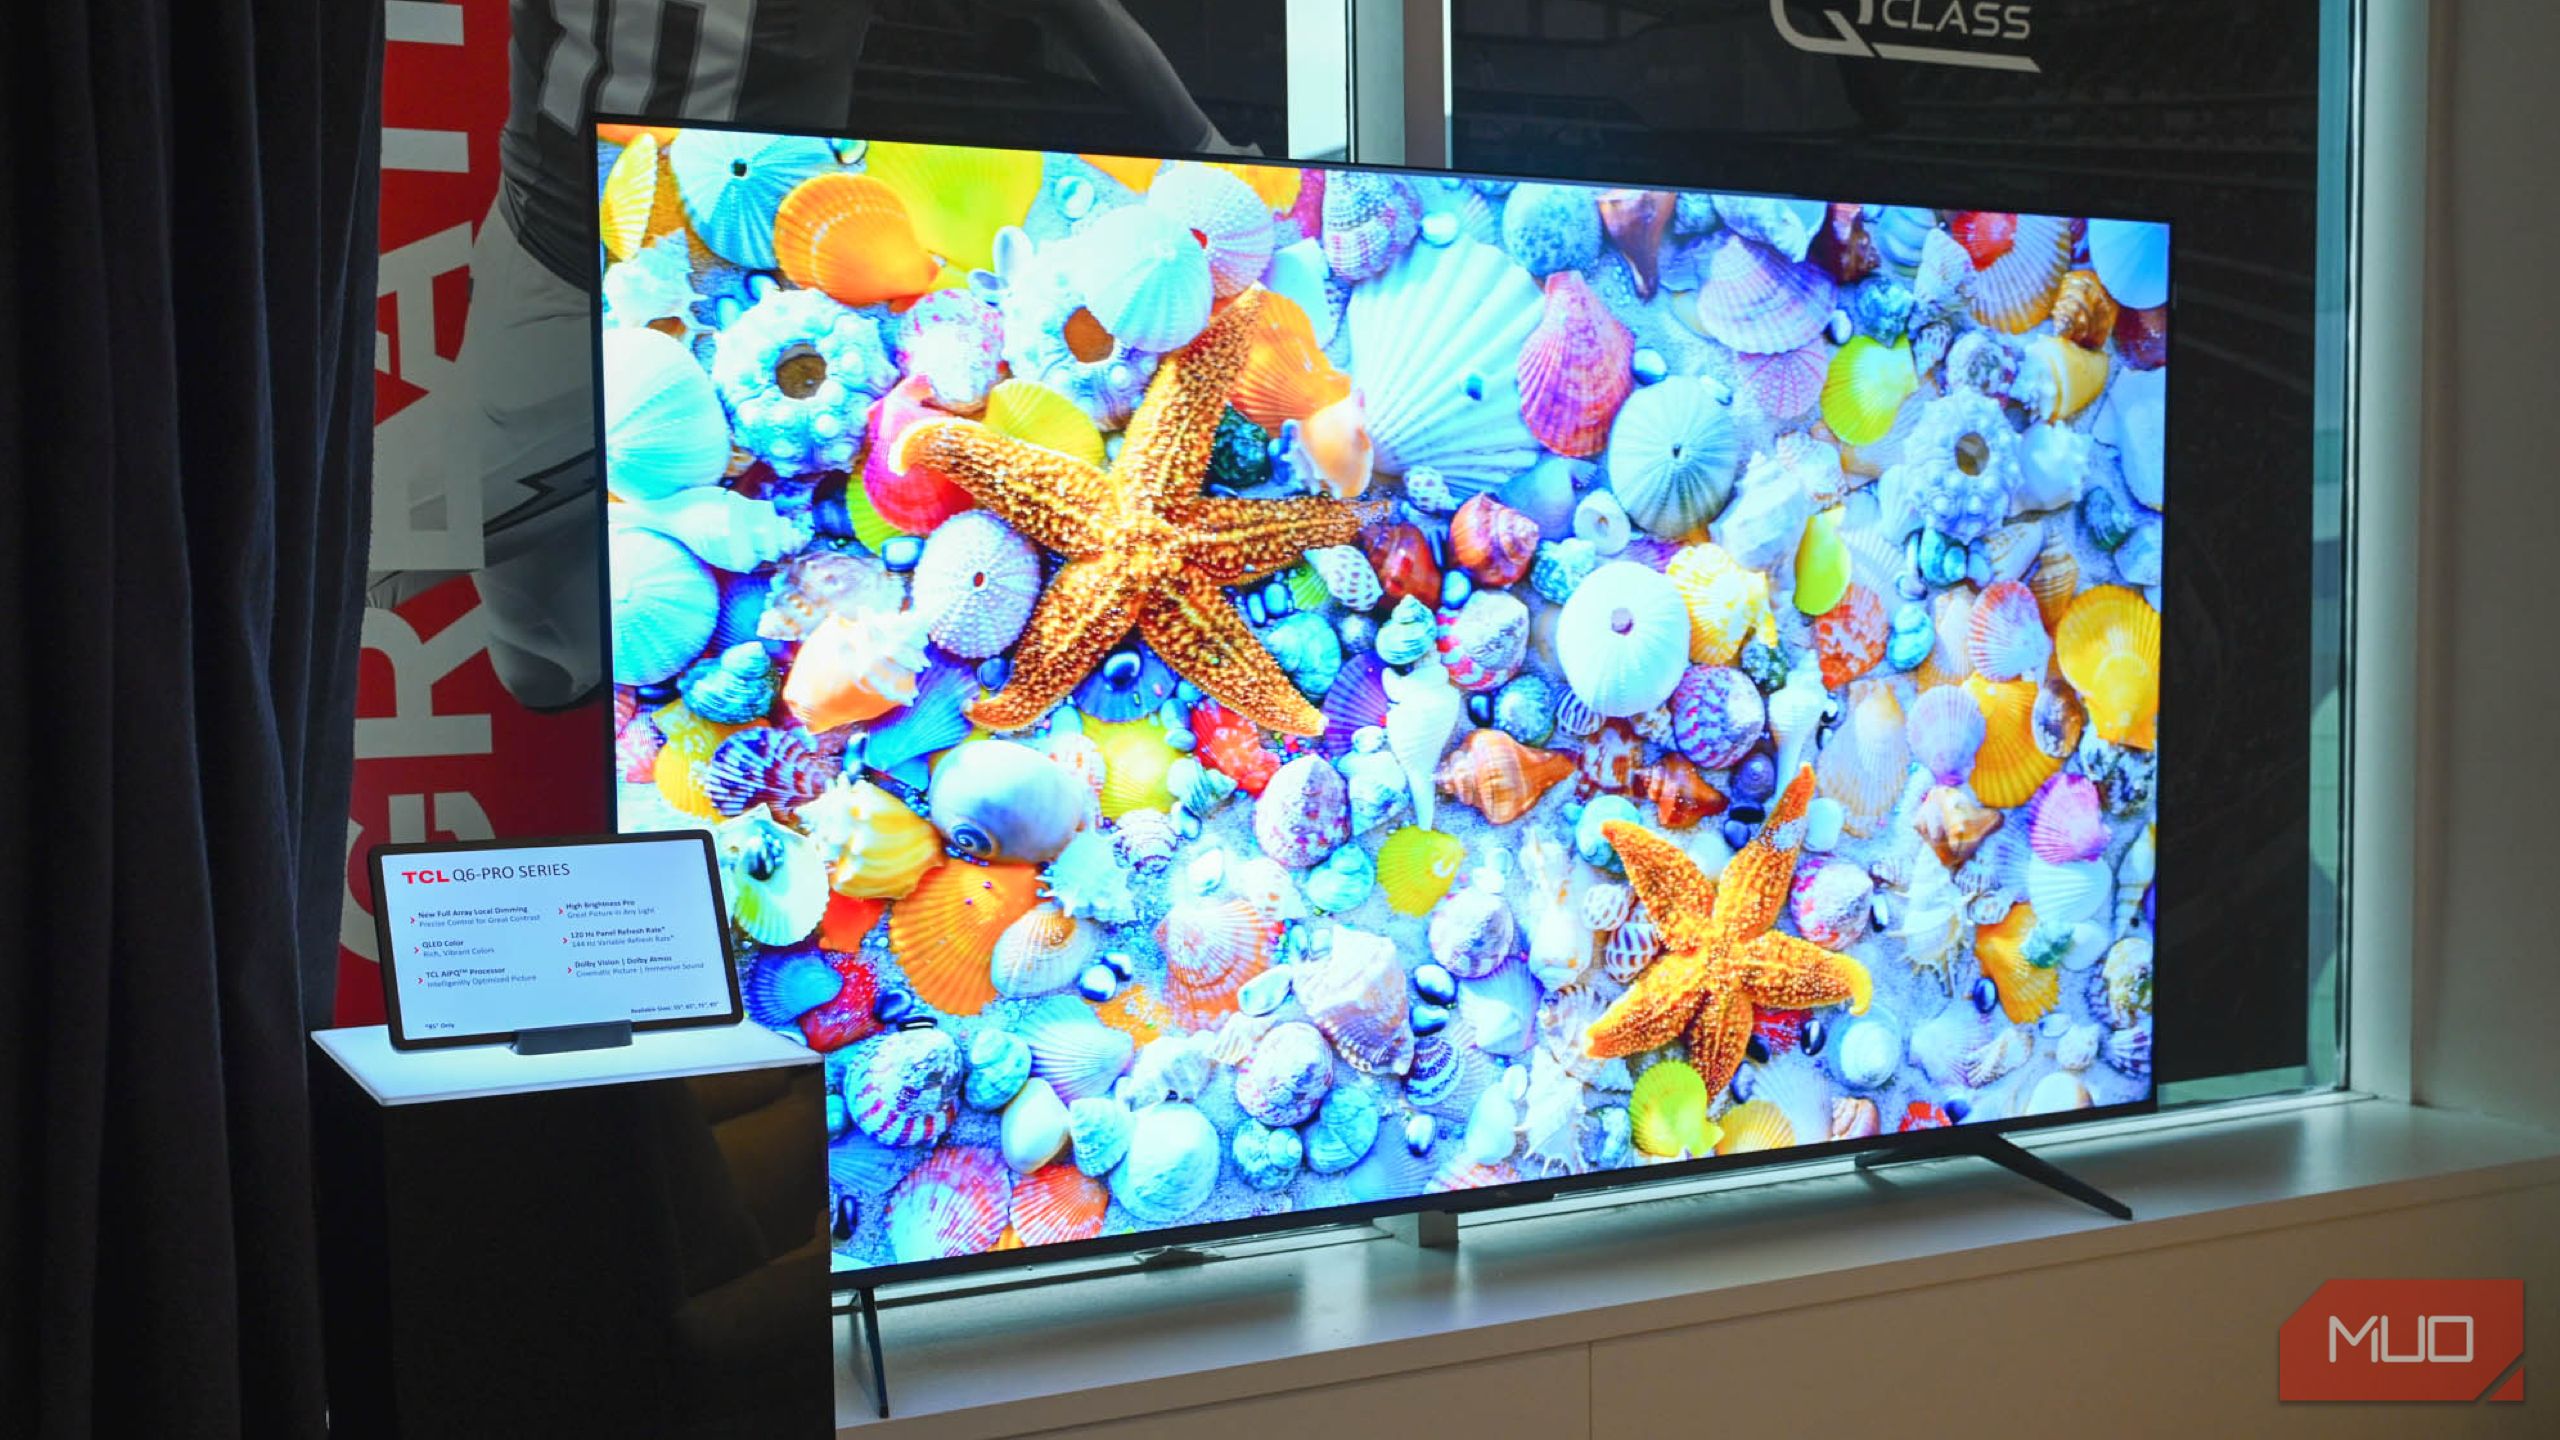
Buying a used smart TV can feel like a treasure hunt. However, it doesn’t have to be, so I run these checks to avoid the costly mistake of buying a faulty smart TV.
1
Inspect the Screen for Dead Pixels or Burn-In
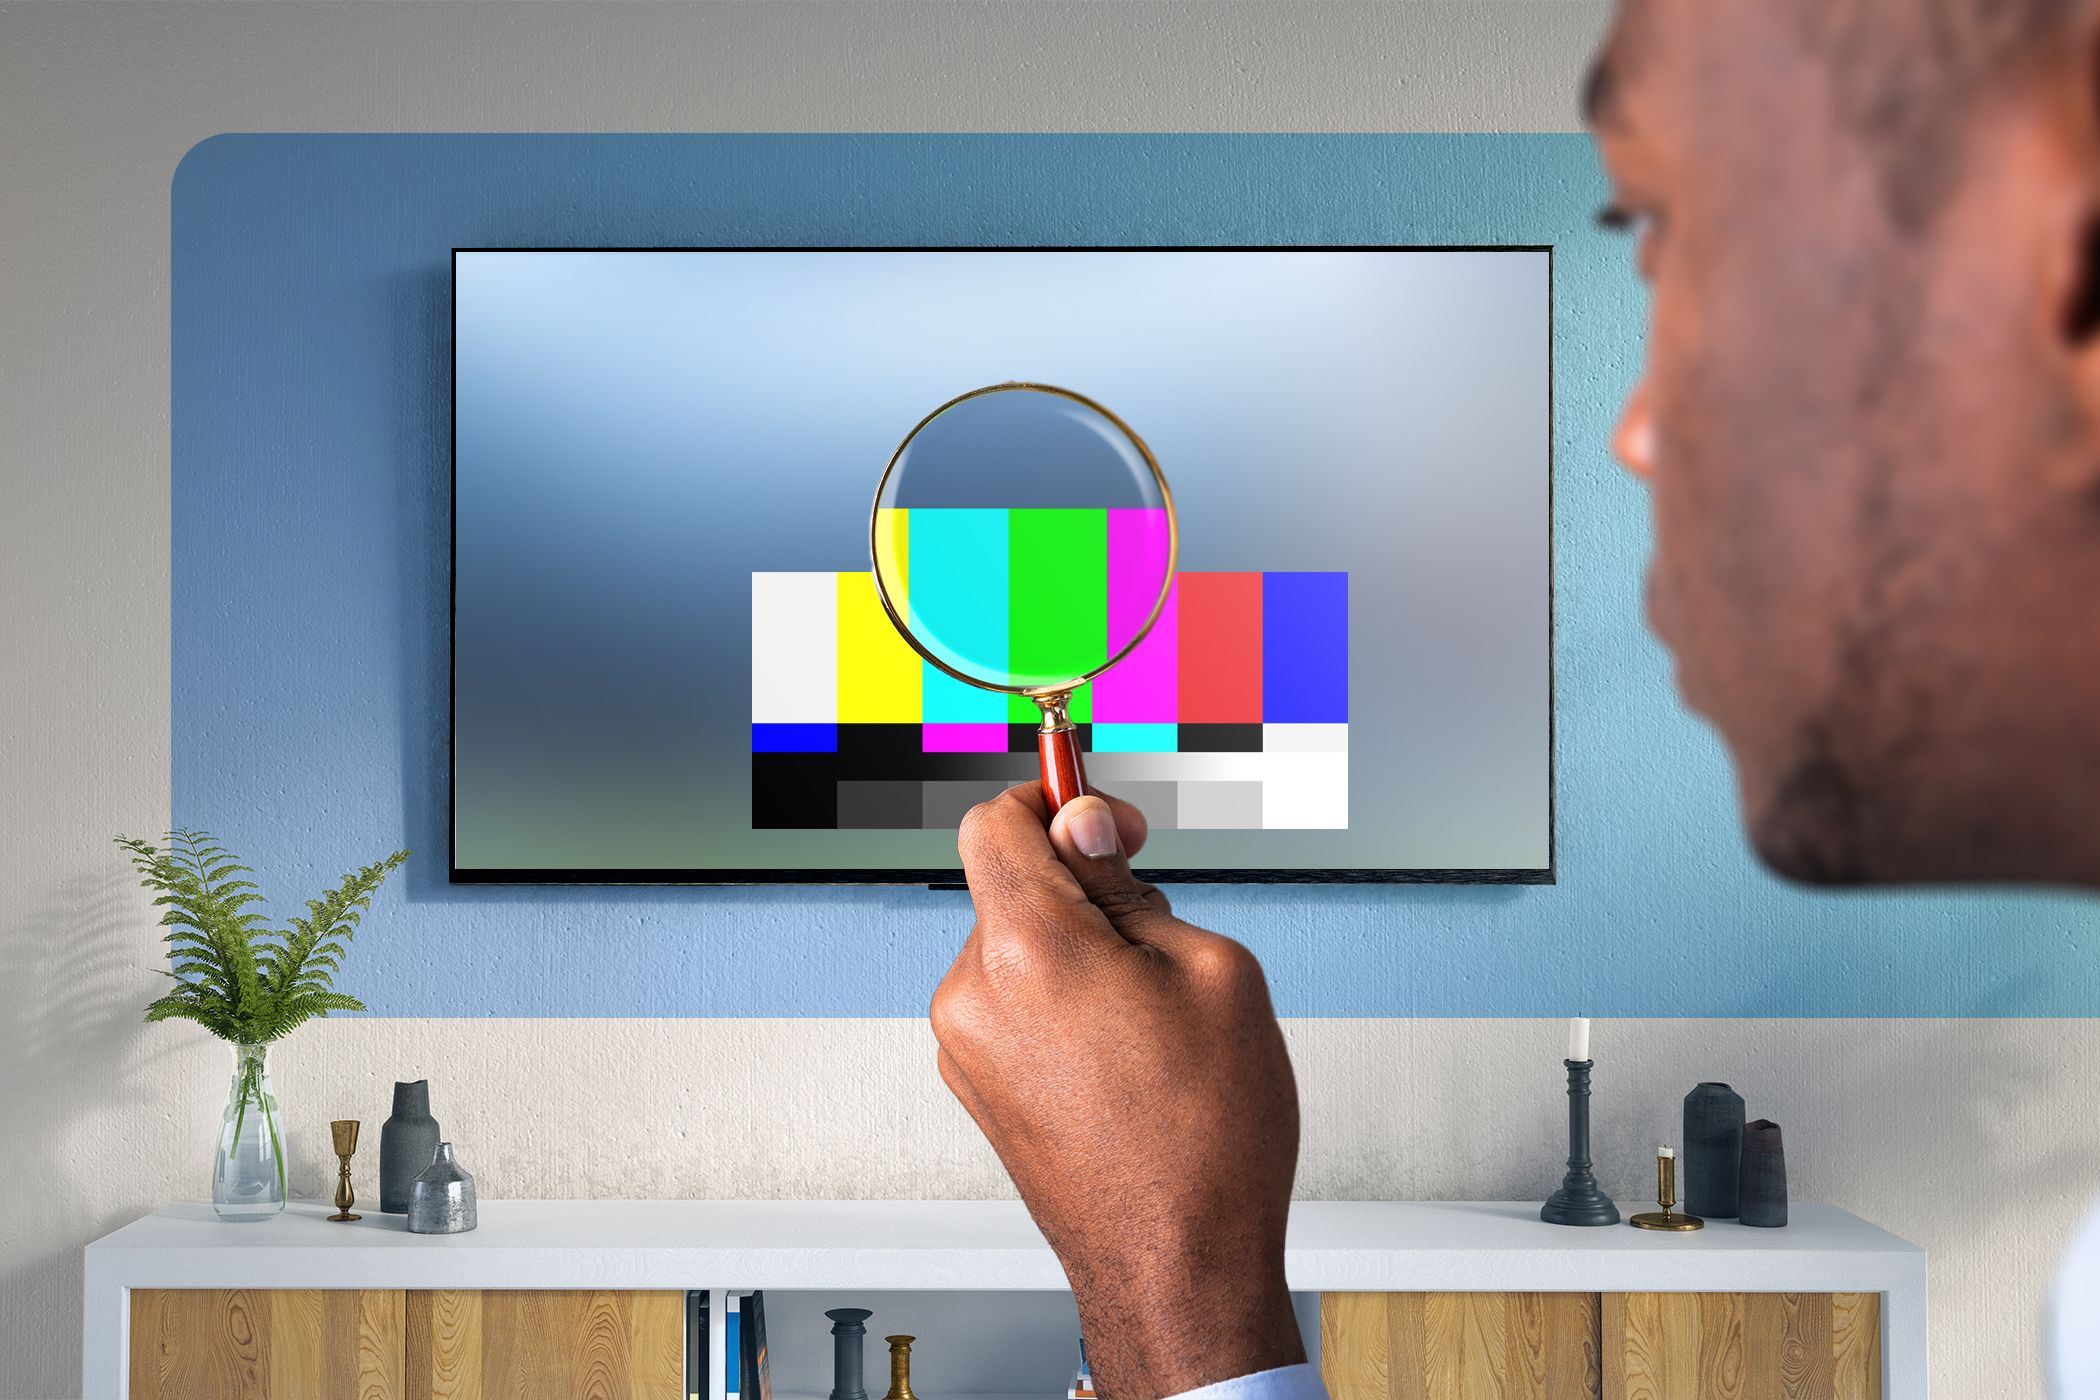
The screen is the heart of any TV, so this is where you should start. Begin by powering on the TV and displaying a solid color image—white, black, red, green, and blue are good options. You can find test patterns on YouTube or use a USB drive with test images.
Look closely for dead pixels, which appear as tiny black or colored dots that don’t change with the image. A few dead pixels might not be a dealbreaker, but clusters or widespread issues are a red flag.
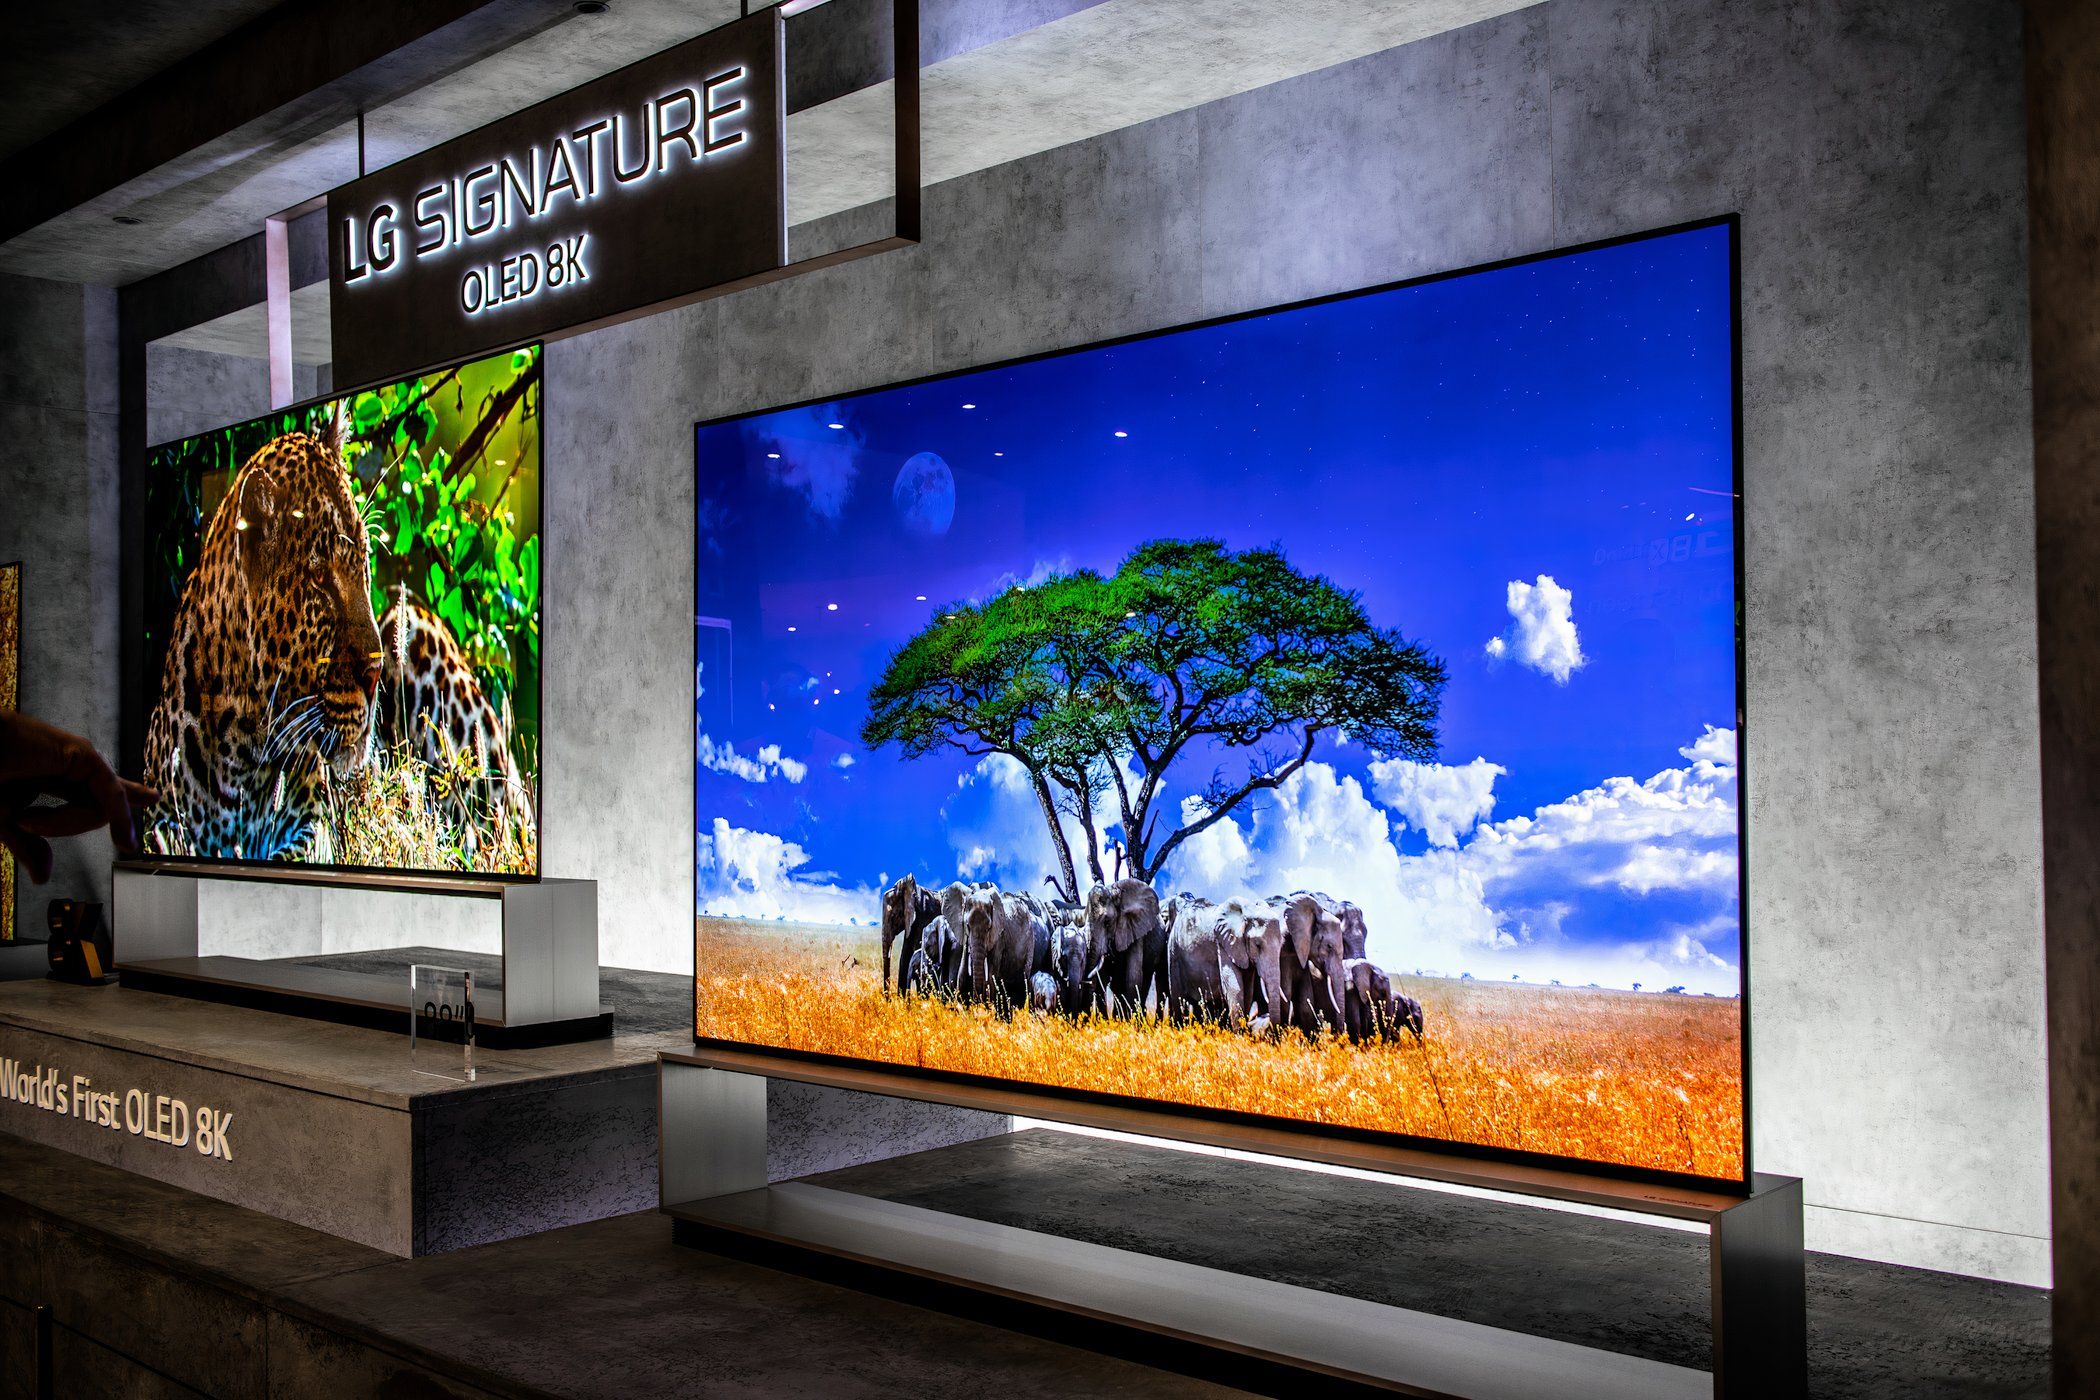
Next, check for burn-in, especially if the TV is OLED. Burn-in happens when static images (like logos or news tickers) leave a faint but permanent mark on the screen. Display a full-screen white image and look for ghostly remnants of previous content. For LCD/LED TVs, inspect for uneven backlighting or dark spots, which can indicate aging or damage.
2
Test the Wi-Fi and Ethernet Connections
A smart TV is only as good as its ability to connect to the internet. Connect to the seller’s Wi-Fi (or your mobile hotspot) and ensure the TV connects without issues before handing over your cash. A TV gets plus points if I find its Wi-Fi standard is Wi-Fi 6 or Wi-Fi 6E.
If the TV has an Ethernet port, plug in a cable and test the wired connection. I prefer wired connections to Wi-Fi because they are faster and more stable.
Open a streaming app like YouTube or Netflix and play a high-definition video to check for smooth playback. If the TV struggles to connect or frequently drops the signal, it could indicate a faulty Wi-Fi module or outdated hardware. This is especially common in older models, so proceed with caution.
3
Check the Smart TV Interface for Speed and Updates
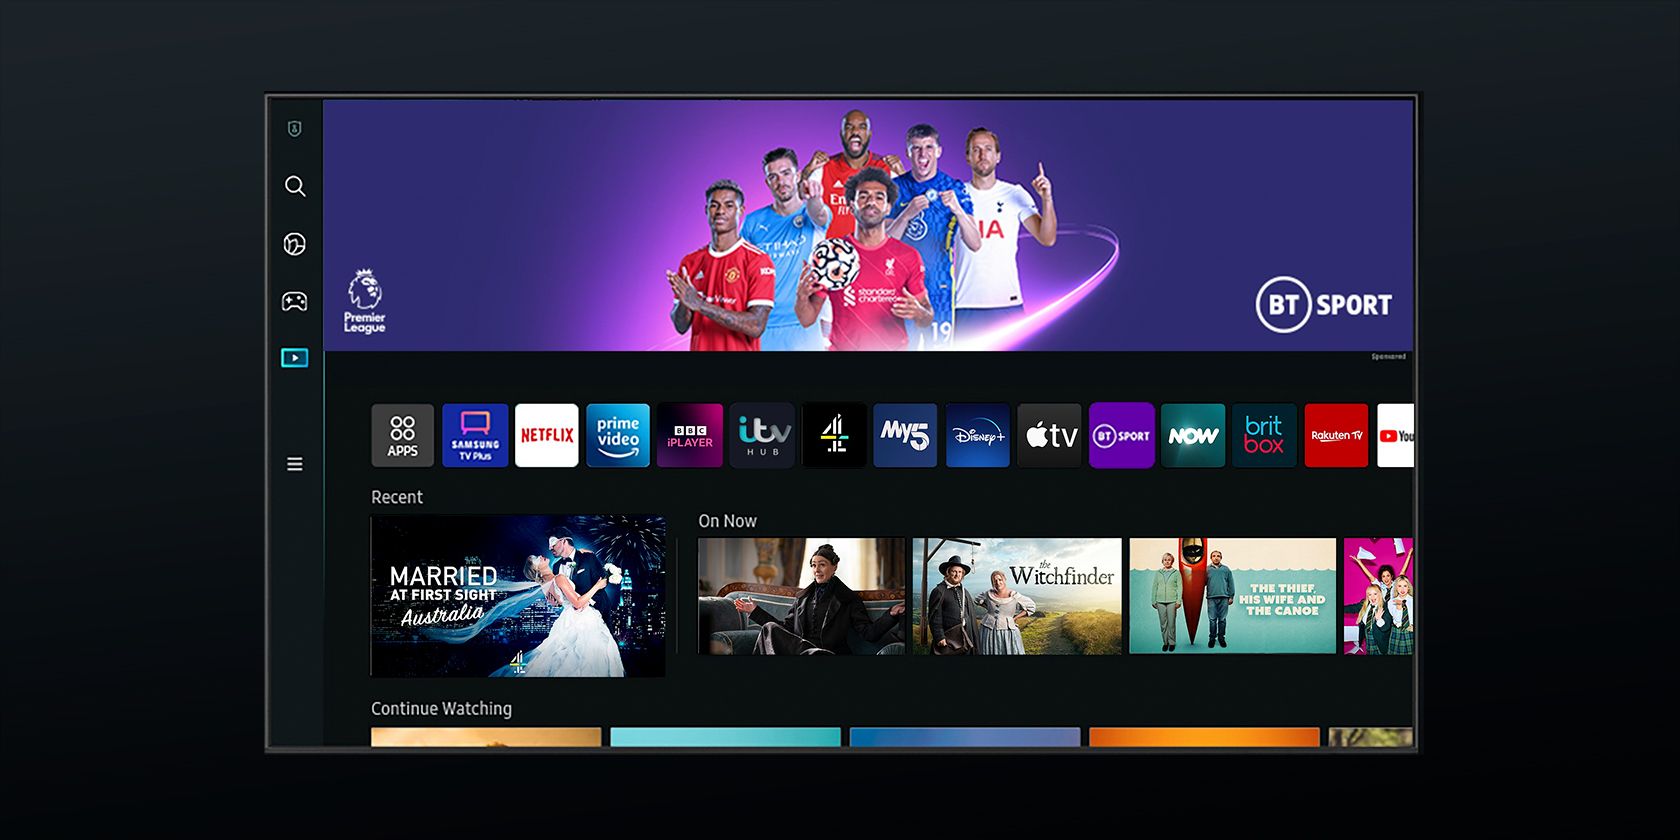
The smart TV interface is your gateway to streaming, apps, and settings, so it’s crucial to ensure it’s responsive and up-to-date. Laggy menus or delayed responses to remote inputs (think: 3+ seconds for a button press to register) often signal an underpowered processor or bloated software.
Next, dig into the system settings. Check the OS version (e.g., Google TV, Tizen, webOS) and verify if updates are pending. Manufacturers like Samsung and LG typically support high-end TVs with updates for 4–5 years, but cheaper brands may abandon support after 18 months.
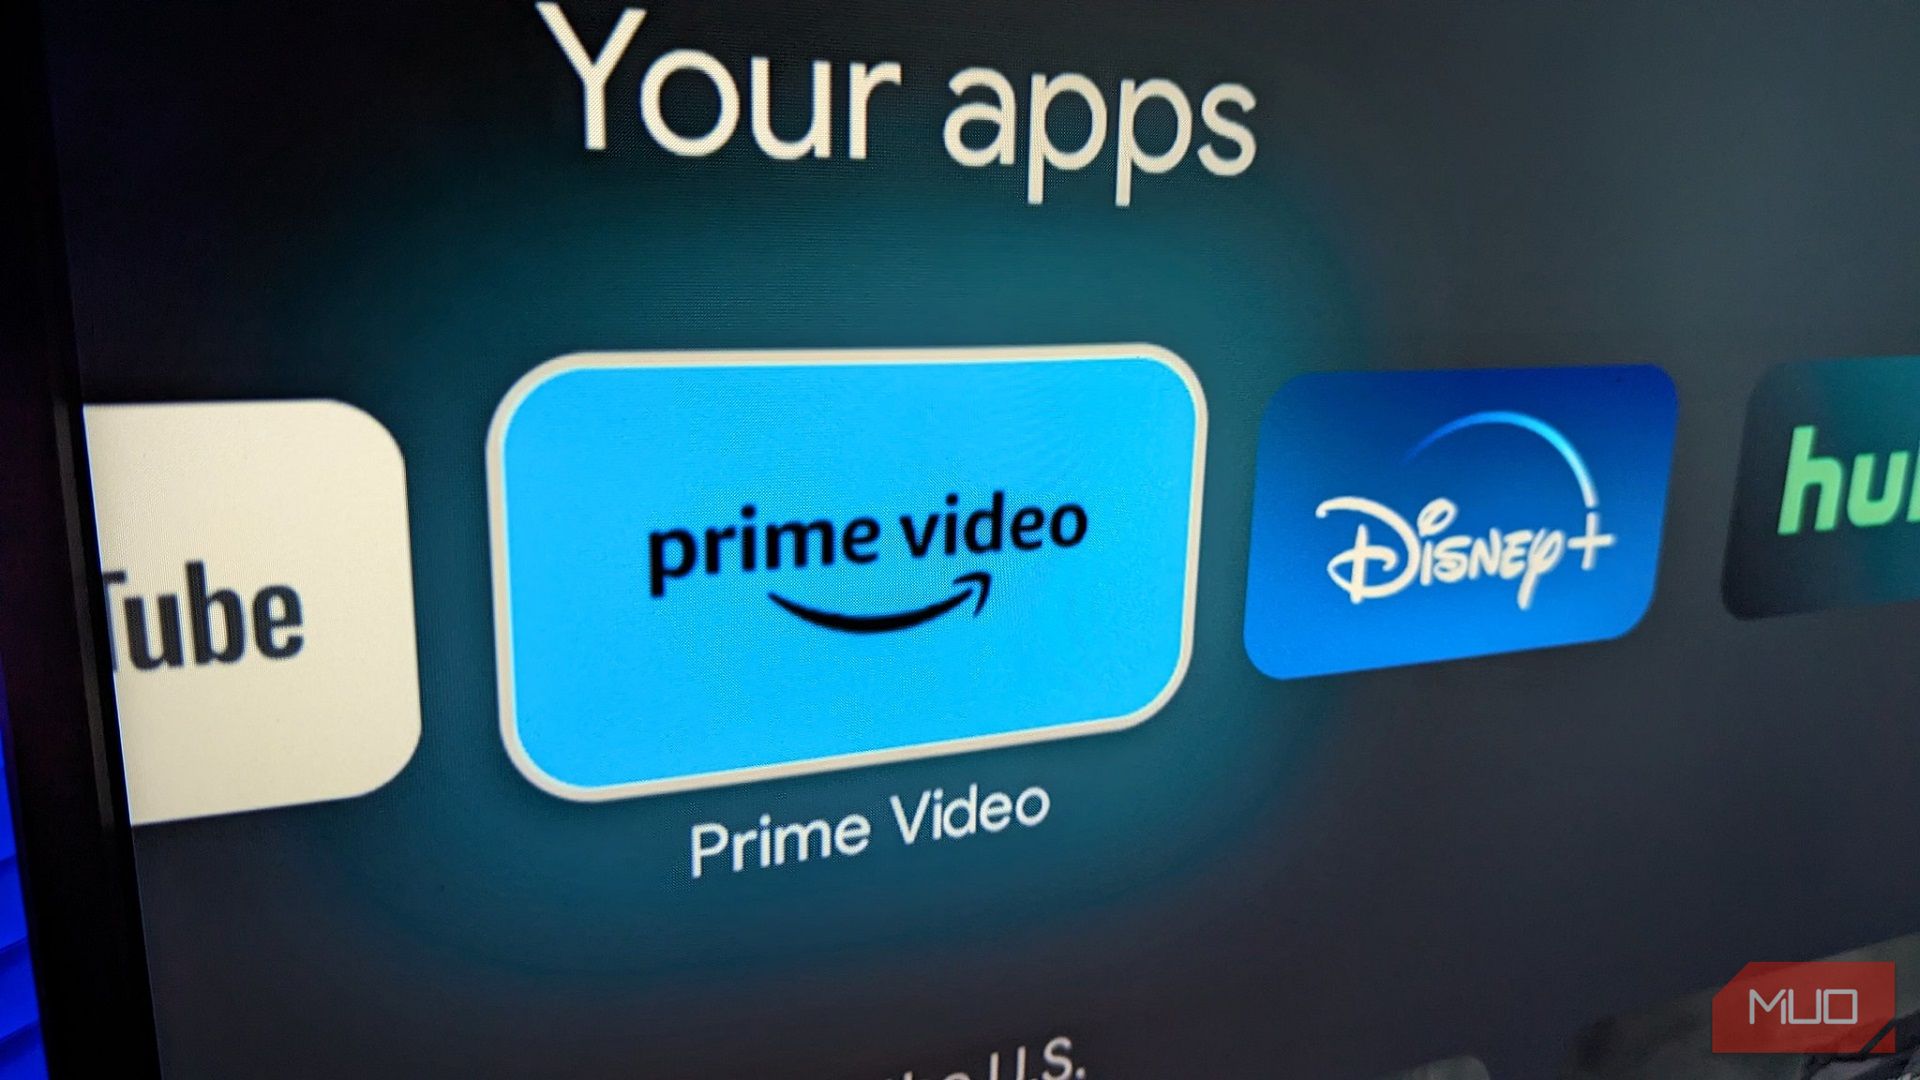
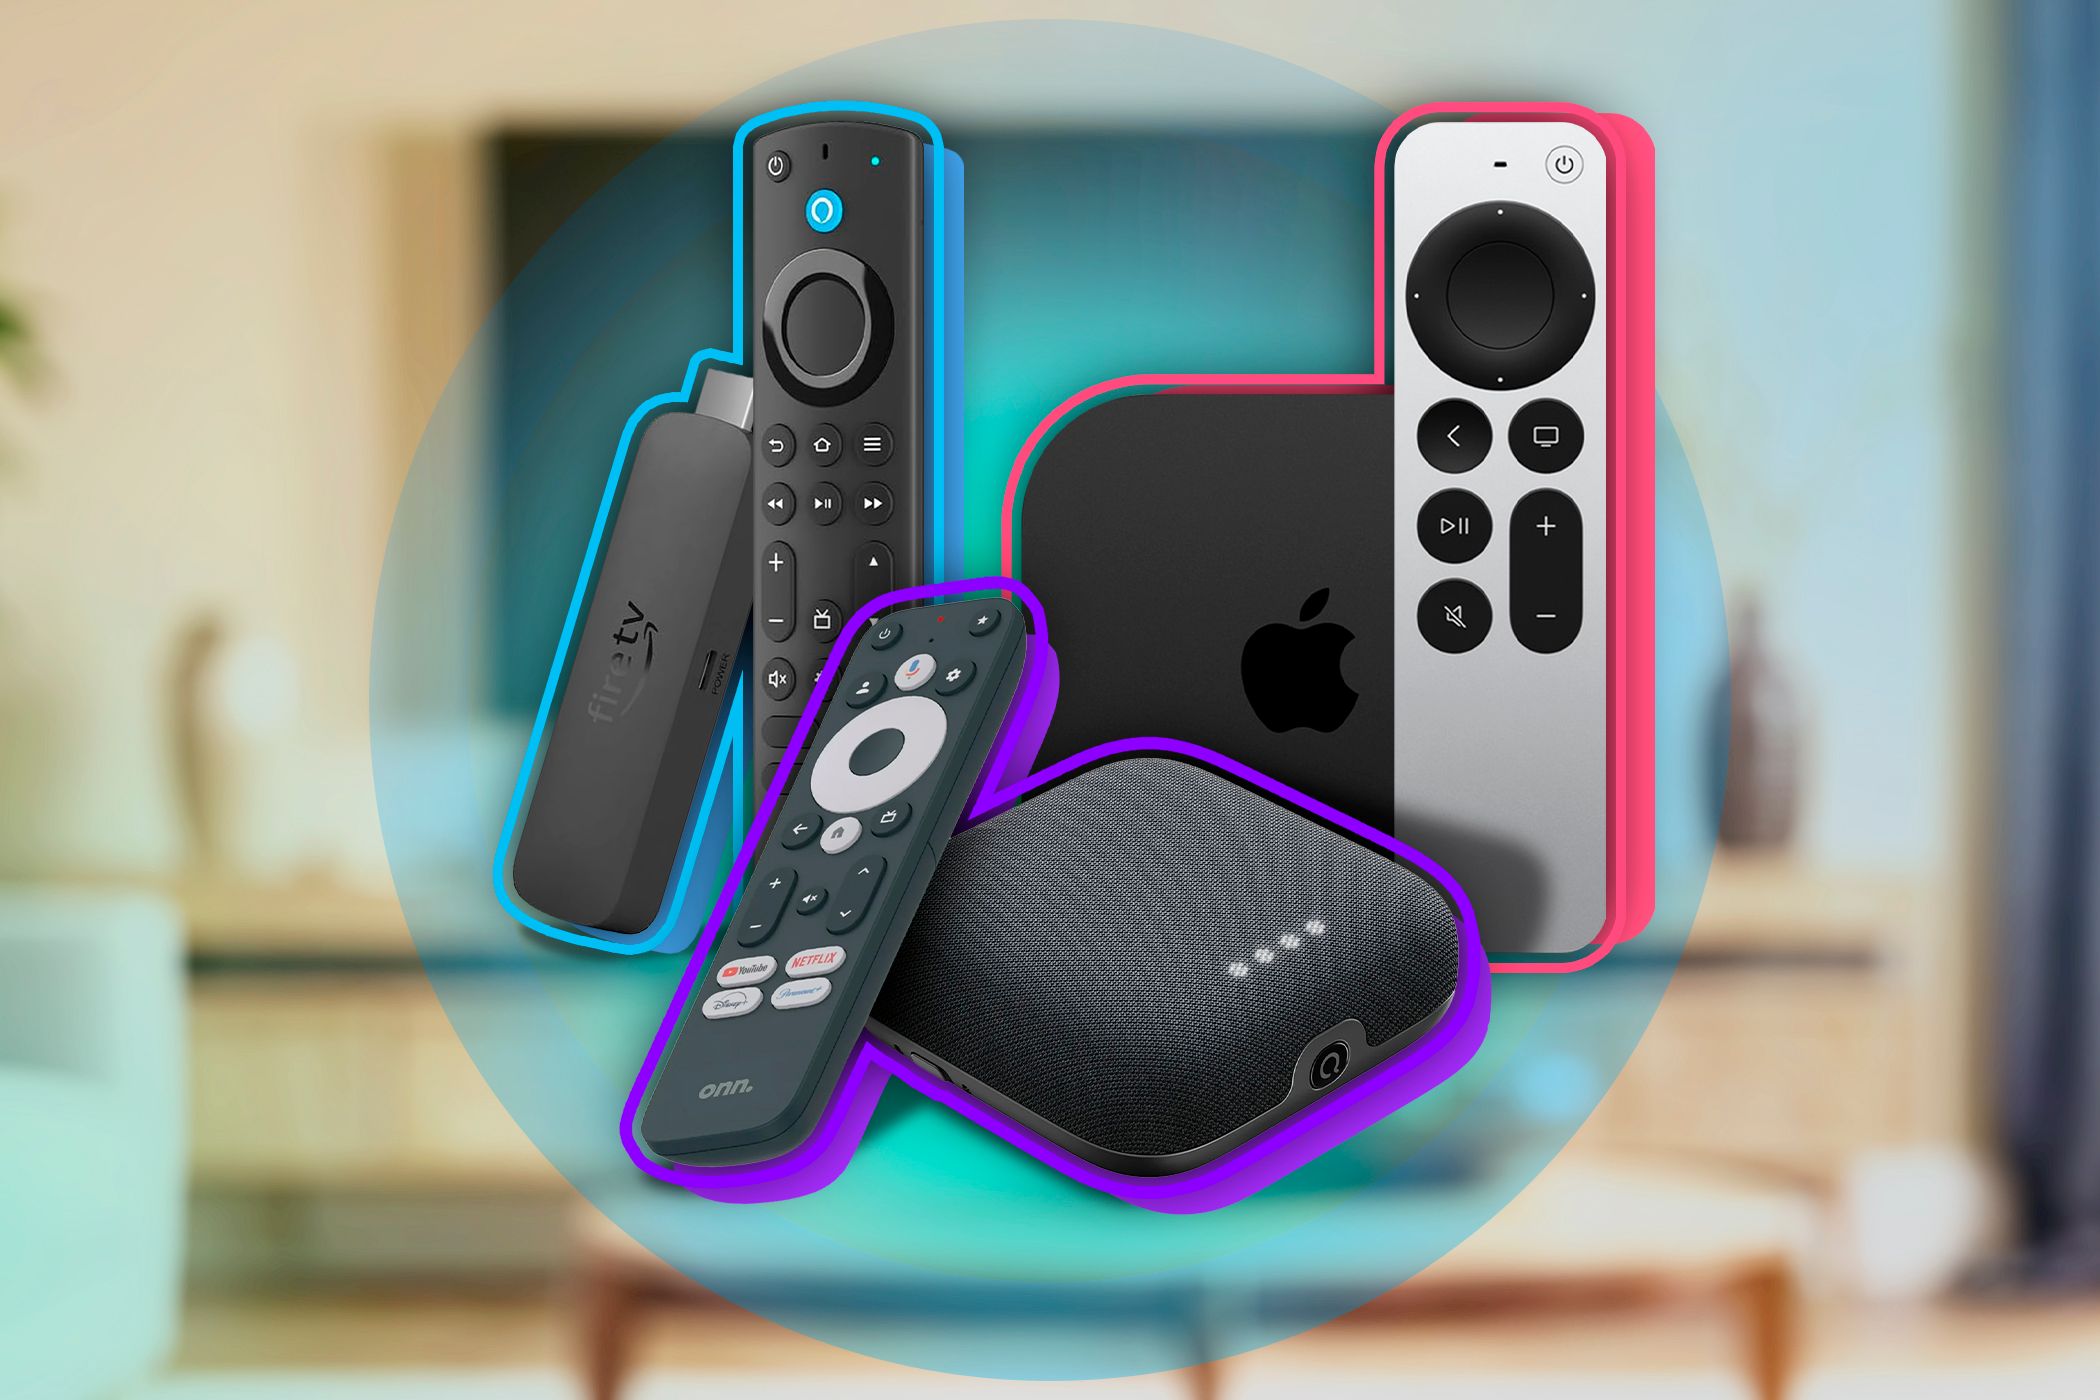
Test pre-installed apps like Prime Video or Apple TV+. If they crash frequently or buffer despite a strong connection, the TV’s firmware is likely outdated—or worse, the storage is failing. If that’s the case, consider whether you’re okay with using an external streaming device like a Roku or Apple TV to keep your setup current.
4
Test All Ports and Connectivity Features
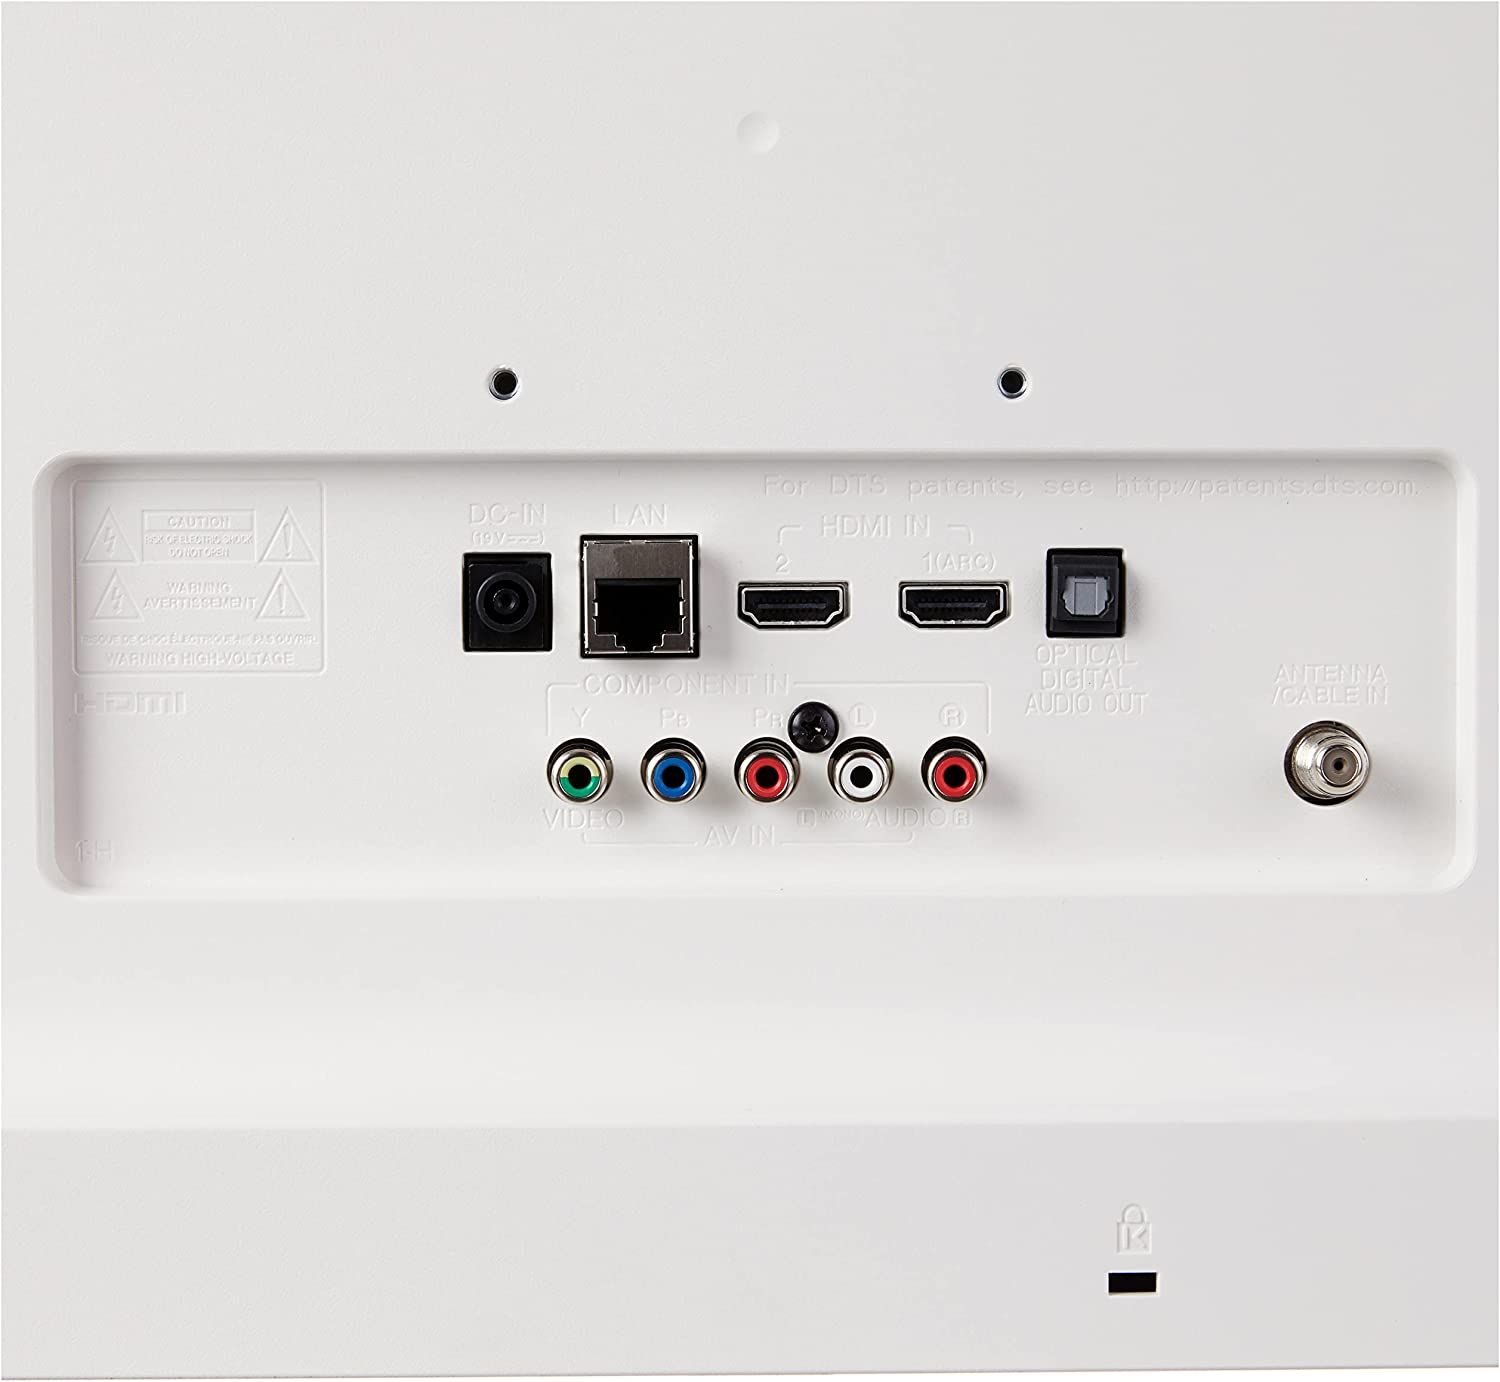
A used smart TV that looks great on the surface would be a terrible buy if its ports and connectivity features are faulty. Before buying, inspect all physical ports—HDMI, USB, Ethernet, and any others. Look for signs of damage, such as bent pins or loose connections. Then, test each port to ensure it functions properly.
- For HDMI ports, connect a device like a gaming console or Blu-ray player and check for both video and audio output.
- If the TV has multiple HDMI ports, test each one.
- For USB ports, plug in a flash drive with a video file or photos to see if the TV can read and display the content.
- If the TV has an optical audio output or headphone jack, test them to ensure they work as expected.
Don’t forget to check Bluetooth functionality if the TV supports it. Pair a set of wireless headphones or a soundbar to verify the connection is stable, and the audio quality is clear.
If you notice any ports aren’t working, consider whether you can work around the issue. For example, if one HDMI port is faulty but others are fine, it might not be a dealbreaker.
5
Verify Remote Control Functionality
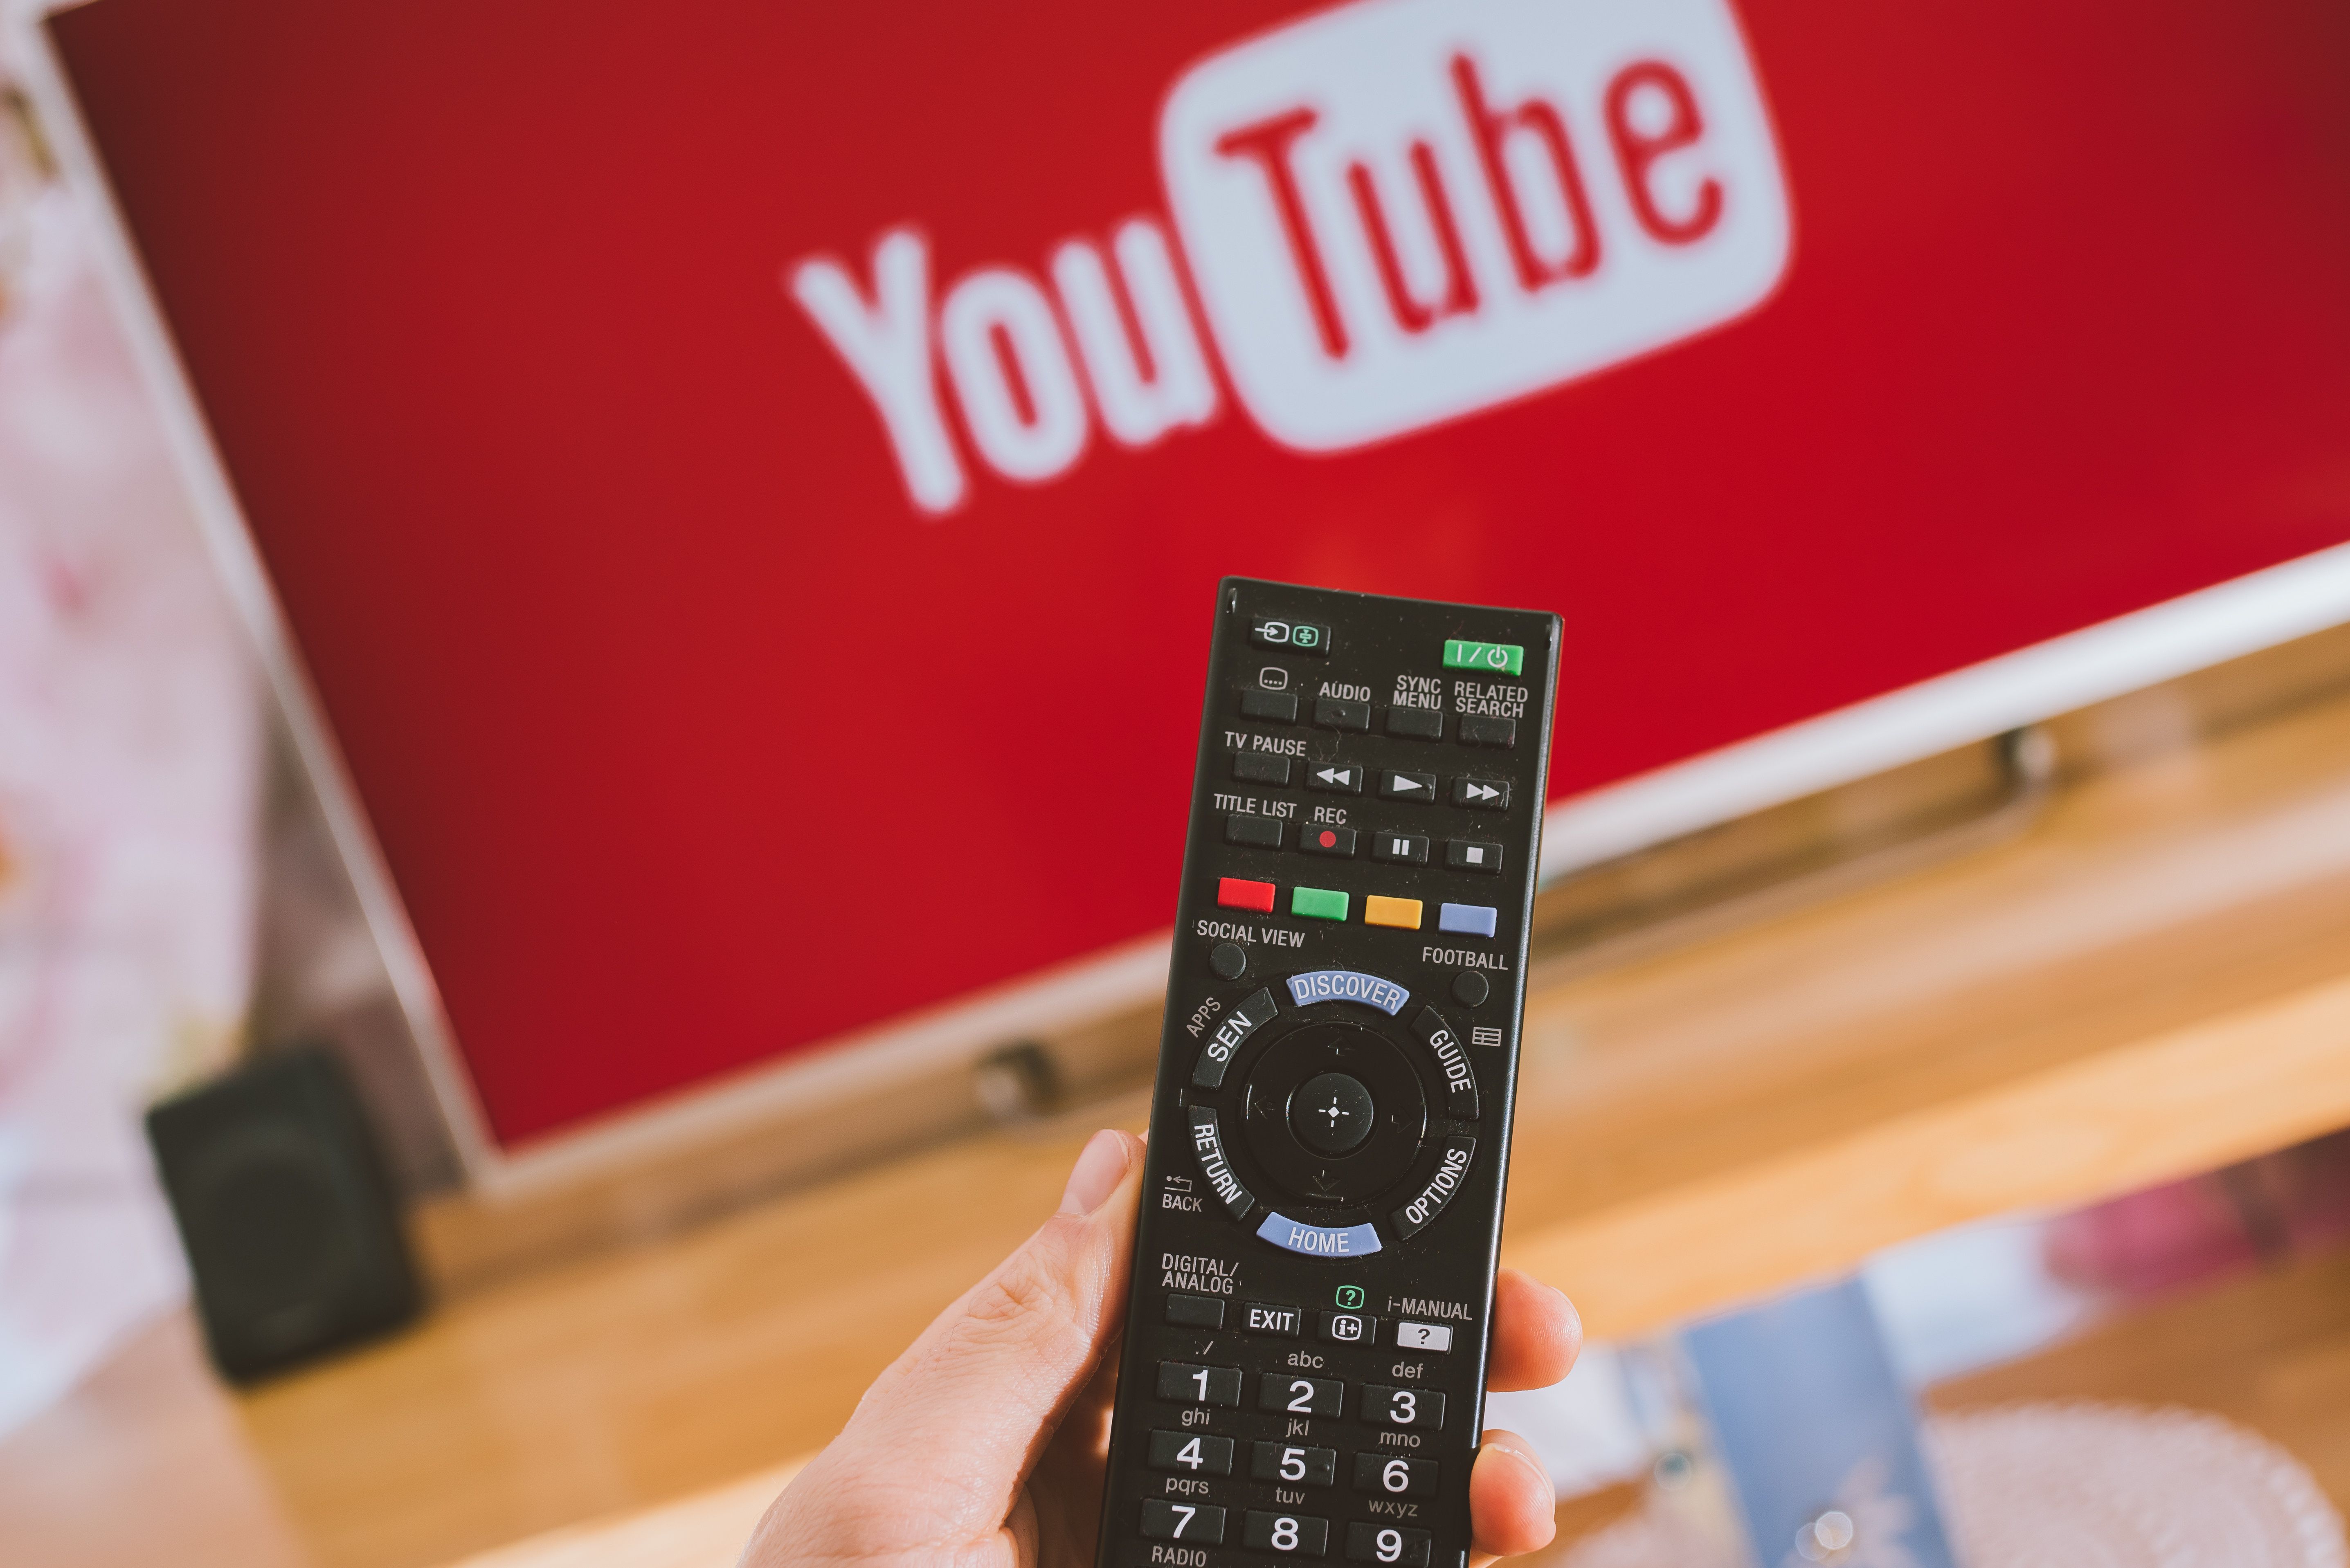
The remote control is your primary way of interacting with the TV, so it’s essential to ensure it works flawlessly. Start by checking the remote’s physical condition. Are the buttons responsive, or do they stick or feel loose? Are there any visible signs of damage, like cracks or worn-out buttons?
Next, test the remote’s functionality. Power the TV on and off, adjust the volume, and go through the menus. Pay attention to any delays or unresponsive buttons.
Test any special features, like voice control or dedicated app buttons. If the remote has a built-in microphone for voice commands, try using it to search for content or change settings.
6
Run a Sound Check on the Speakers
Crystal-clear audio is as vital as a sharp picture, so don’t overlook the speakers. You can run a sound check on the TV speakers by playing a video with a mix of dialogue, music, and sound effects—something like a movie trailer or a concert clip works well. Listen closely for distortions, crackling, or uneven volume between the left and right channels.
Next, adjust the volume from low to high. Are the speakers clear at low levels or buzz when cranked up? If the TV has built-in audio presets (like Movie, Music, or Voice), cycle through them to see if any improve the sound quality.
If the built-in speakers underwhelm, test the TV’s audio output options. You can connect a soundbar to any Smart TV via Bluetooth, HDMI, RCA, or optical audio. If you don’t have a soundbar, a pair of headphones will work just as well. Relying on external gear adds cost, so factor that into your offer.
A used TV doesn’t have to be perfect, but it should meet your needs and perform reliably. Running these tests will help you avoid costly mistakes and make an informed decision whether that is walking away or negotiating a lower price.
